Yarn Wrapped Hearts Garland
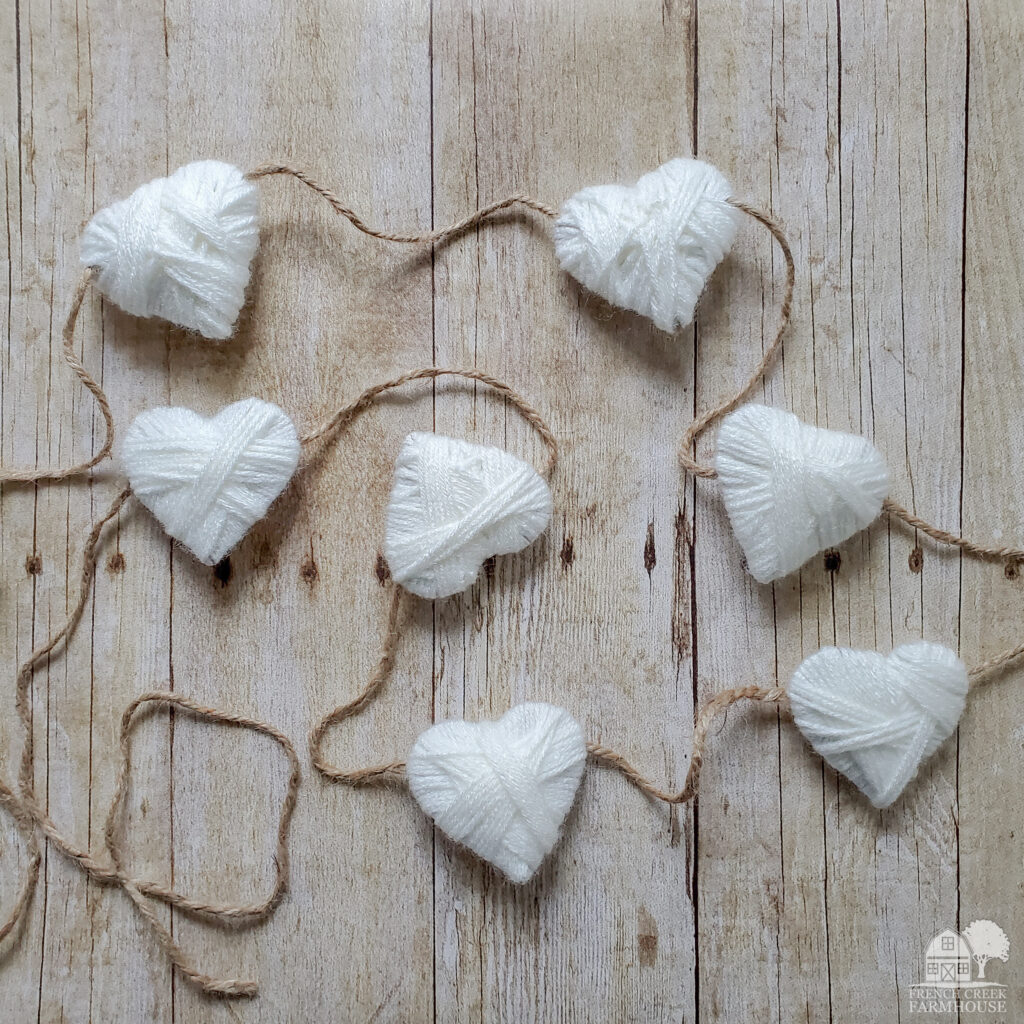
Love is in the air! Valentine’s Day is just around the corner, and if you’re looking for a cozy way to celebrate, this yarn wrapped hearts garland is the perfect mid-winter touch.
January and February are always particularly awkward times of the year for decorating your home. For starters, we’ve just completed a marathon season of holiday decorating where many of us go over the top for several months in a row. Good gracious, it’s a big job! A decorating extravaganza!
Then comes the “in between” time. The holidays are over, and yet, the cheerful colors of spring blooms won’t feel quite right when you’re dealing with freezing temperatures and drifts of snow!
So, what’s a homemaker to do?

In our home, I like to fully embrace the season and soak in all the coziness of wintertime. That even extends to our Valentine’s Day celebration, and I tend to keep our decor quite neutral despite the tradition of decorating with reds and pinks.
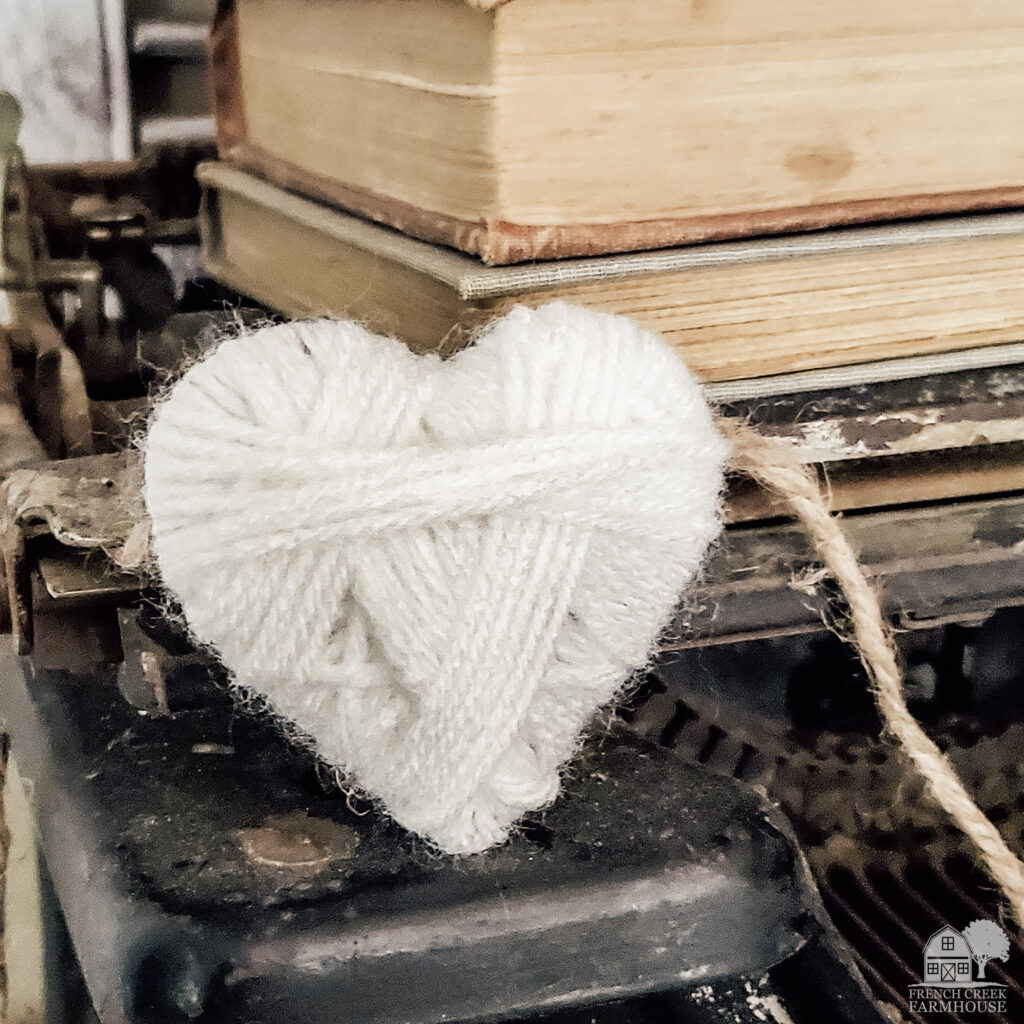
If you ask me, there’s a lot of romance in vintage items already, so add in a few comfy textures like these hearts that are reminiscent of warm winter sweaters, and it all comes together beautifully!

Today, I’ll teach you how to make a yarn wrapped hearts garland with just a few basic supplies and absolutely no experience required. And don’t feel limited by Valentine’s Day, either…these hearts are perfect for celebrating love all year long!
Be sure to pin this post for future inspiration when decorating with your yard wrapped hearts garland!


Disclosure: This is not a sponsored post, and I have received no compensation for sharing anything that follows. Some links within this blog may be affiliate links, and I might earn a commission if you make a purchase through that link. This usually amounts to cents, not dollars, and helps to support the projects featured on this blog. I only recommend products from companies that I have found to be trustworthy. Read my full disclosure here.

How to make a yarn wrapped hearts garland
These hearts look so cute no matter where you hang them, but there are a few reasons I especially love this craft.
First, if you like the look of knitted or crocheted projects, these will be perfect for you. Yet, these hearts don’t require any needlecrafting experience, and this project can be completed in under an hour!
Second, because of this project’s simplicity, it’s perfect for anyone, of any age, and nearly any ability. Arthritis in your hands keeps you from working with yarn? This might just be the perfect project for you! Have some kiddos looking for a Valentine’s Day craft? These hearts will certainly keep their hands busy and minds occupied!
Oh, and did I mention how affordable this project is?? If you’ve been hanging out with me for very long, then you know that I’m a rather thrifty sort of gal, so budget-friendly crafts are definitely my jam.
Let’s dive into the tutorial so you can get busy crafting your own yarn wrapped hearts garland!

- Cream colored yarn
- Jute twine
- Cardboard
- Scissors
- Pencil
- Tape or hot glue gun
- Heart Patterns (a free printable available HERE to my newsletter subscribers)
All You Need is Love!
free Heart patterns
Craft your own decor to celebrate love and kindness all year long with my easy-to-use printable heart patterns in five sizes.

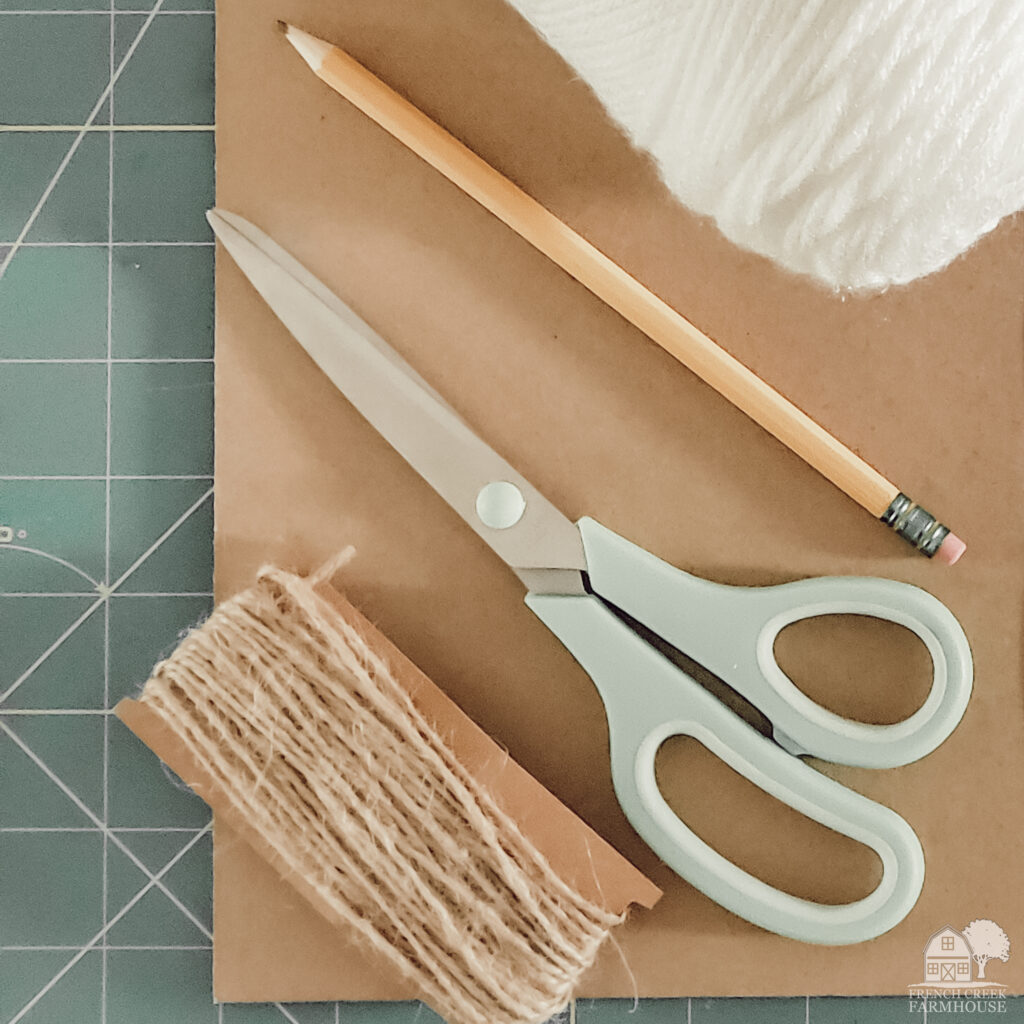
1. Begin by gathering your materials and supplies, including the printable Hearts Pattern.
Snag my printable Hearts Pattern {HERE}. You’ll be able to use this pattern to create multiple projects, such as:
I always strongly recommend laminating your patterns before cutting them out because it not only makes them stiffer, but you can reuse your patterns again and again. I file mine by season/theme so I can easily find them later.
This is the exact lamintor we own, and it gets a ton of use in our house. We’ve never had a single issue with it in over seven years, and it’s so affordable that you’ll find a billion ways to use it!
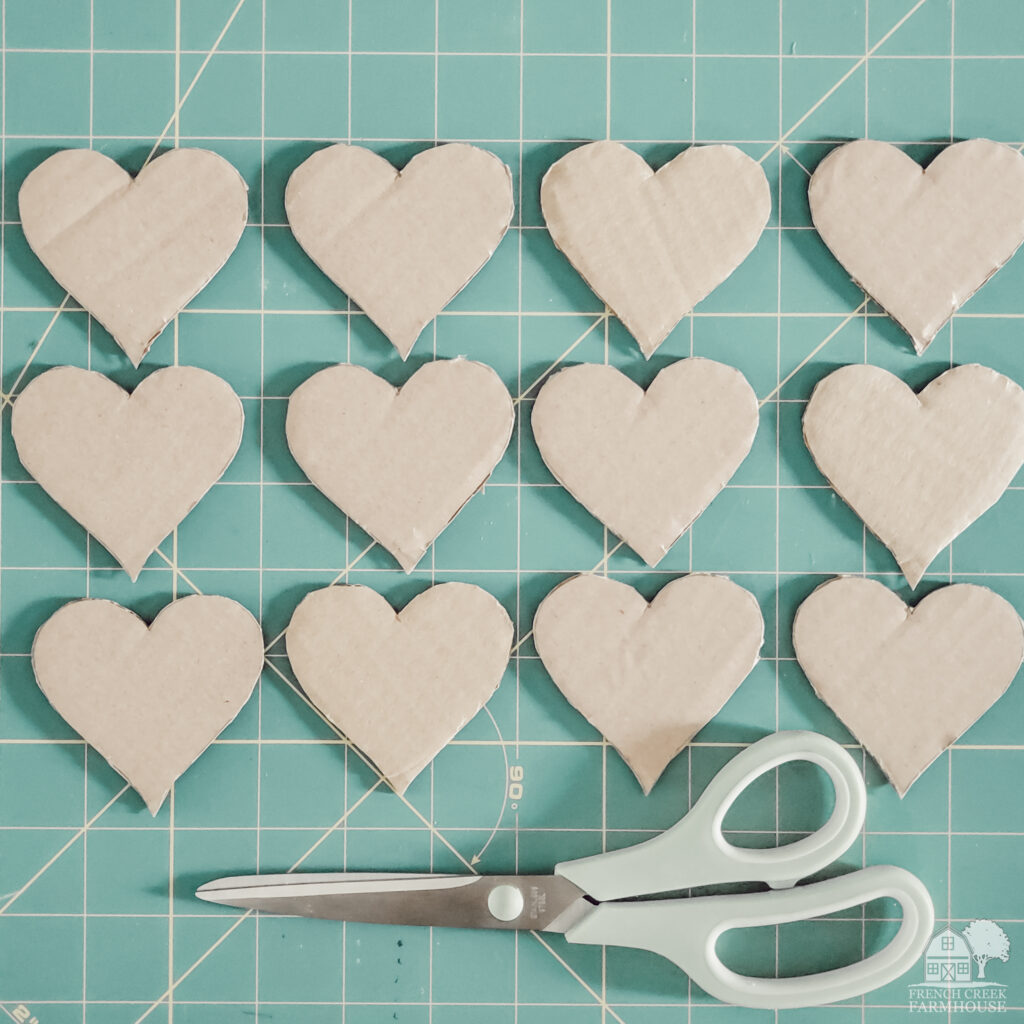
2. Trace and cut out hearts.
My printable Hearts Pattern includes five different sizes so that you can use it for a variety of crafts. I used the 3″ pattern for this garland.
You can decide how many hearts you want on your garland, as well as the spacing. Then, trace the heart onto your cardboard, and cut them out. This is a great way to re-purpose shipping boxes into something crafty and cute!
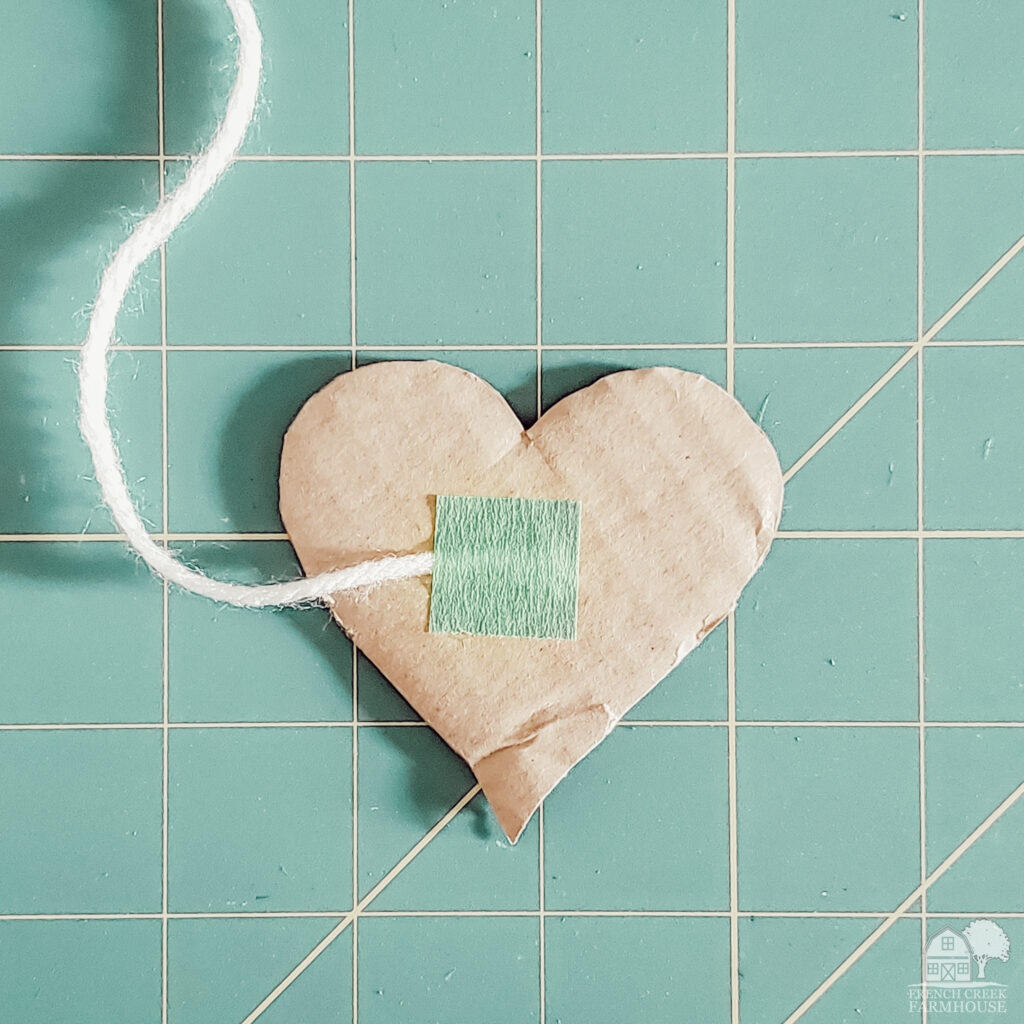
3. Secure yarn to heart shape.
You can use tape or hot glue to attach the yarn to the cardboard heart. It won’t ever be seen, so it really doesn’t matter. Use whatever you have on hand!
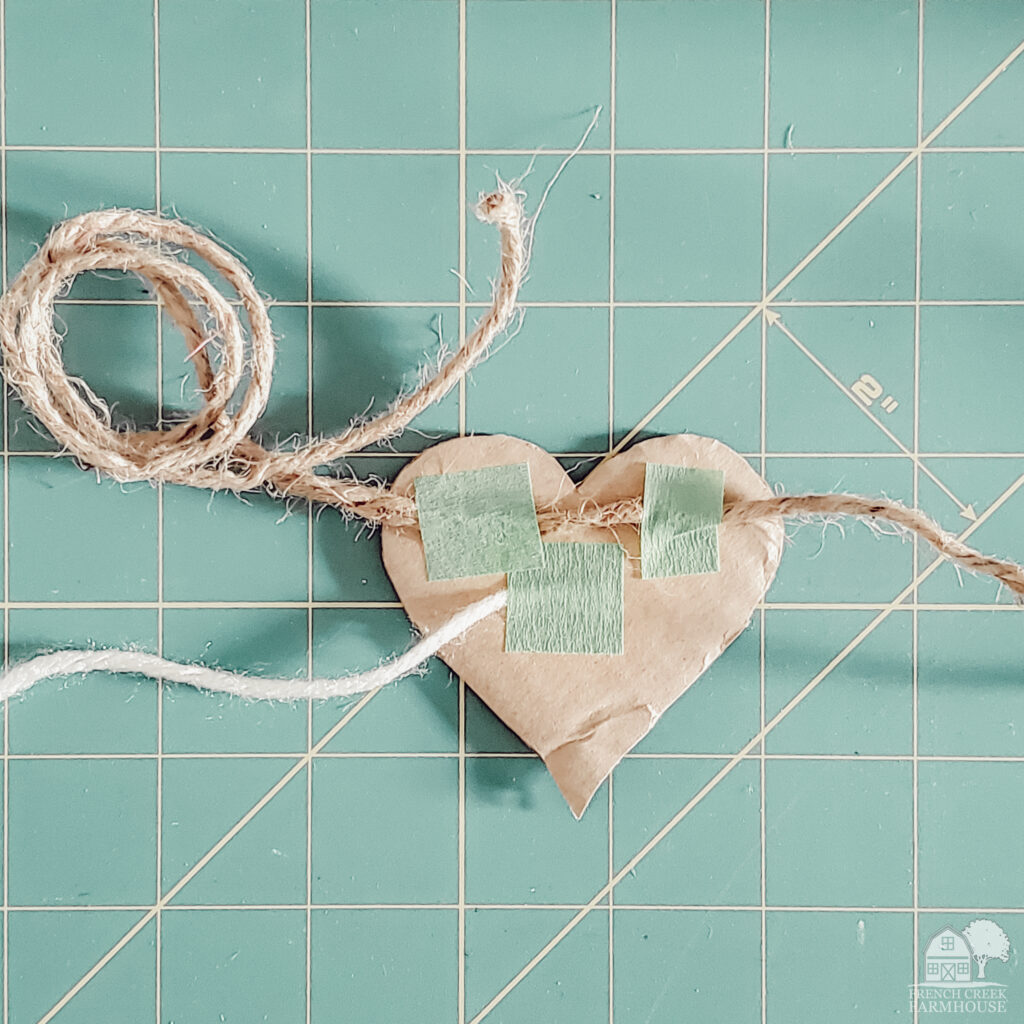
4. Secure hearts to twine to form a garland.
Cut a length of twine for however long you want your finished garland. Don’t forget to add extra to each end so that you can tie it up–I recommend at least 12″ at each end.
Then, space the cardboard hearts along the twine as you desire. Tape or hot glue them into place.
5. Begin wrapping the yarn around the heart.
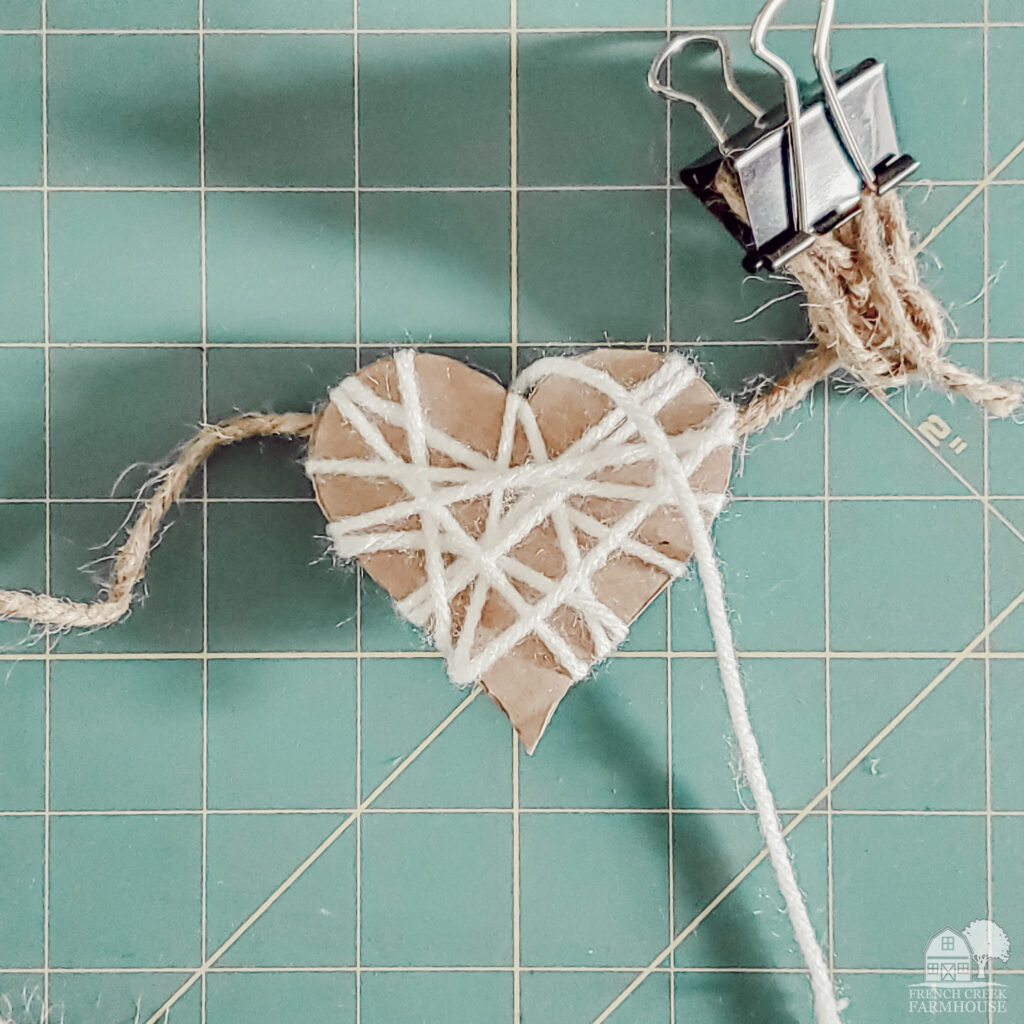
Now comes the fun part! Start wrapping the yarn around the cardboard heart. The pattern and direction you wrap the yarn really doesn’t matter, so feel free to get creative about it! But make sure to wrap it tightly as you go.
As you wrap, the yarn will cover up the twine so you’ll never see the spots where you’ve taped/glued it in place.
You’ll also discover that you’ll use a LOT more yarn than you might have imagined. It takes a good bit of yarn to fully cover the cardboard in every direction. Of course, the type of yarn you choose will make a difference, as well.
I have found that acrylic yarn is a little bit slippery for this project, and I would prefer to use wool (like this one). That doesn’t mean you can’t use acrylic! And, it’s certainly an affordable option. However, you might find it helpful to add dots of hot glue every now and then if you do choose acrylic yarn to keep it from shifting out of place as you wrap.
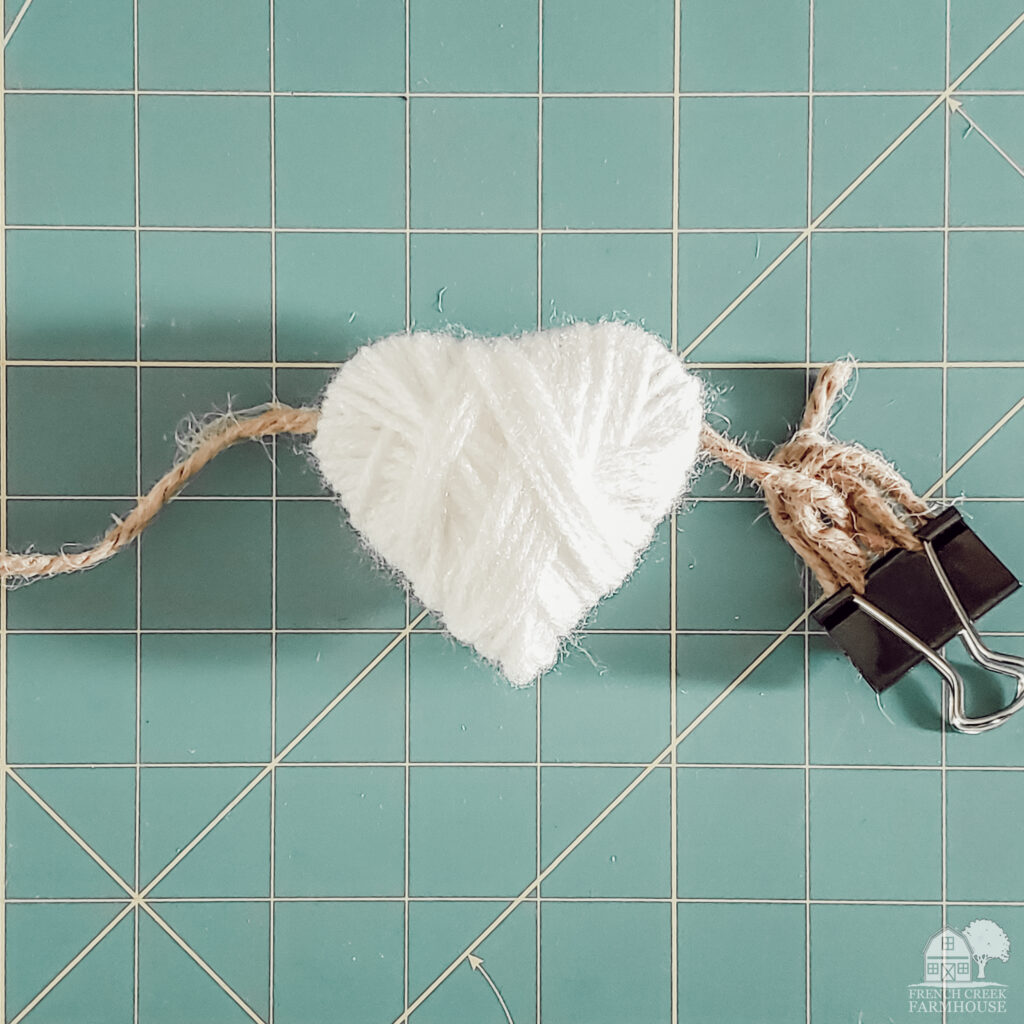
You’ll also notice that I’ve clipped up the excess twine using a binder clip. Binder clips are a secret craft supply that you really must have in your stash! They’re the perfect “extra hand” time and time again.
In this case, while you’re wrapping, the clips will help prevent you from dealing with your yarn getting tangled with the twine and/or the other hearts. It’s just a temporary measure to keep things neat and tidy while you work.
6. Start the next yarn wrapped heart.
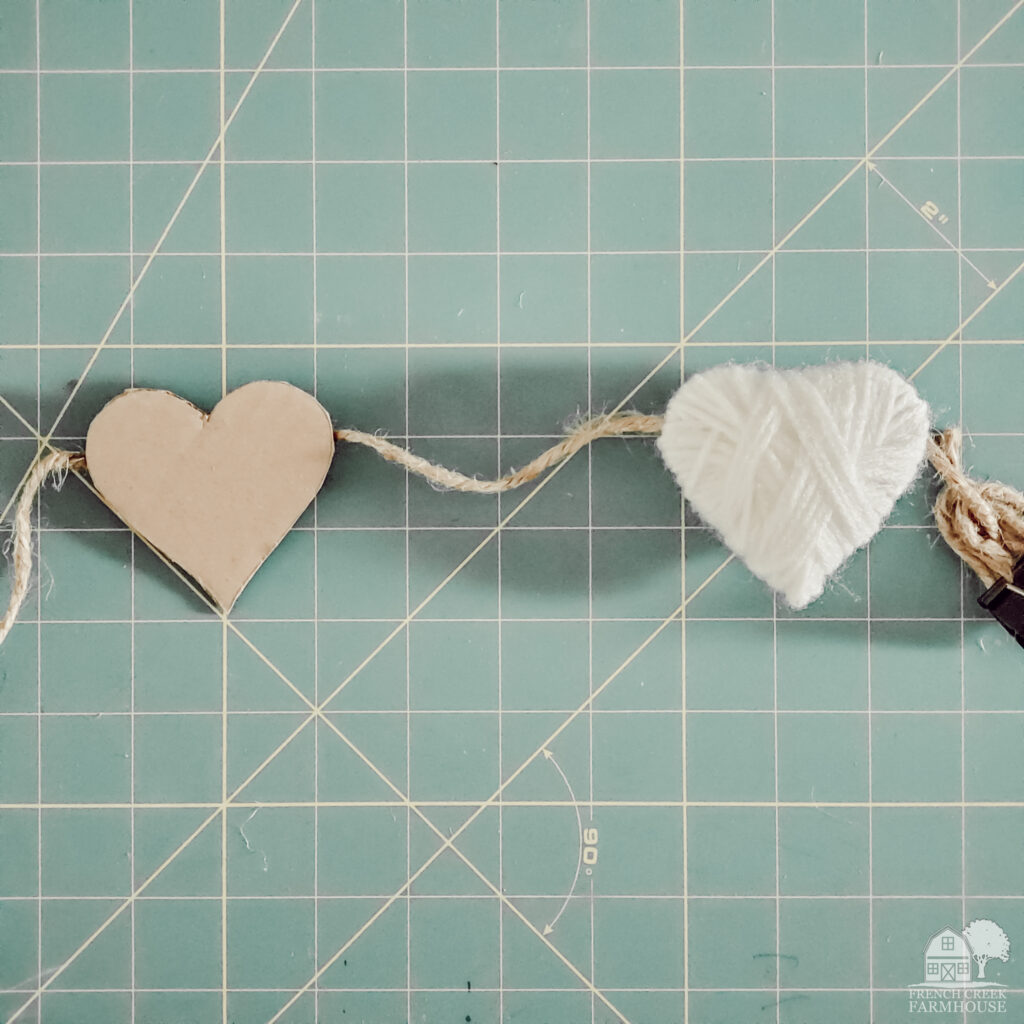
Once you’ve finished a heart, just tie off the tail of the yarn and tuck the knot out of sight. Then, repeat the entire process on the next heart. Continue wrapping the hearts along your garland…as many as you like!

7. Decorate with your yarn wrapped hearts garland!
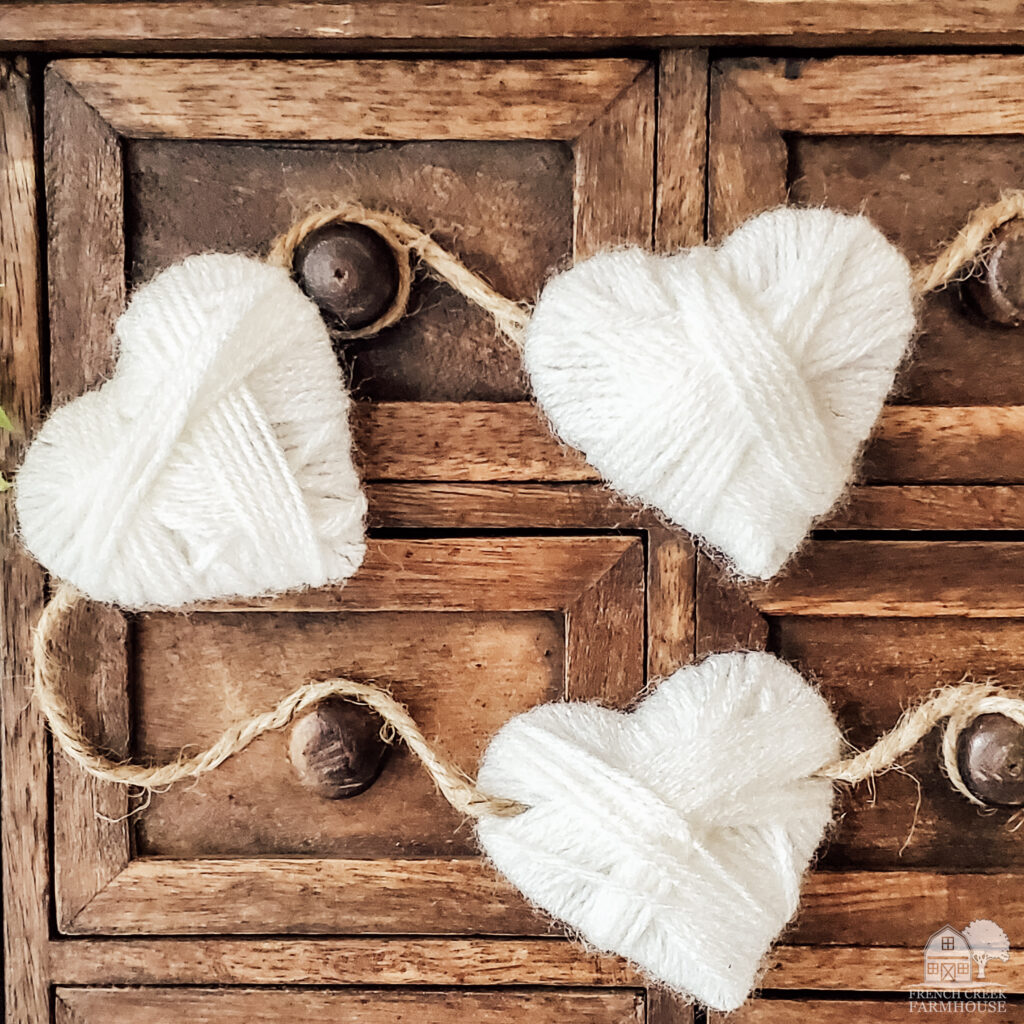
There are so many ways that you can use your yarn wrapped hearts garland around your home. You might hang it on a fireplace mantel, over a doorway, across a book shelf, or wrapped around a tiered tray! These are just a few ideas, and the possibilities are truly endless!

If you enjoyed this project, be sure to sign up for my newsletter, and never miss another DIY! You’ll get access to all of my FREE printables, patterns, and lots more!
To find more of my past DIY projects, just click on any category:
Crafts | Sewing | Fixer Upper Farmhouse Renovations


Do you love hunting for vintage treasures as much as I do?
Get my free vintage & junk hunting journal
Let’s be email pen pals! Sign up to join our community, and get your free printable PDF Vintage Hunting Journal. This is so good!




This is awesome. Thank you so much for sharing on Fabulous Friday Link Party. We sure appreciate you. Hugs and blessings to you.
What a really cute idea! Thanks so much for linking up at A Themed Linkup 95 for All Things Love and Valentine’s Day. Pinned.
Thanks for stopping by, Dee! Hope you found some fun Valentine’s Day ideas to decorate with this year! xo
Wow, just love this and great tutorial! So thrilled to see you link up on Craft Schooling Sunday, wonderful to “see” a new face! I hope you will continue to join us!
Love these sweet hearts so much! Great tutorial too 🙂 Pinned!