Cross-Stitch Snowflakes: A Cozy Winter Craft
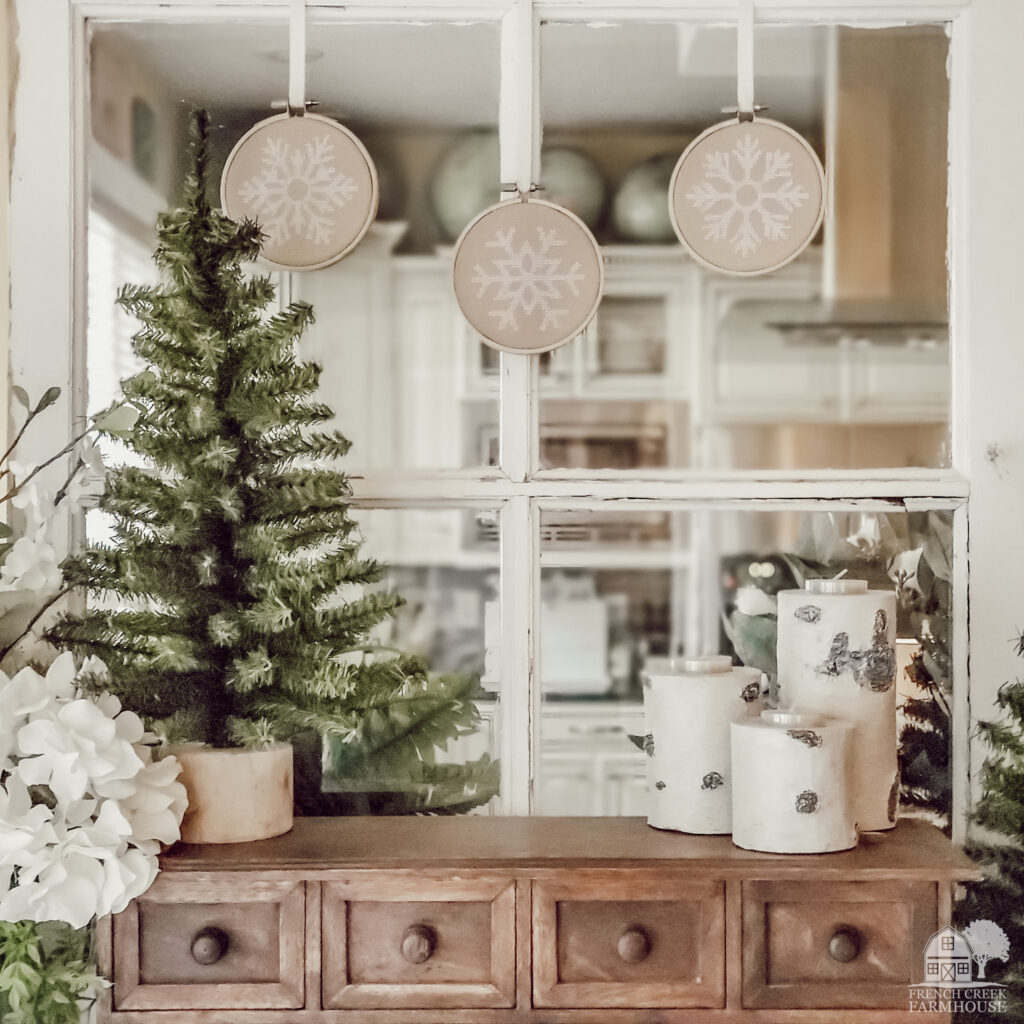
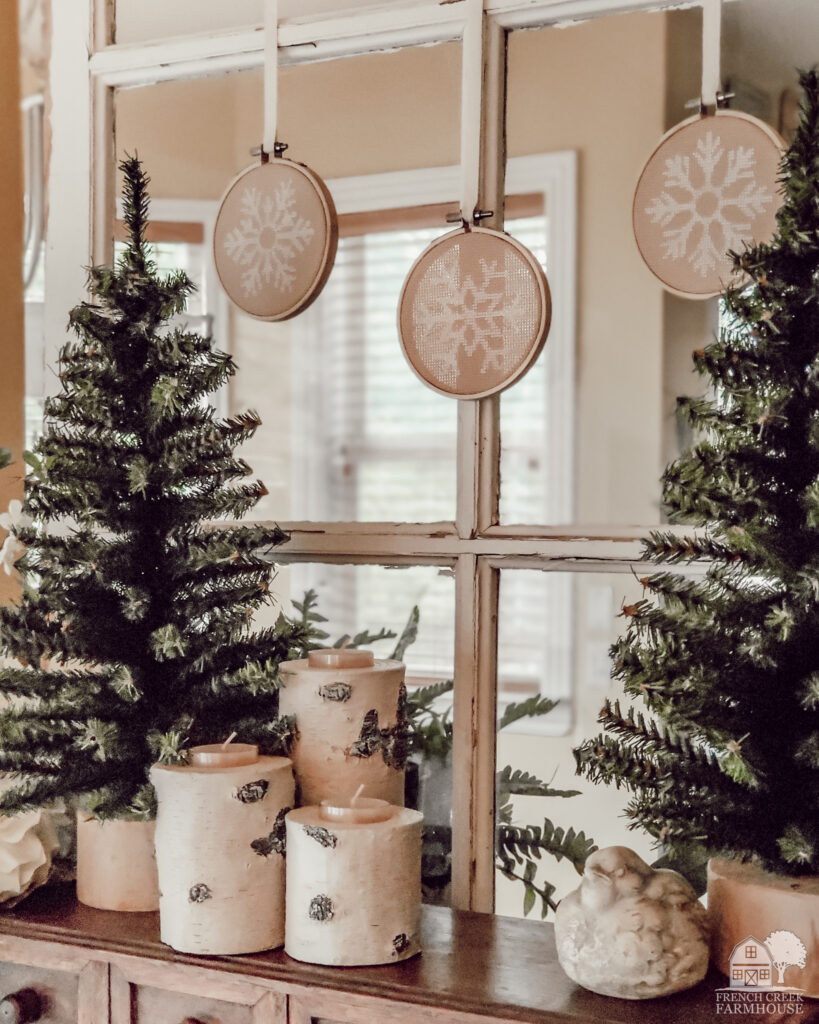
Winter arrived in all her glory a few weeks ago, and being snowed in for a bit gave me lots of time to get crafty. Making these cozy cross-stitch snowflakes was the perfect DIY to pass the time!
I’ve always loved cross-stitching because it’s such a peaceful and meditative activity. I love seeing the picture come together with each completed stitch, and I can lose hours stitching to my heart’s delight.
When I thought about how I wanted to decorate our home for winter this year, snowflakes were the first thing to come to mind. Maybe because of the heaps upon heaps of snow we received starting on Christmas eve? Who knows!
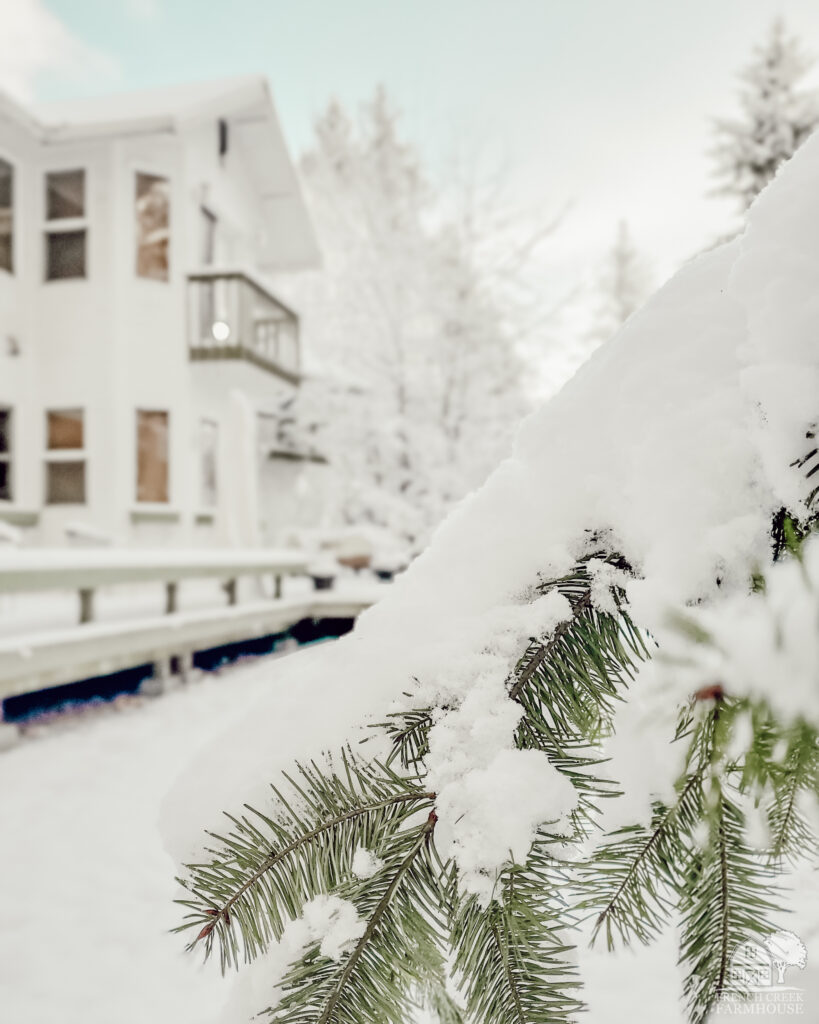
We leave our Christmas decor up for the full 12 days of the holiday, and only start redecorating at Epiphany. That gave me lots of time to craft into the new year, and since we were snowed in with single-digit temperatures, we had several days of downtime to watch movies and pass the time. The perfect opportunity for cross-stitching!
If you’ve never cross-stitched before, I’ll give you a quick tutorial to get you started (it’s so easy!), and then, you can use my free printable patterns to create three different cross-stitch snowflakes to use in your own decor!
Be sure to pin this post so you can find it again later…


Disclosure: This is not a sponsored post, and I have received no compensation for sharing anything that follows. Some links within this blog may be affiliate links, and I might earn a commission if you make a purchase through that link. This usually amounts to cents, not dollars, and helps to support the projects featured on this blog. I only recommend products from companies that I have found to be trustworthy. Read my full disclosure here.

How to cross-stitch
If you’re just beginning to learn cross-stitch, the first thing you should know is that it’s very simple! Truly, anyone can learn cross-stitch and enjoy picking up the hobby.
The saying in cross-stitch is: If you can count, you can cross-stitch! This is true because you simply need to count the number of stitches as you go along following a pattern. Each stitch is exactly the same, and once you learn it, you can complete even the most intricate patterns!
I think cross-stitching is one of the best activities to help teach young kids the basics of hand-sewing, too. If you have a little one in your life, this is a great craft to do together.
For a comprehensive tutorial with photos explaining each step of the process, check out my How to Cross-Stitch guide. In that article, I teach you everything you need to know to get started from preparing your fabric, choosing the best thread, how to stitch, as well as finishing and displaying your crafts.
Learn How to Cross-Stitch
a comprehensive guide with photos
In this article, I’ll teach you everything you need to know to get started cross-stitching. Photos of every step are included, so you can actually see each part of the crafting process!
How to Make Cross-Stitch Snowflakes
- Fabric Marking Pen
- Cotton Twill Tape
- Cross-Stitch Snowflake Patterns (a free printable available HERE to my newsletter subscribers)
Let the cozy wintertime crafting begin!
Free Cross-stitch Snowflake Patterns
Let’s be email pen pals! Get my 3 favorite cross-stitch snowflake patterns delivered right to your inbox, ready to print!
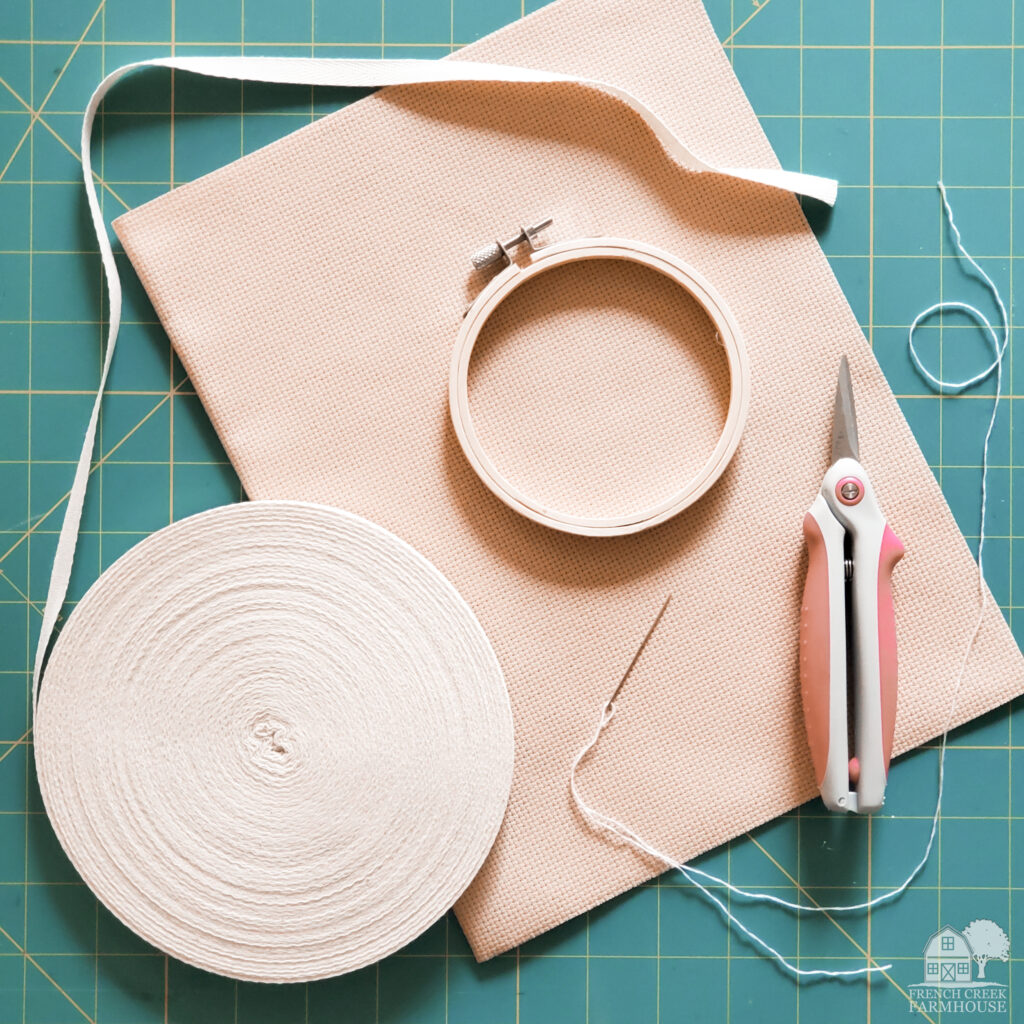
1. Begin by gathering your supplies, including the three free printable cross-stitch snowflake patterns.
I’ve created three different snowflake designs that you can download and print for free {HERE}. Each pattern was created specifically to be used with 14 count Aida cloth and a 4″ hoop. Because I chose to use white embroidery floss, I opted for khaki colored cloth to make it stand out in contrast a bit more. You could use any color you like!
You will be able to complete all three of the snowflakes in the printable pattern with just one 8 metre skein of embroidery floss. There is hardly another hobby that’s so affordable!
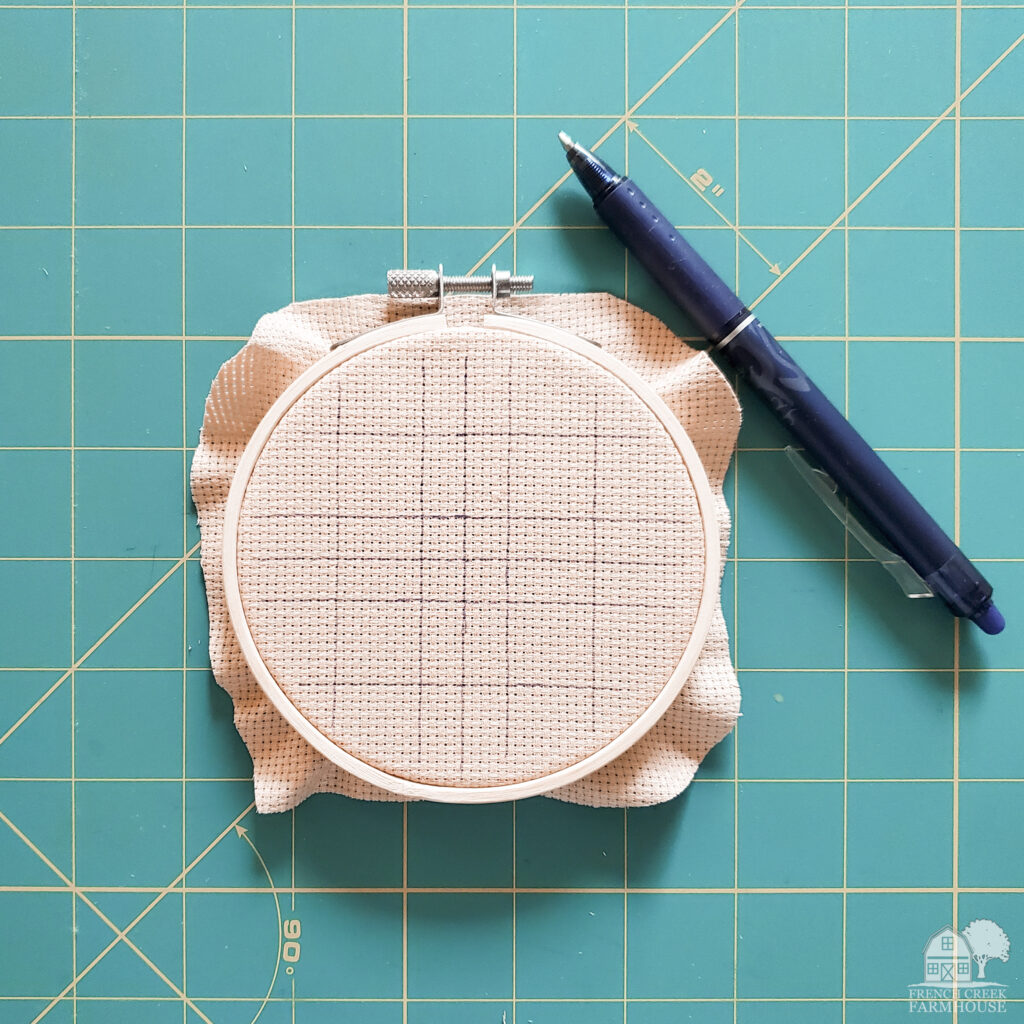
2. Prepare your canvas.
Add your Aida cloth to the hoop and tighten to keep the cloth taut. Make sure that there is enough cloth overhanging the hoop that you can easily grab it and make adjustments. Don’t trim away the excess until after your design is complete!
Gridding your cloth will make stitching much faster, and I highly recommend it whether you are a beginner, or you’ve been stitching for years. Use a fabric marking pen (this is my favorite!) to create a grid on the cloth every 10 blocks, plus the horizontal and vertical center lines. I cover the process of gridding in more detail in my How to Cross-Stitch guide {HERE}.
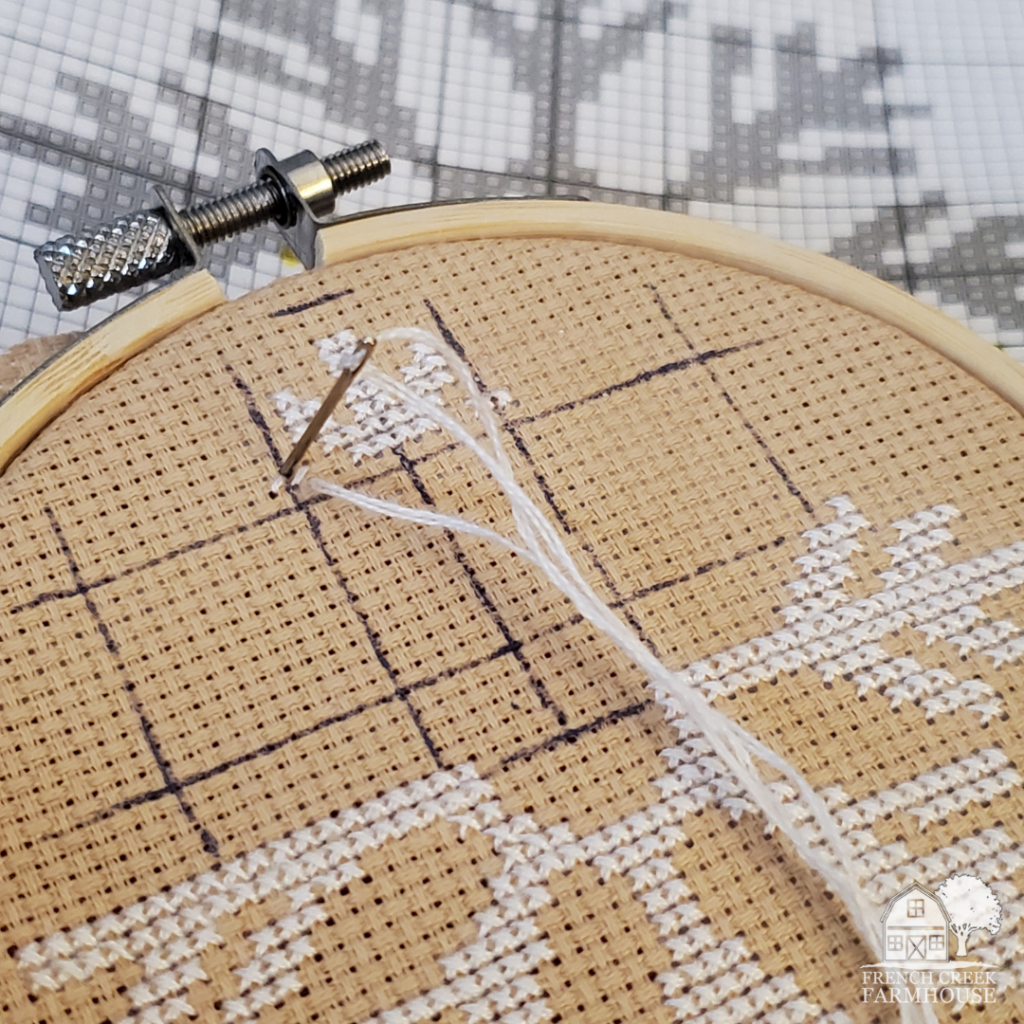
3. Stitch, stitch, stitch!
Following the pattern, begin to cross-stitch. While you can technically start at any point on the design, I find it easiest to stitch left to right, top to bottom. This is the natural flow of the stitch, and tends to make the most sense.
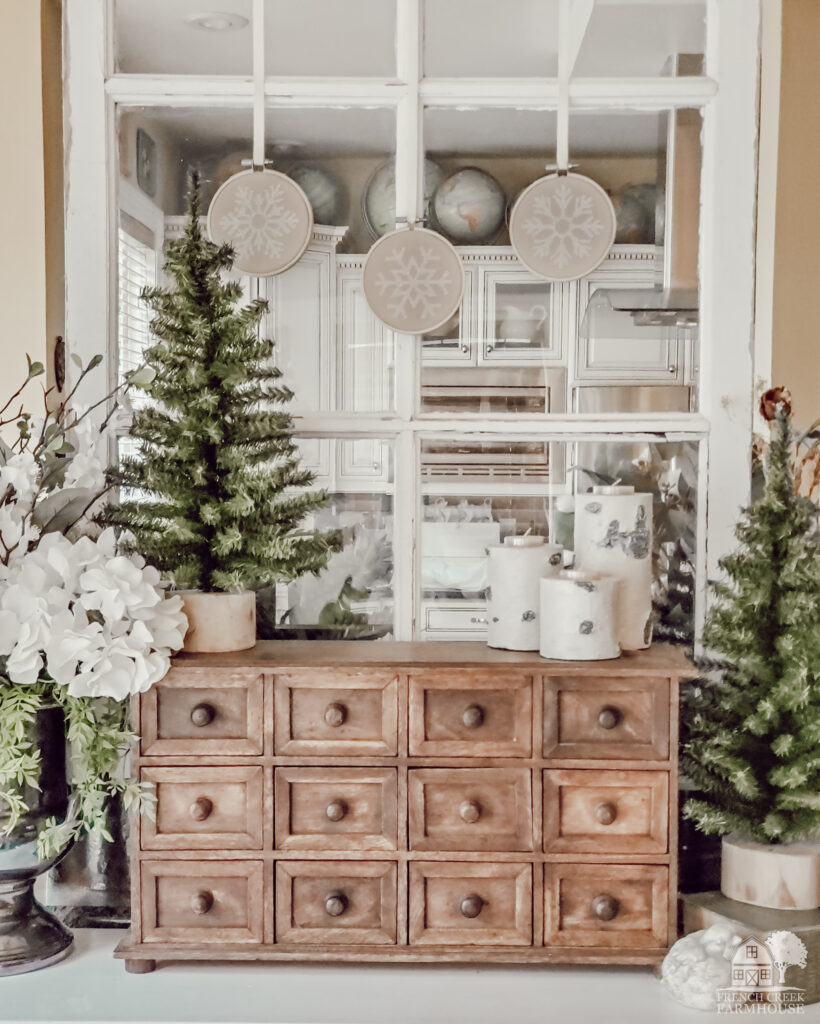
4. Finish and display your cross-stitch snowflakes!
After you’ve finished stitching, re-adjust your fabric to make sure it’s taut in the hoop. Or, if you plan to frame your design, now is the time.
To hang my snowflakes, I wanted the ribbon’s texture to be a good match for the aesthetic of the project. A humble, farmhouse-style, heritage vibe is what I was going for, and this cotton twill tape looks darling! It’s a great resource to have on hand for all kinds of crafts, and it’s super affordable, too.
These snowflakes would also make wonderful ornaments for your Christmas tree. They seamlessly transition right from the holidays into wintertime!
If you do plan to hang them freely (where they will be back-lit by a window or tree lights), it’s a good idea to add a thick backing to block the light from coming through. I share some ideas for finishing and displaying your cross-stitch within the hoop in my How to Cross-Stitch guide {HERE}.
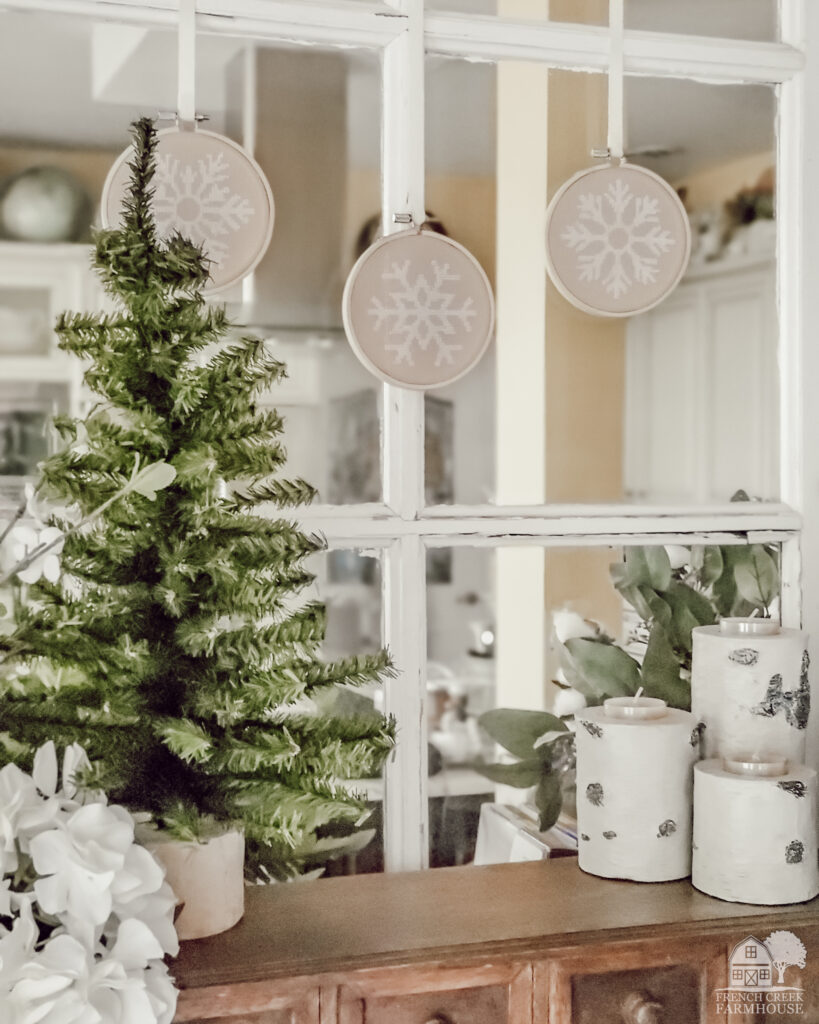
I hope you love your cross-stitch snowflakes, and I can’t wait to see how you decorate with them! Be sure to tag me on Facebook or Instagram with your finished project–I would love to see what you create!
When you’re ready for your next cross-stitch project, try these:
Do you love hunting for vintage treasures as much as I do?
Get my free vintage & junk hunting journal
Let’s be email pen pals! Sign up to join our community, and get your free printable PDF Vintage Hunting Journal. This is so good!

They are beautiful!
Thanks for such clear instructions.
You are so very welcome, Pat! I’m glad you like them! xo, Kristi
Beautiful! I also like the shamrock one you made in another post. 🙂
Thanks so much, Jeanne! I’m so glad you like them–more coming soon, stay tuned! xo, Kristi
What a beautiful idea!! I’ve pinned your pattern for later.
Bridie @ Heart, Heath and Crafting
https://hearthearthcrafting.wordpress.com/
Thanks so much, Bridie! I hope you enjoy making them! xo!
I love the photos with the snow – like a story book! #TheRandom
We were really blessed with some beautiful views this winter! There’s just nothing like a snowy day with blue skies! xo!
This is such an adorable project for the winter! I would love to share it over on my blog. Would that be ok with you? Just wanted to check with you first! Pinning 🙂
Thank you so much, Cindy! And thank you for pinning–you’re the best! You can find more information on sharing our content in the FAQ section (here). xo!
These are perfect, my friend! And thanks for much for the snowflake cross stitch tutorial! We would love to have you back at Tuesday Turn About! Hurry on over, the party closes tonight at midnight CST! Hope to see you there!
Thank you so much for the love, Julie! xo!
My daughter gave me a trio of similar lovely cross-stitched snowflake hoops I featured a few weeks ago. I treasure them! Thanks for sharing yours at Vintage Charm!
Thank you so much for these beautiful snowflake designs! I love stitching all different snowflakes to hang around my house during the winter and was thrilled to come across your designs. Thank you again.🤗
You are so very welcome, Nancy! I’m delighted to hear that you love them! 🥰