Farmhouse Fabric Star Garland
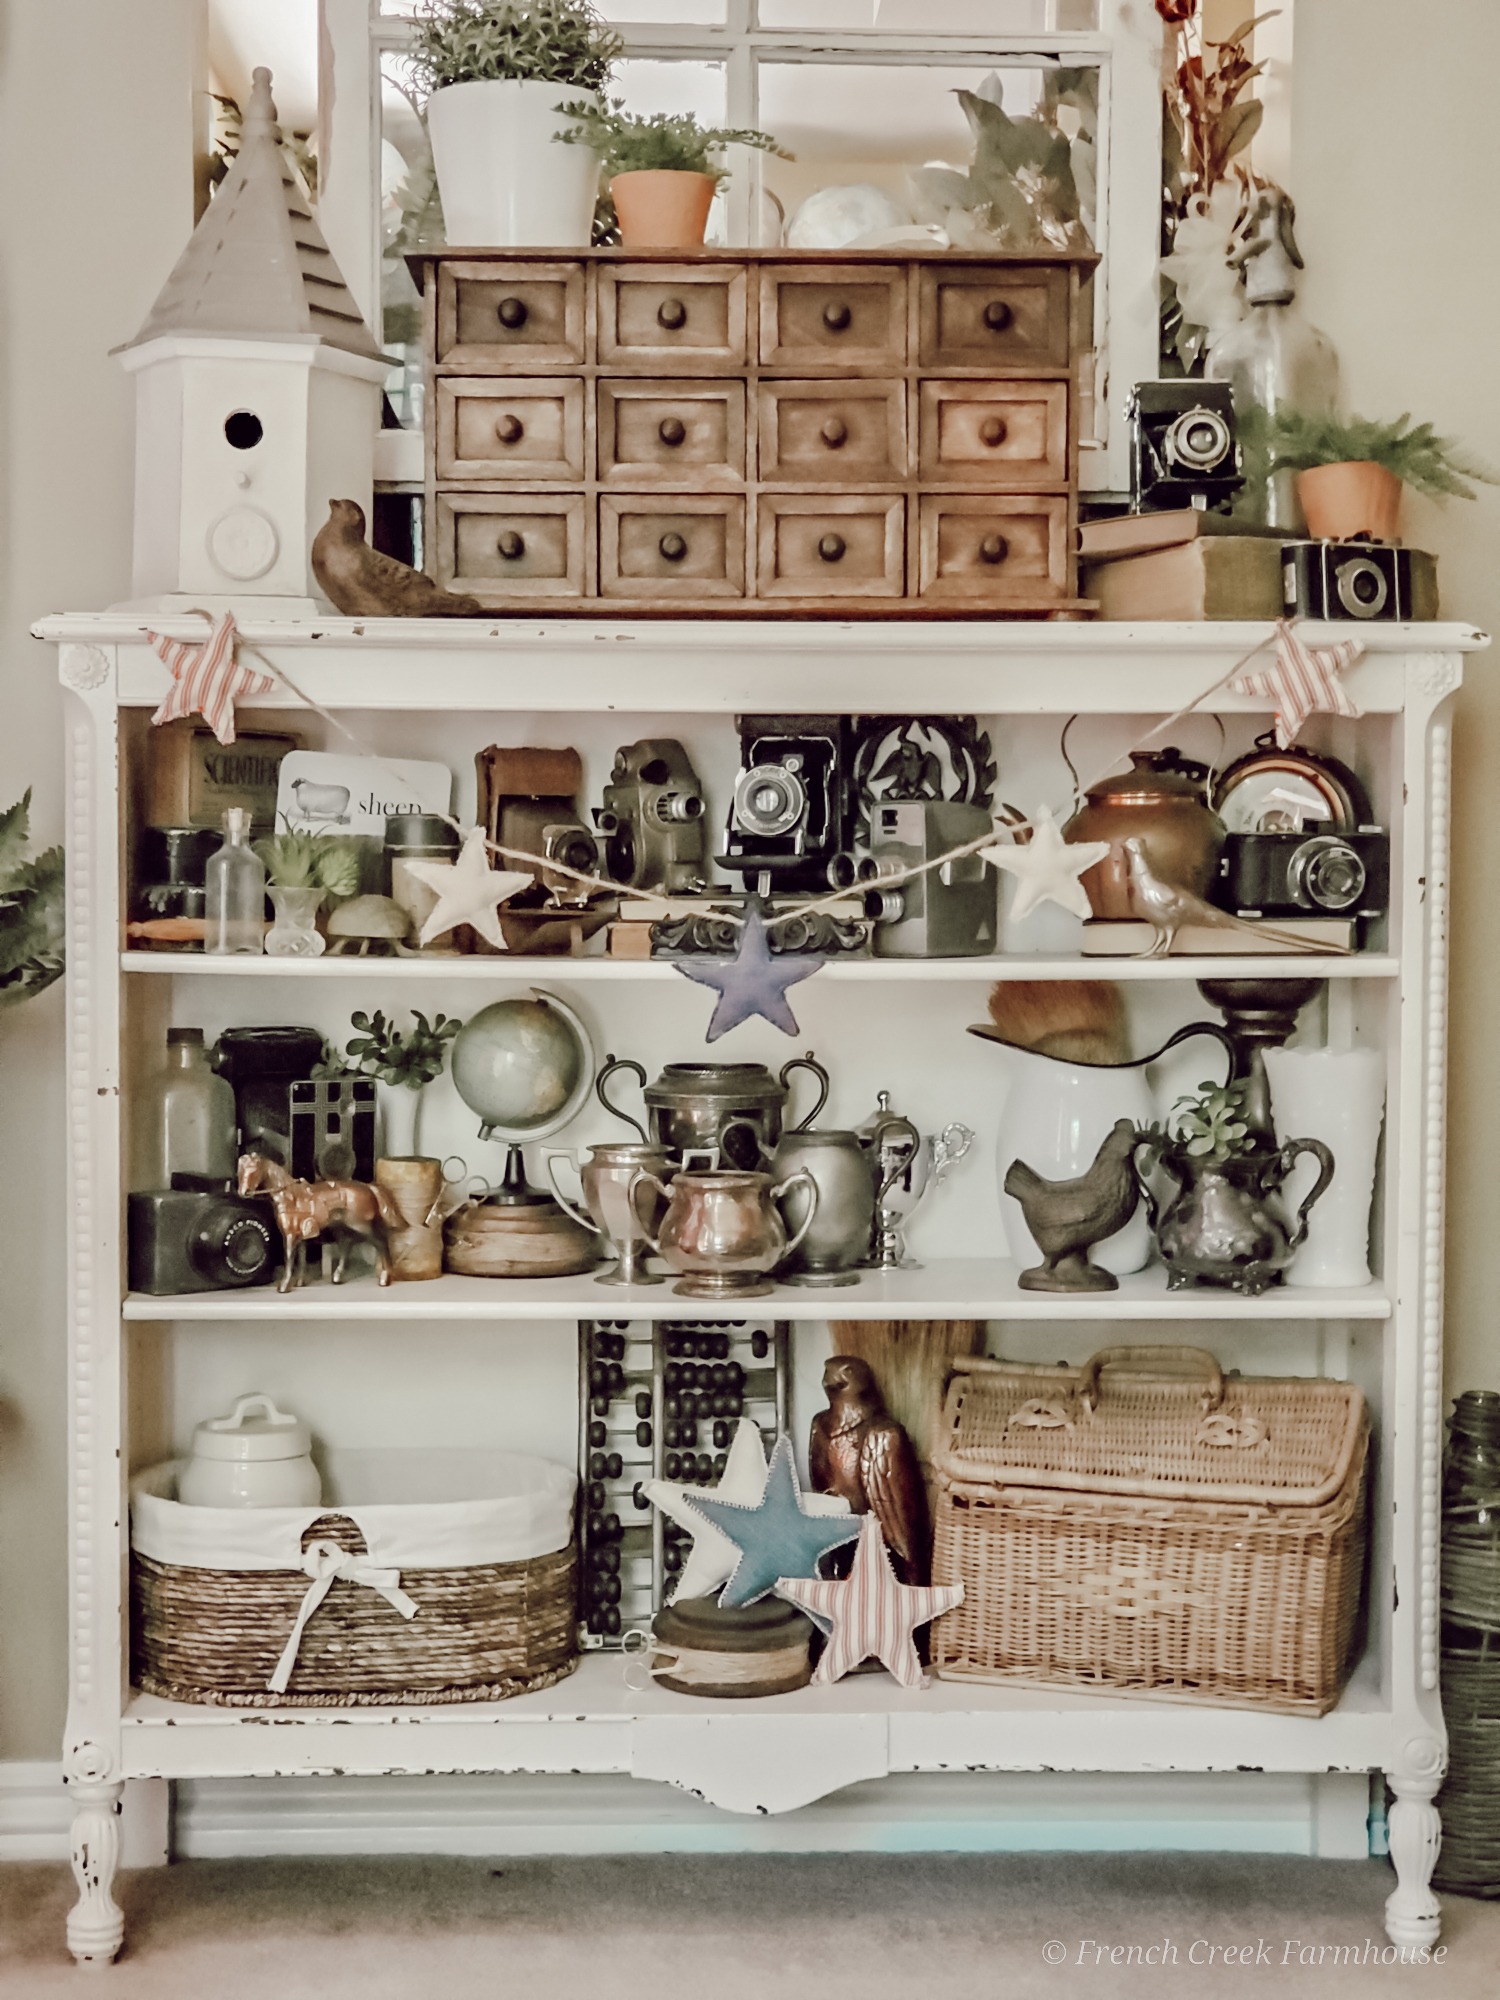
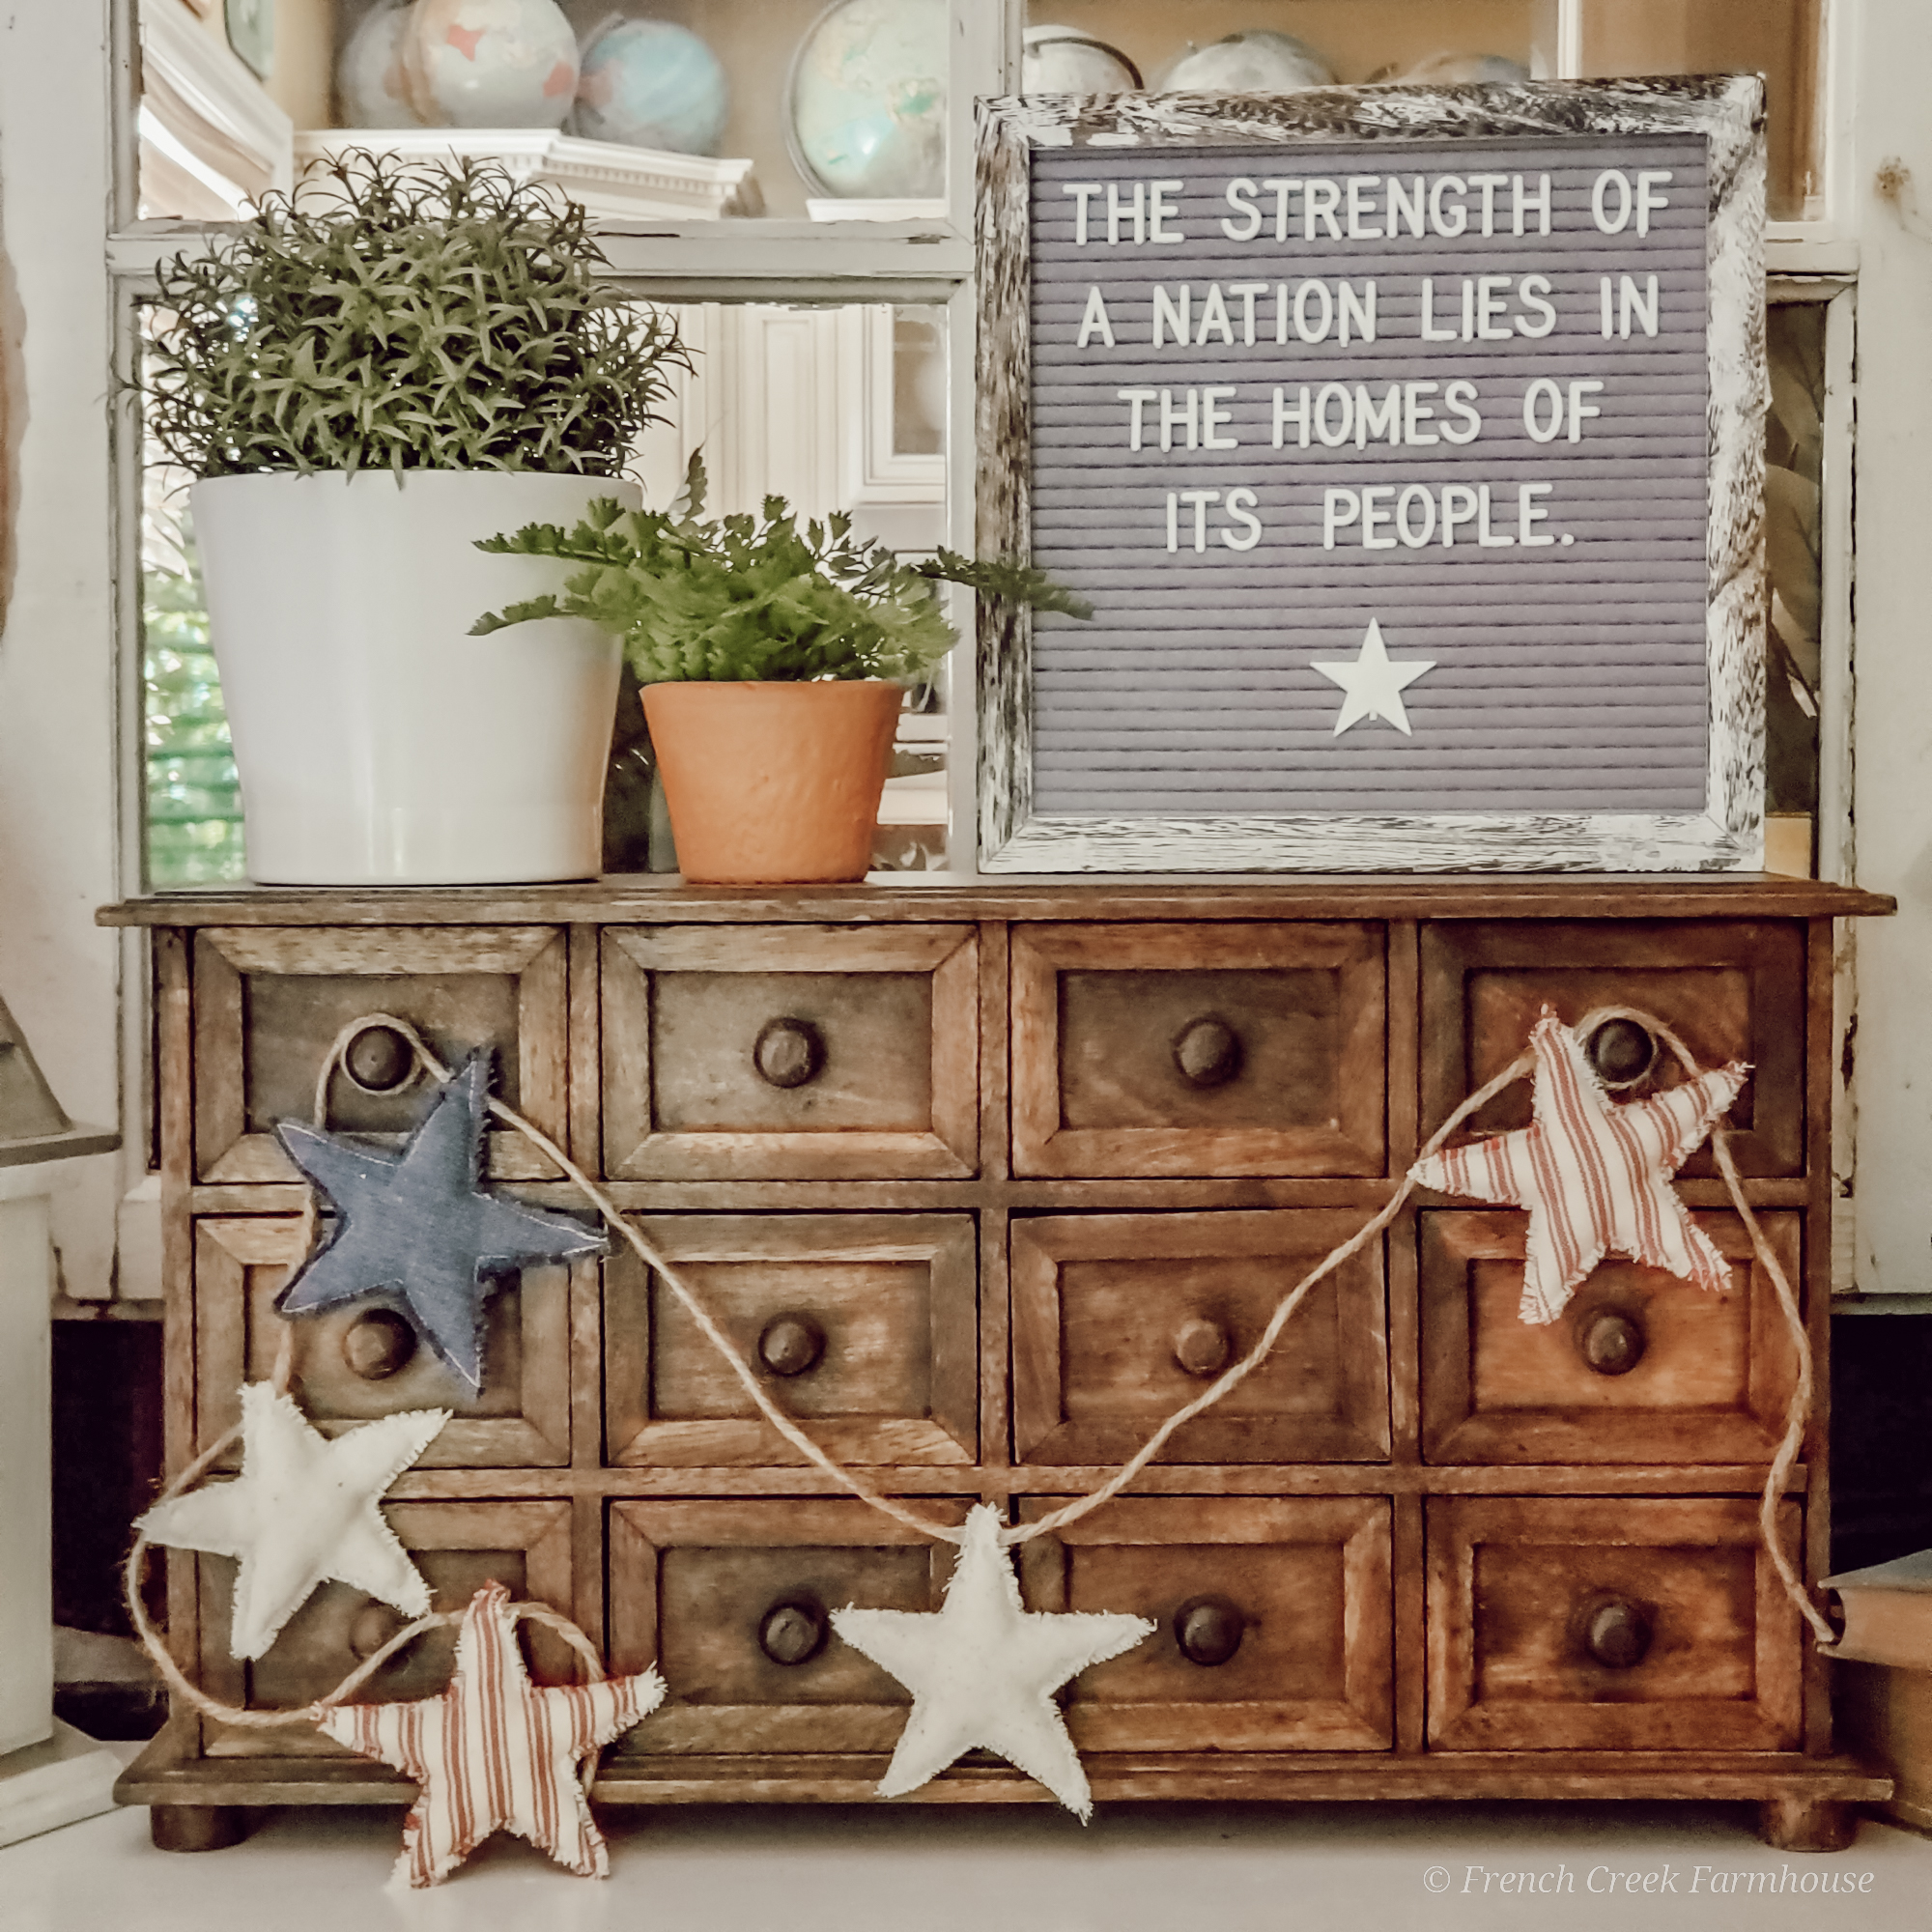
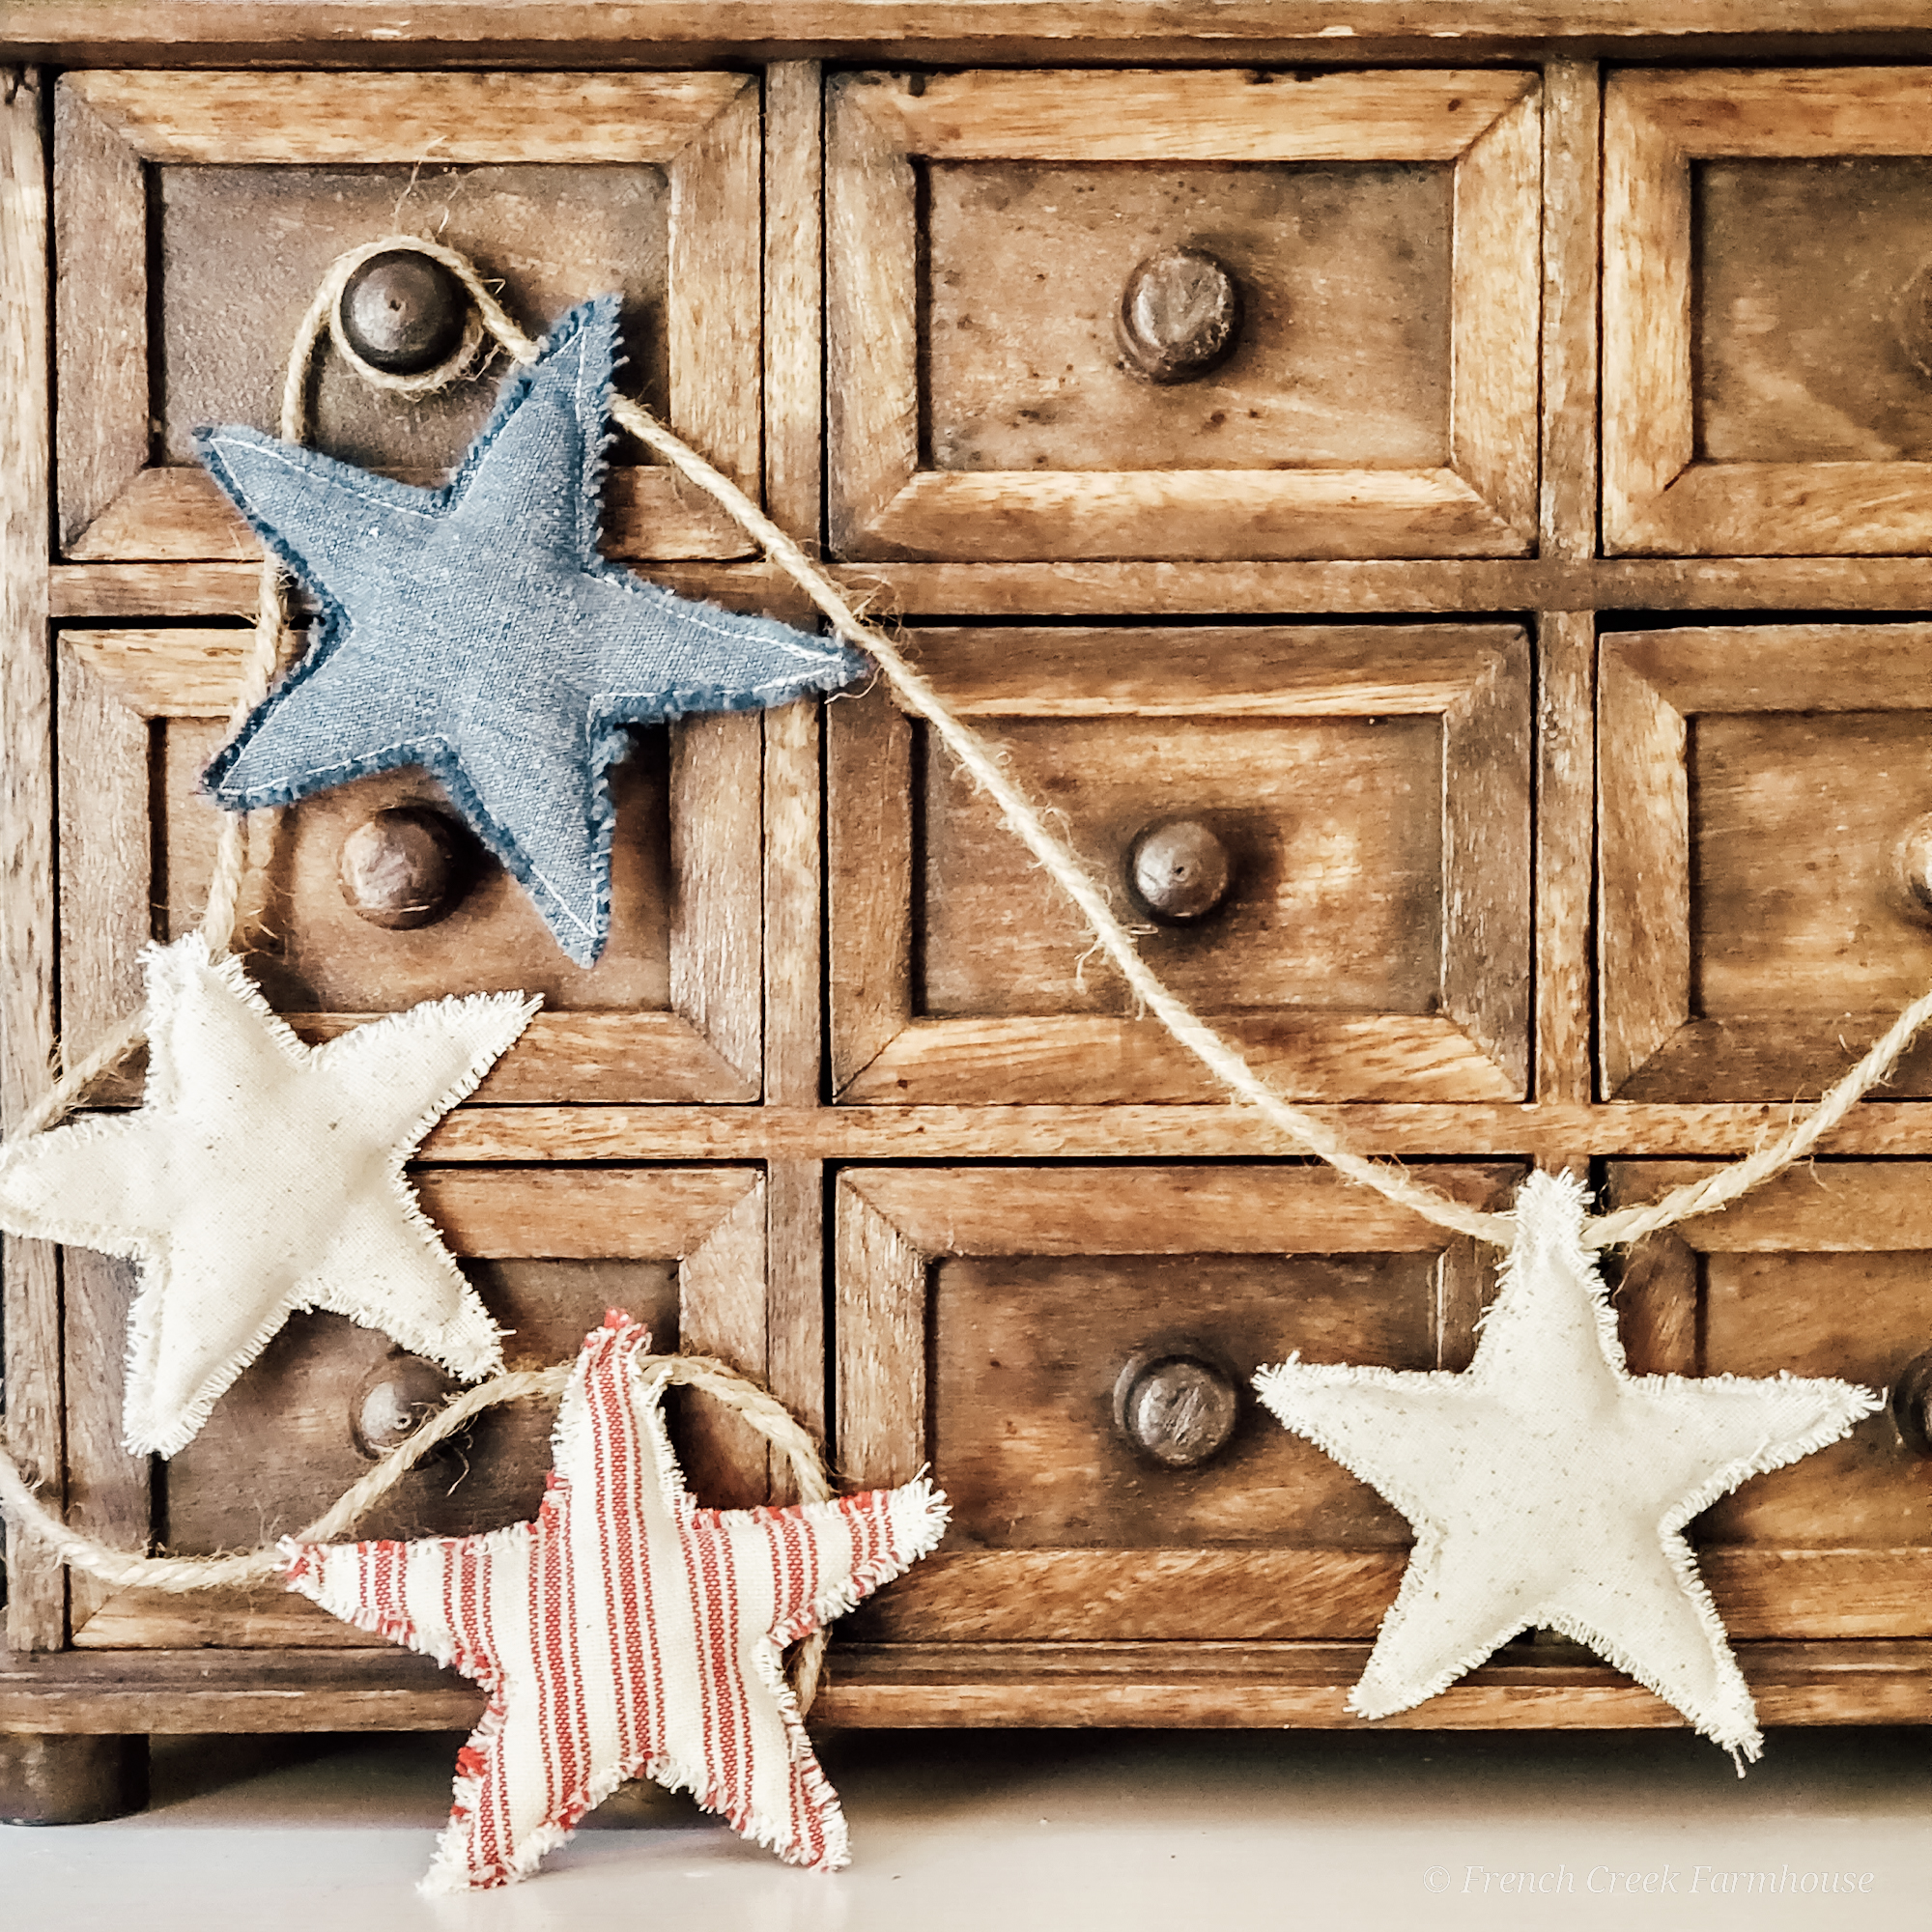
I’ve been crafting up a storm of patriotism around our home this year as we get ready to celebrate Independence Day. This farmhouse fabric star garland might just be my favorite yet, and it’s so easy to make!
Maybe it’s something about all that our country has been through over the past year or so, I’m not sure, but I’m certainly feeling inspired to add lots of patriotic touches to our decor lately.
After I made these farmhouse fabric stars to use as shelf tucks, bowl filler, and tiered tray decor, I just knew that I had to make a whole garland of them!
{Related: How to Style a Tiered Tray}
This project is so simple–it only took me an hour to make a five-foot-long garland of these cuties. But once you see how cute they look, you’ll want to make several more for other places around your home!
Unlike the larger stars I made before, I did use my sewing machine for these to make the stitching go faster.
If you haven’t heard (either on the news, or by me complaining) we’re having a bit of a heat wave here in Washington state right now. #understatement
My craft room gets so, so, so hot on the south-facing side of our house that I feel like I’m sewing in a sweat shop. Well…as my sister joked with me, I basically have been!
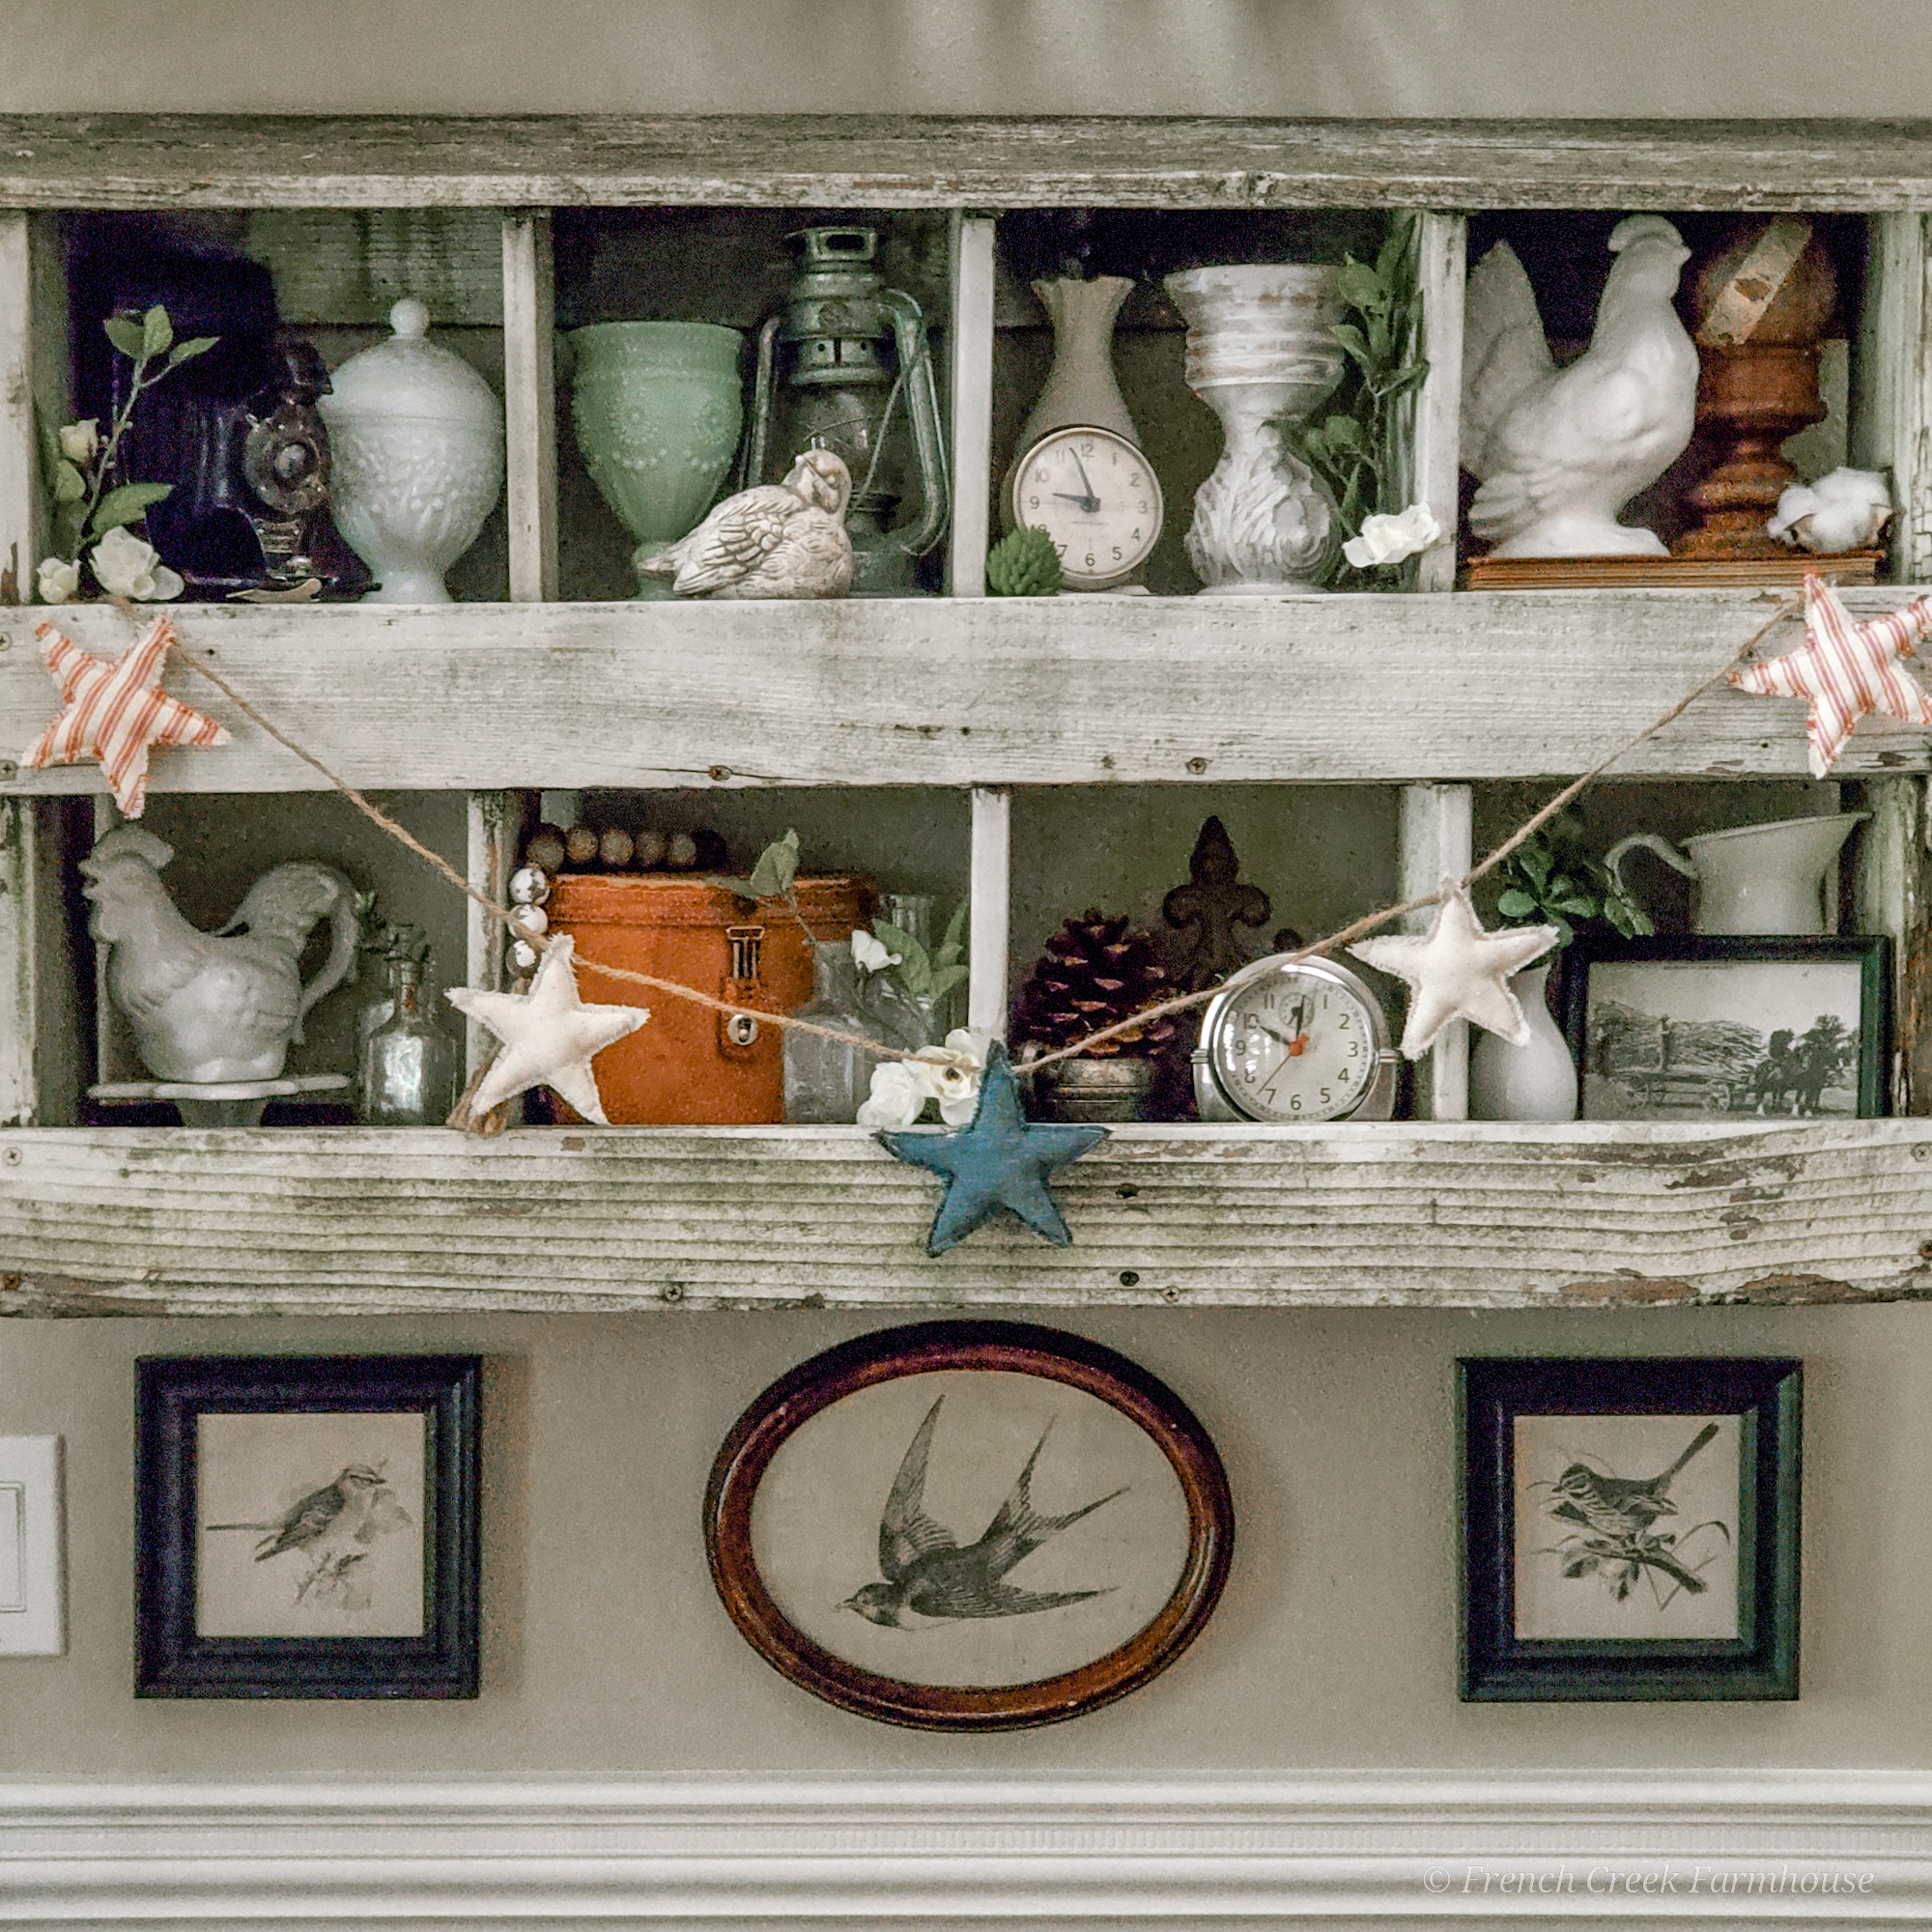
But if you don’t have a sewing machine, that’s no problem because you can still use this hand-stitching technique to create this craft every bit as beautifully!
Let’s dive into the step-by-step tutorial to make this farmhouse fabric star garland, and don’t forget to pin this post so you can find it again later!

Disclosure: This is not a sponsored post, and I have received no compensation for sharing anything that follows. Some links within this blog may be affiliate links, and I might earn a commission if you make a purchase through that link. This usually amounts to cents, not dollars, and helps to support the projects featured on this blog. I only recommend products from companies that I have found to be trustworthy. Read my full disclosure here.
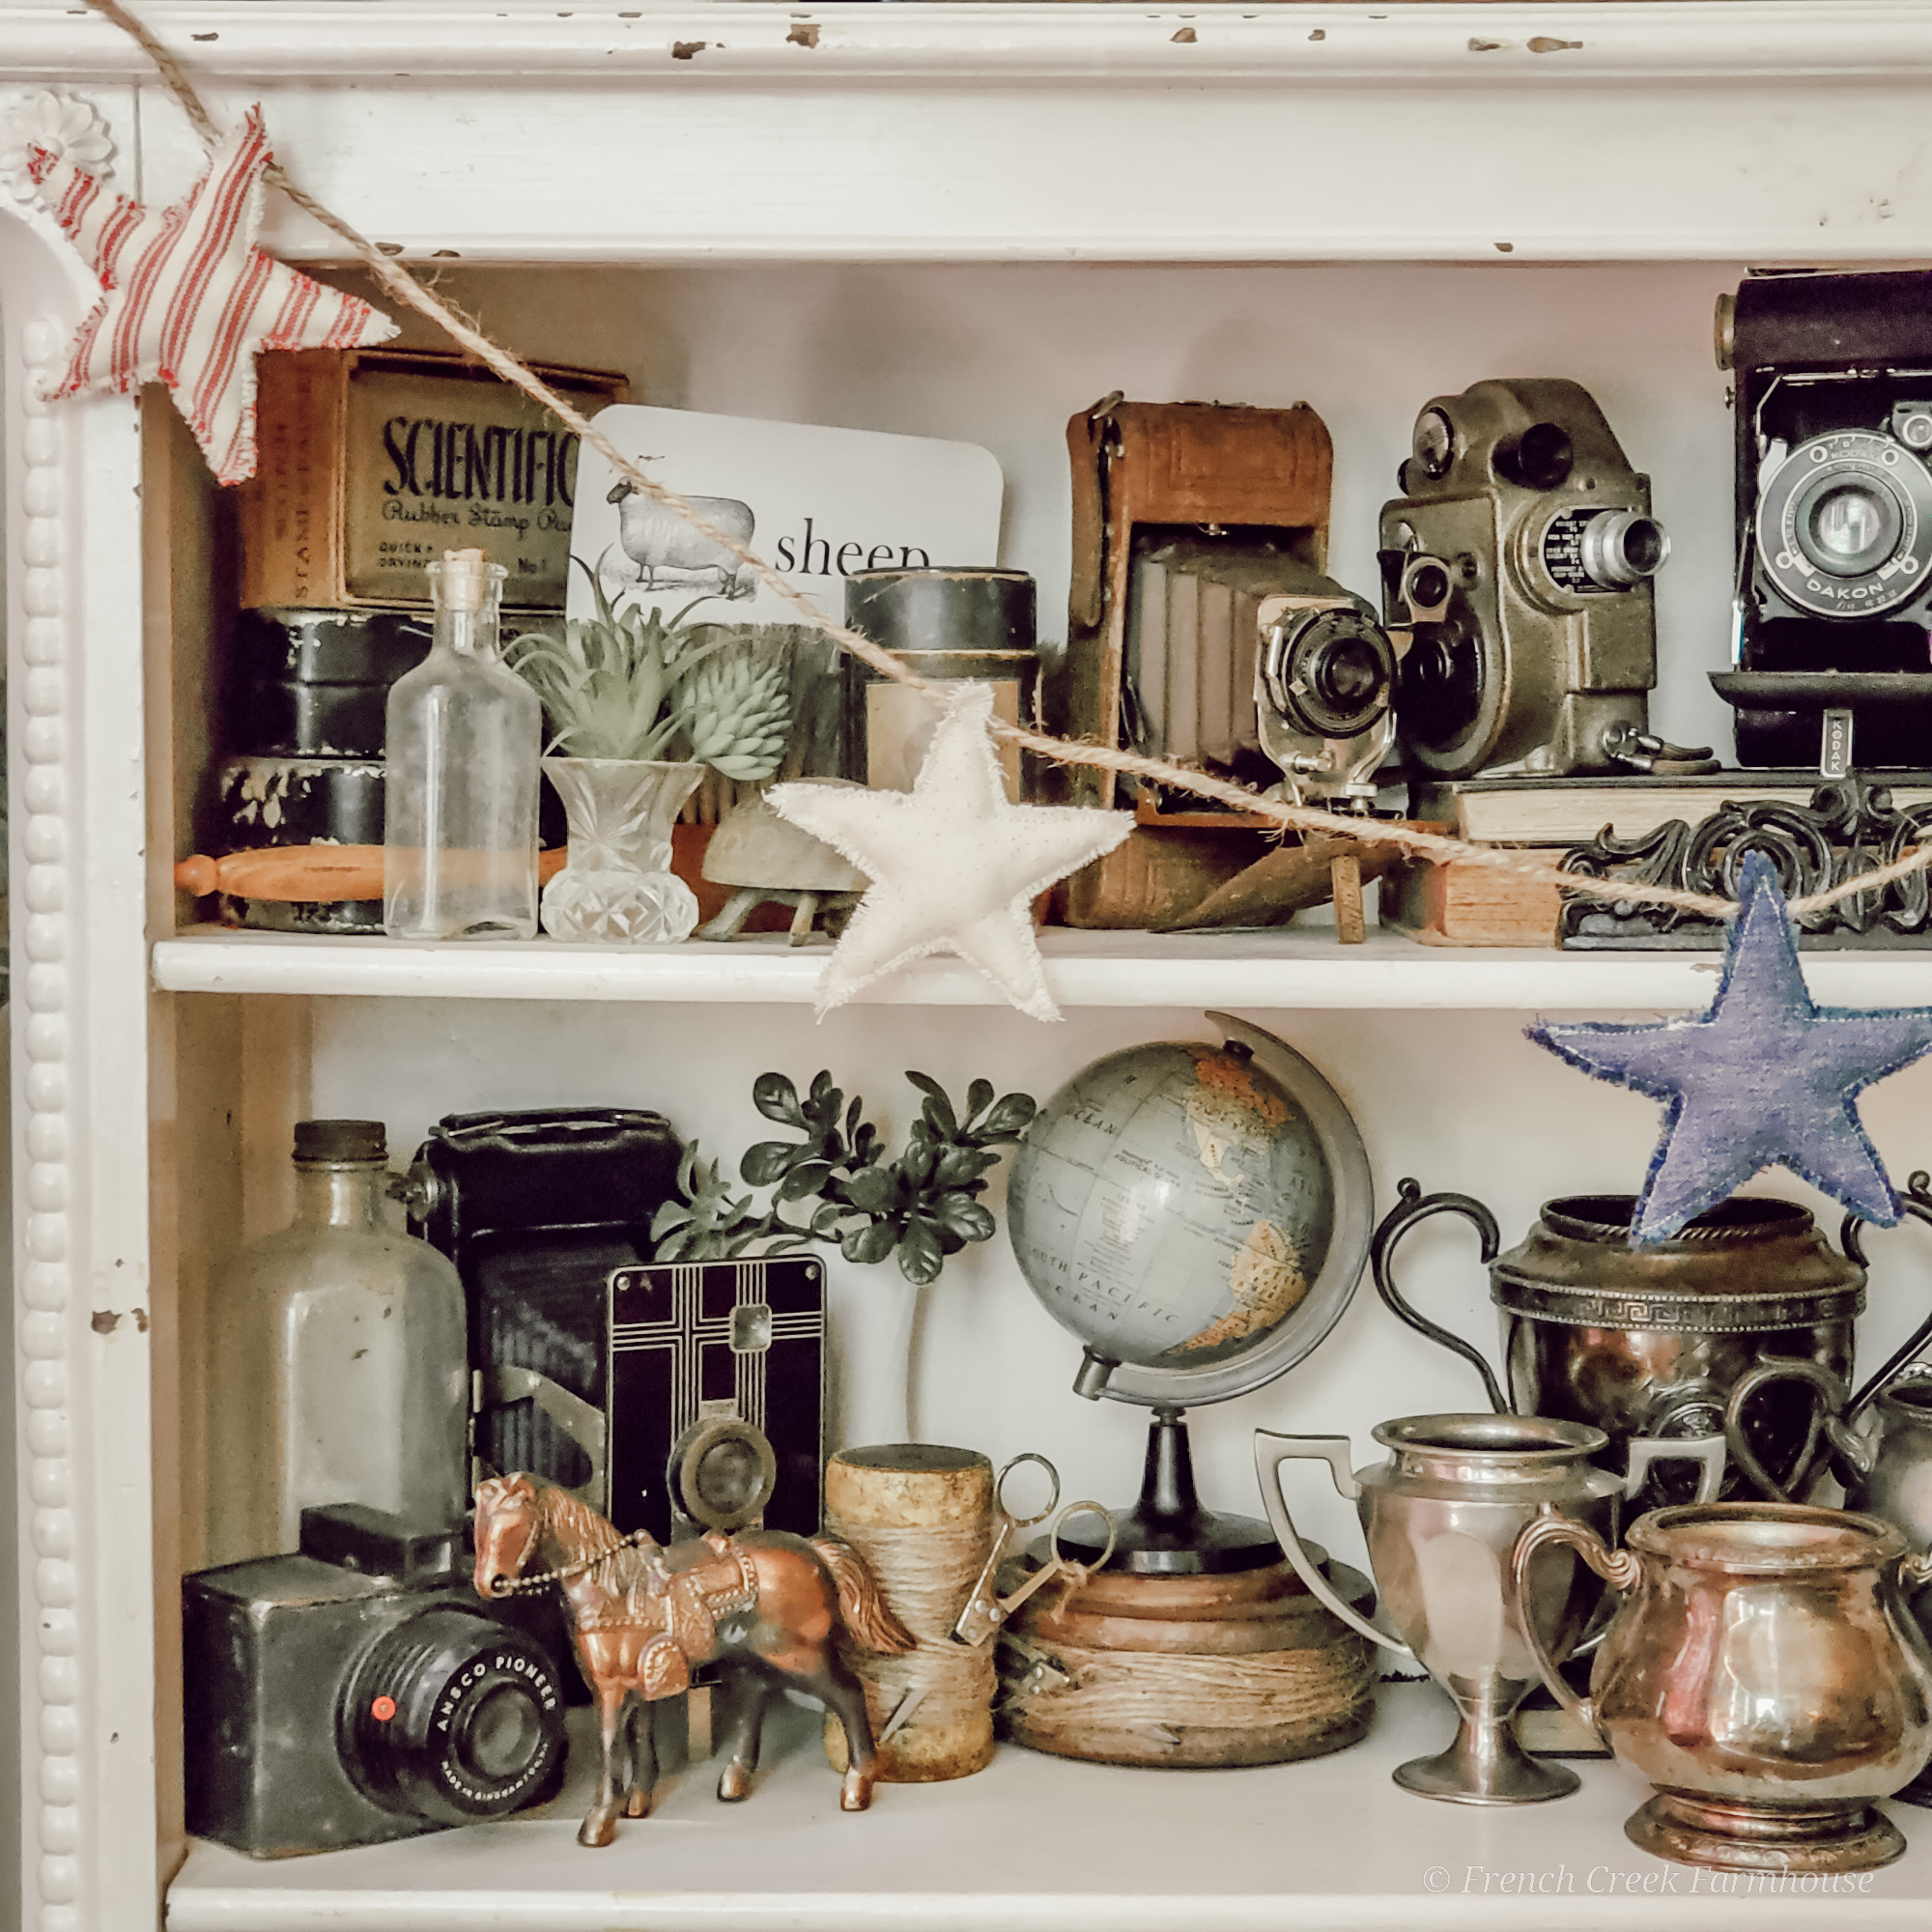
For this garland, I used the same farmhouse fabrics that I used for my larger stars: grain sack, denim, and red ticking.
But, you could make this garland for other occasions, and with different types of fabrics, too!
Just imagine a long string of them on your Christmas tree–that would be so pretty! Or, to decorate a nursery or playroom? So sweet!
I’m sure you’ll think of all sorts of places to use these once you get going.
HOW TO MAKE A FARMHOUSE FABRIC STAR GARLAND

- Fabric of your choice (I used grain sack, denim, and red ticking)
- Poly-fil
- Jute twine
- Straight pins
- Scissors
- Pencil
- Star Template (free printable star pattern you can download here)
- Laminator (optional, but I highly encourage it)
- Sewing machine (or hand-stitch like I did with these, if you prefer)

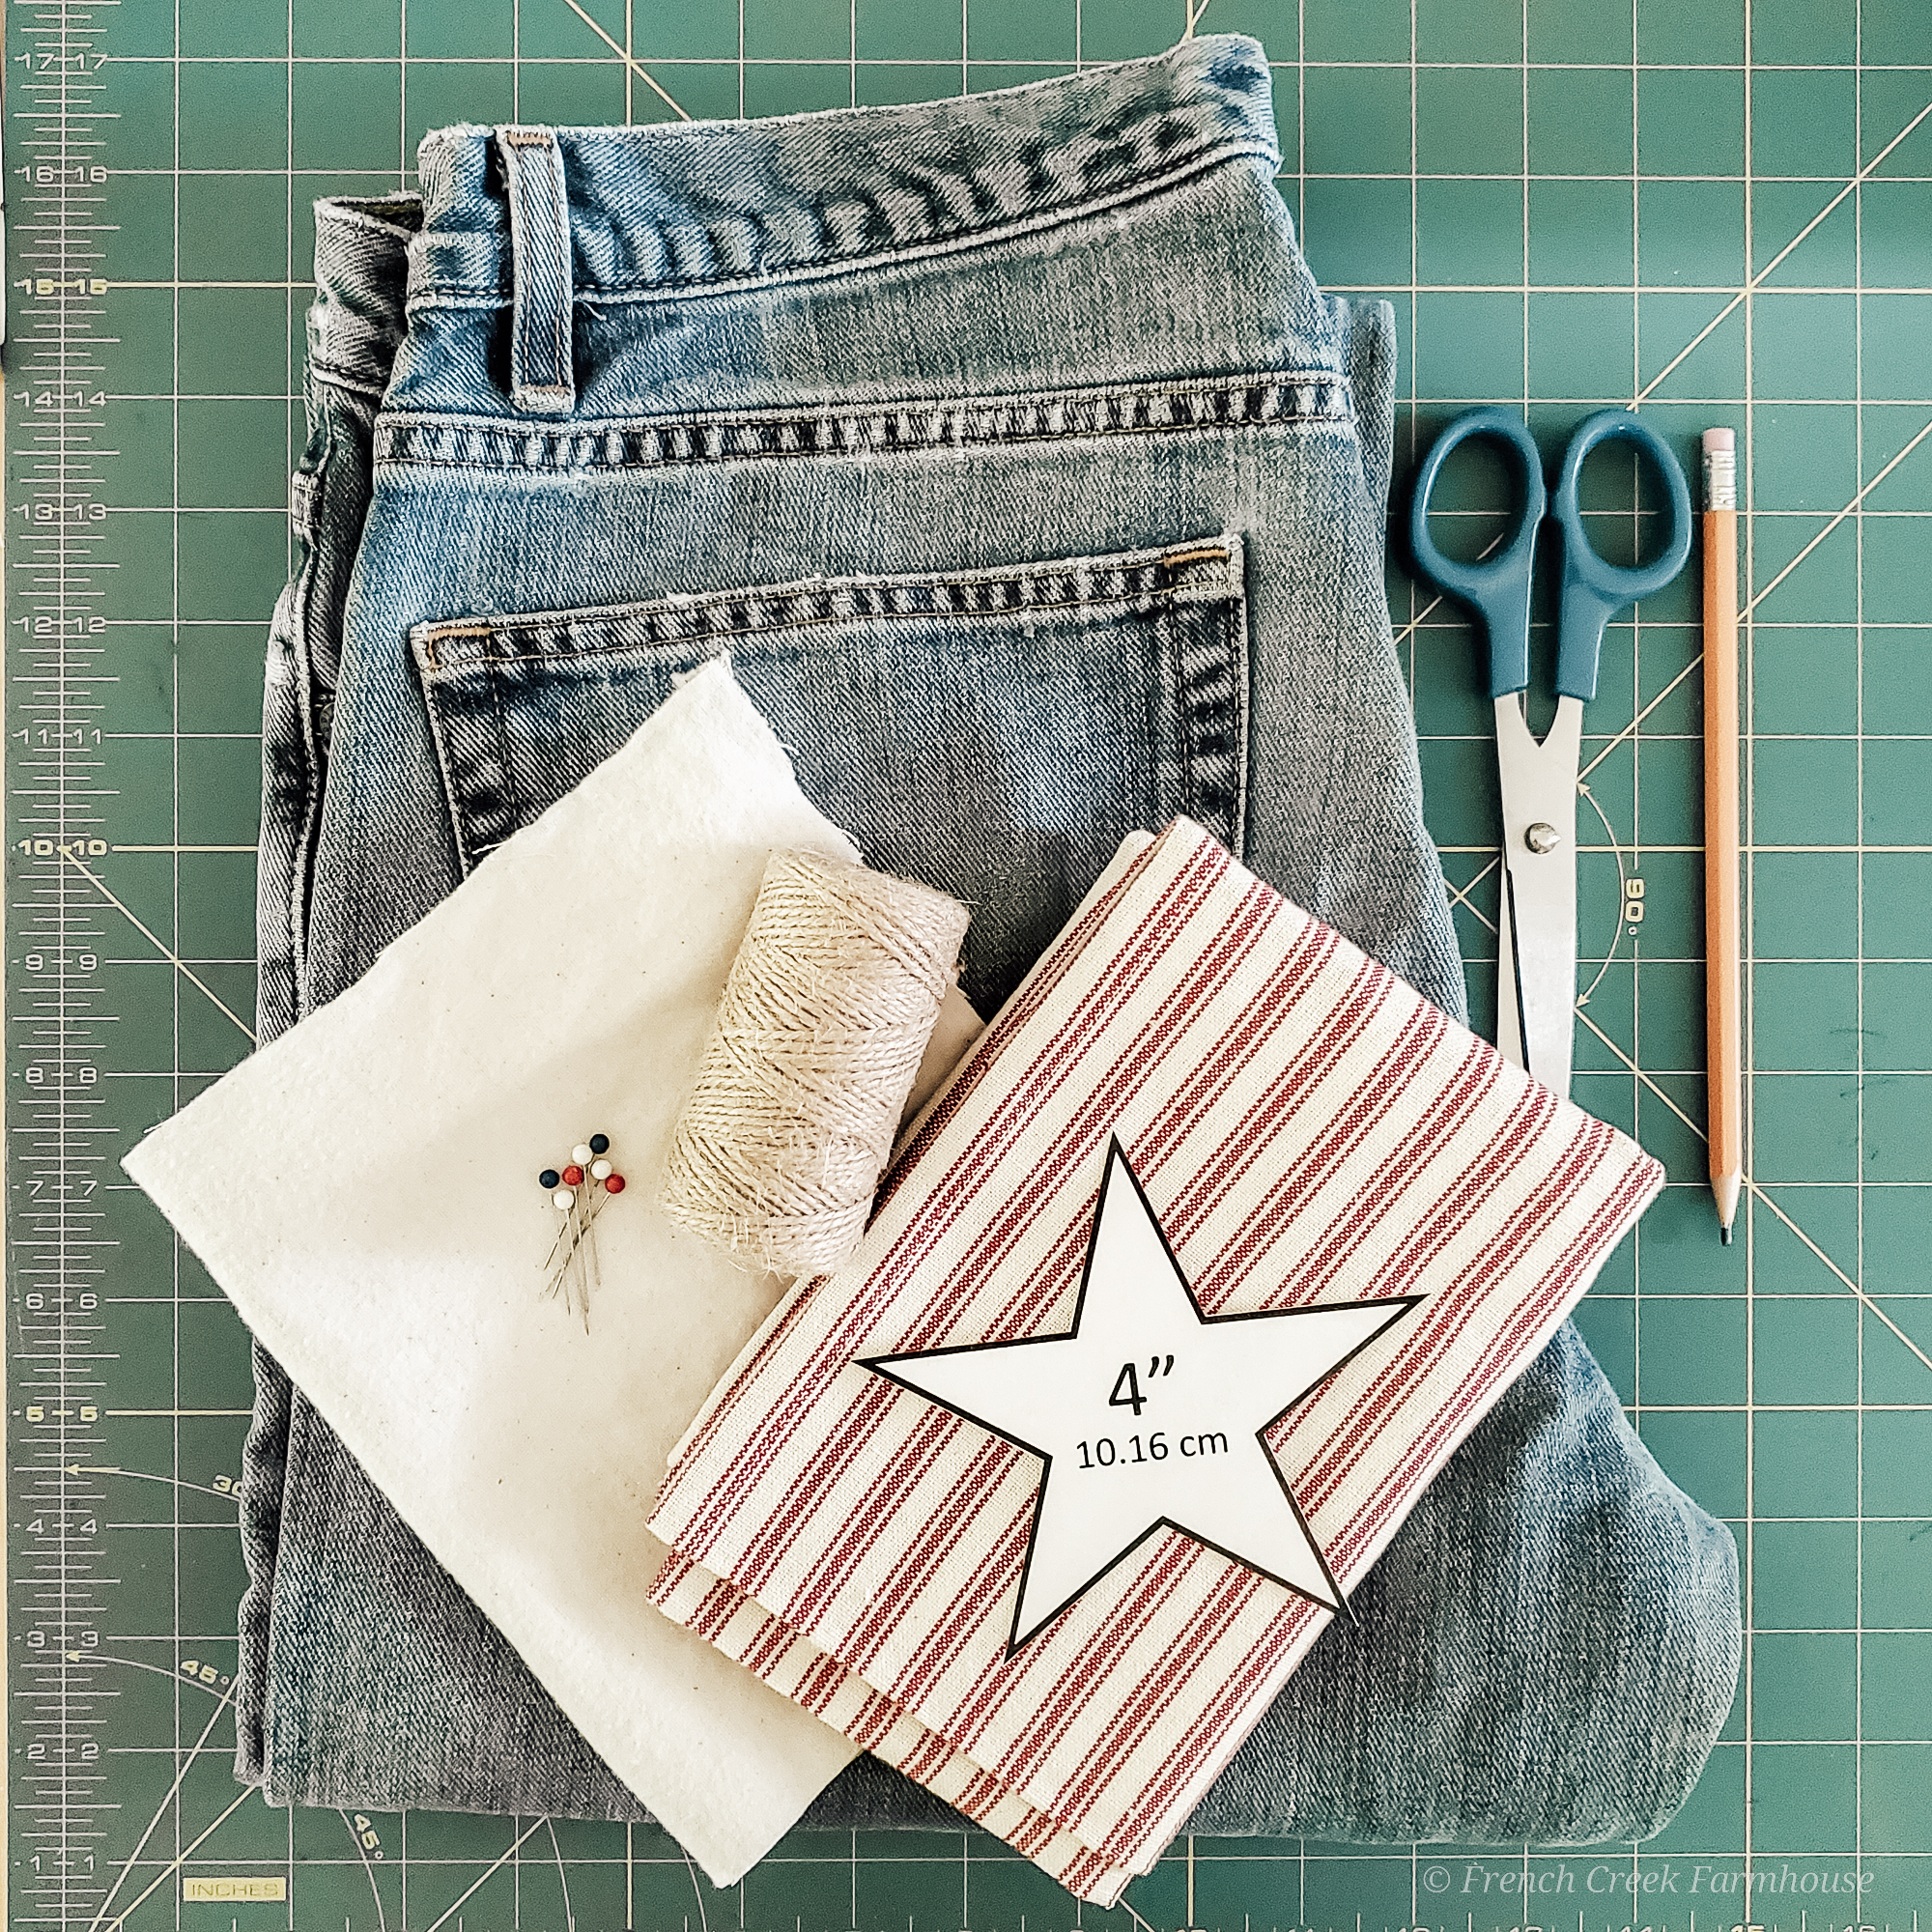
1. Gather all of your supplies. I mentioned in the supply list above that I recommend a laminator–that’s because laminating your patterns makes them last longer and provides extra rigidity to the template.
This is totally optional, of course, but I do think it makes life sooo much easier.
This is the exact laminator we own. It’s super affordable, and we use it for loads of stuff around the house. We’ve had ours for almost seven years (at the time of this writing), and have never had a single problem with it–and it gets a lot of use!
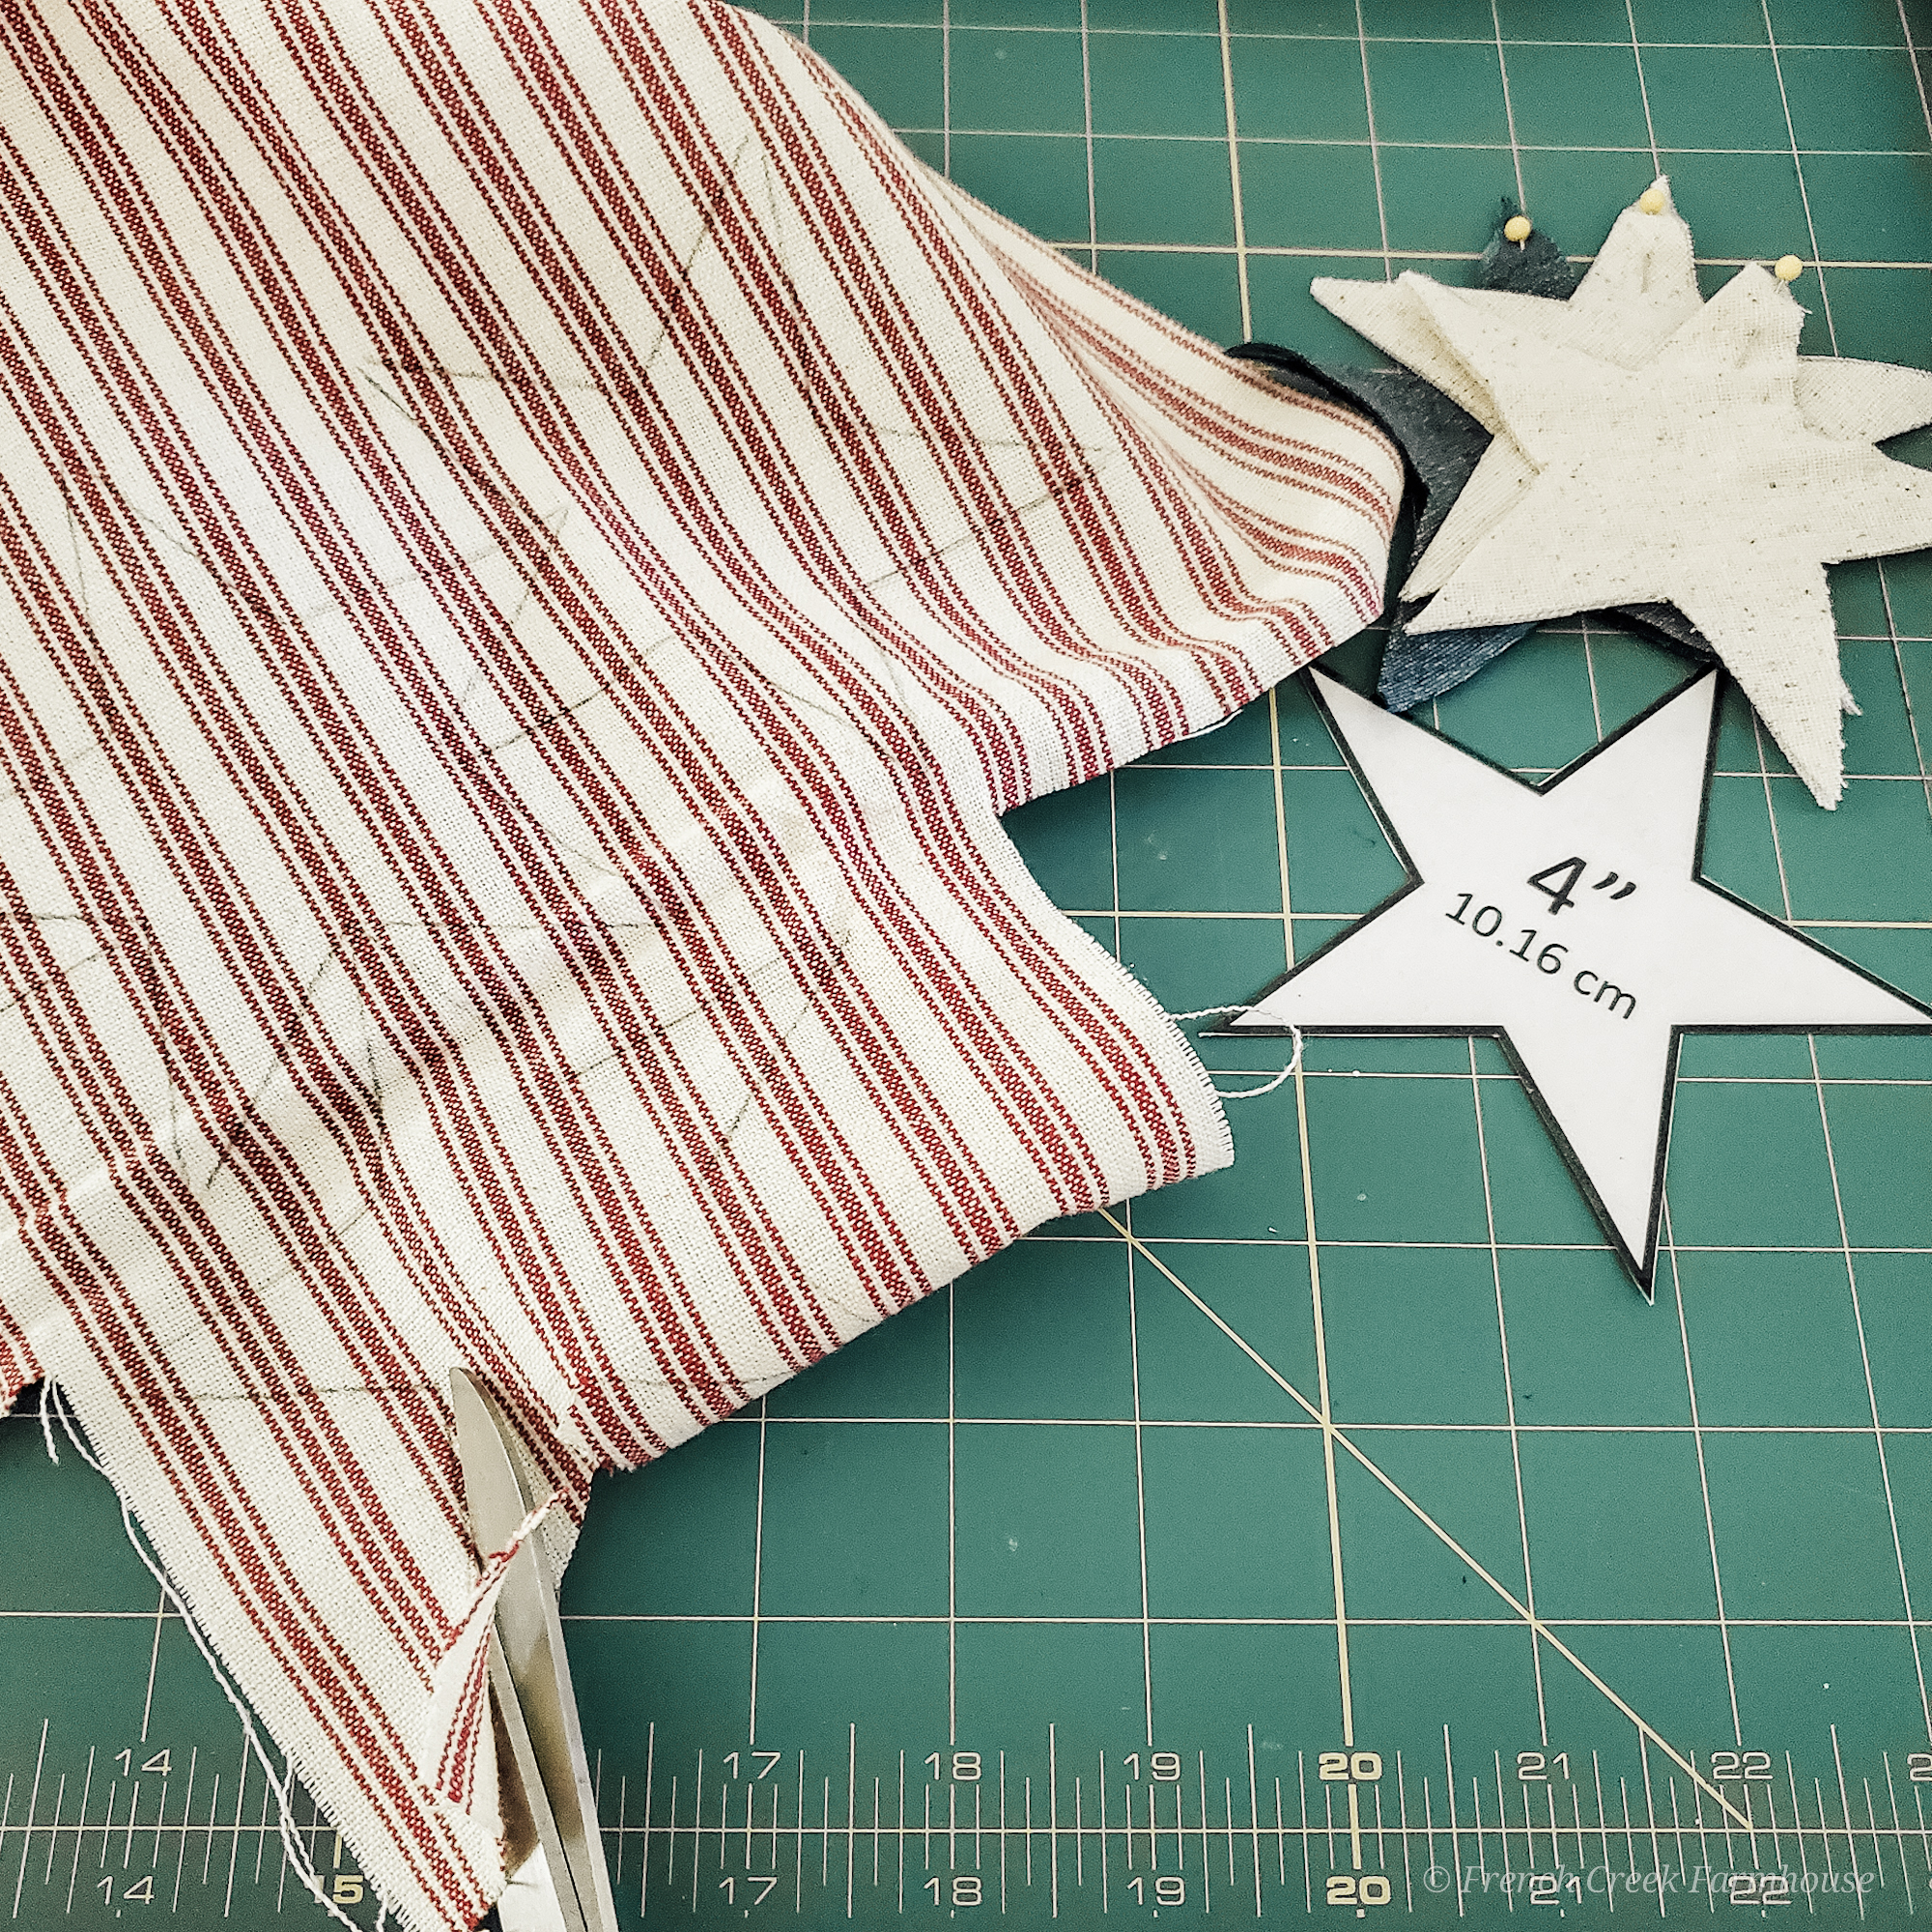
2. Trace and cut out the star shapes from your fabric. My printable pattern has templates from 2″ to 6″, and I used the 4″ star template for this project. I did not add any seam allowance when I traced my stars onto the fabric, but I knew I wanted them to be a little smaller than that once finished.
Make sure to cut two stars for each finished star (i.e. the front and back piece).
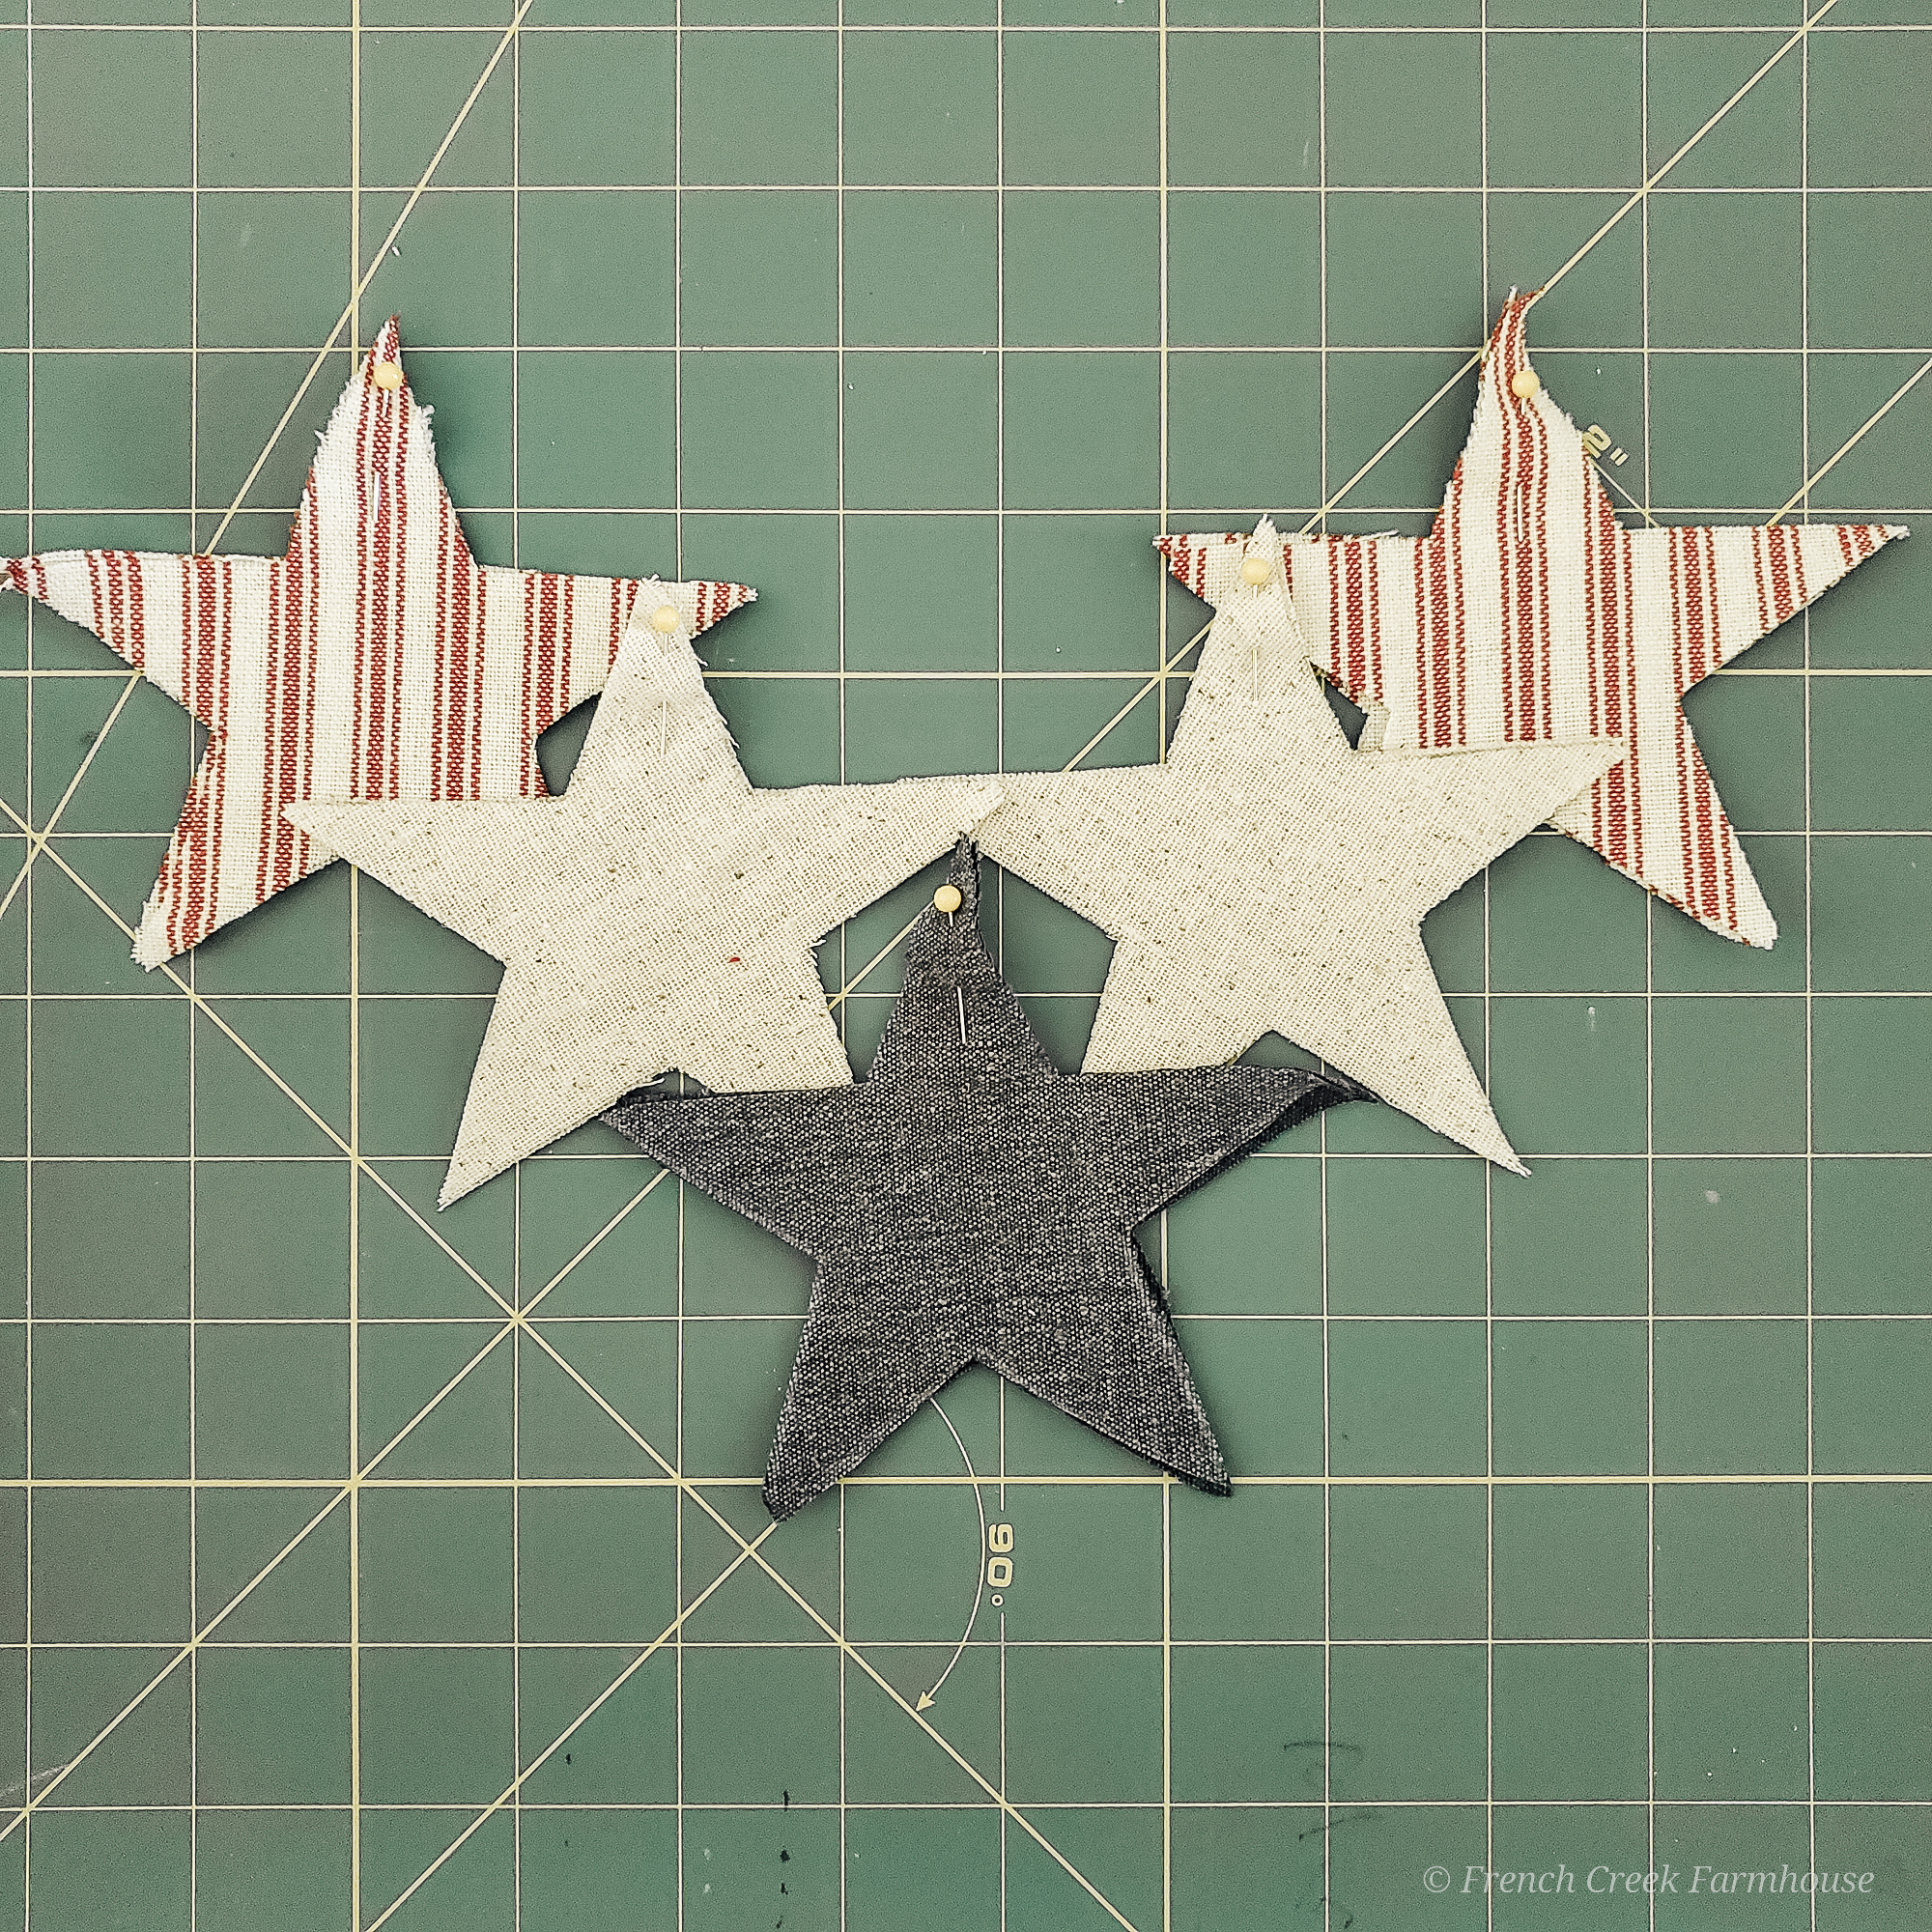
3. There is a “top” point of the star on my pattern, so I pinned each star at the top. Doing this will help you not to forget which point to sew to the twine.
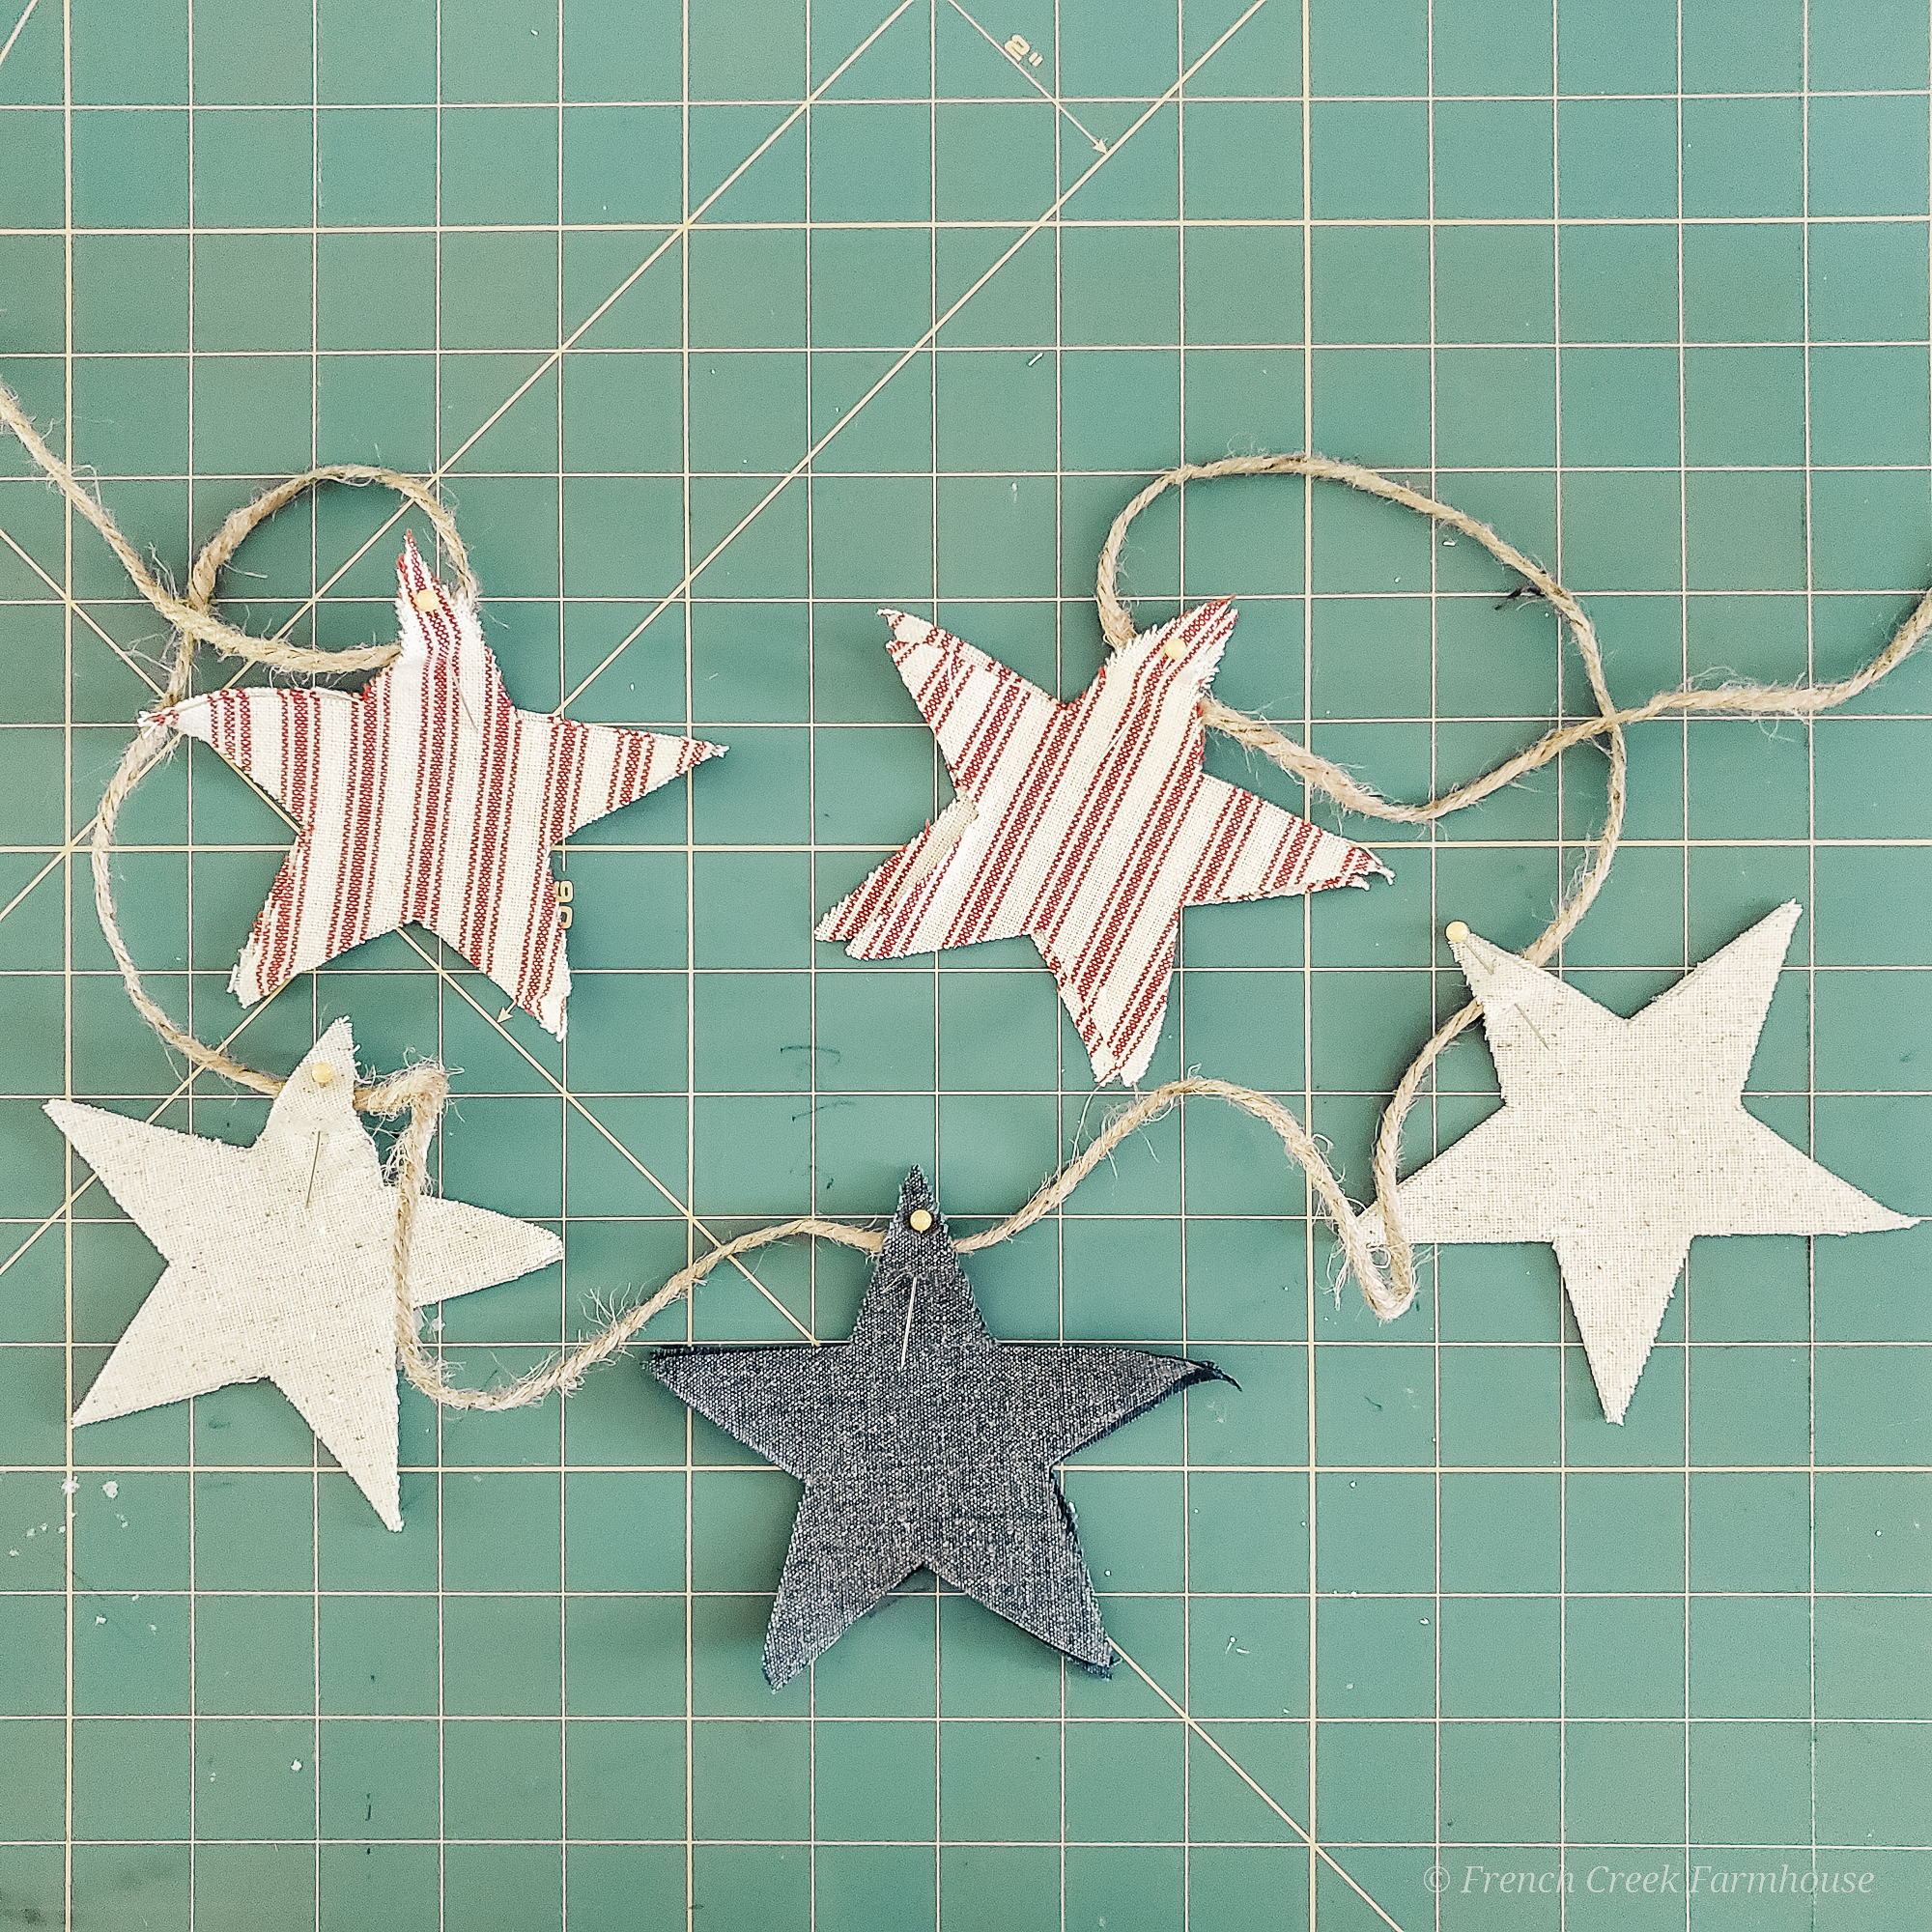
4. Next, pin your stars to the twine at the interval/spacing that you desire. My garland is 5′ (60 inches) long. I made five stars, spaced at 9″ intervals, with 12″ of extra twine at each end for securing. You can adjust this to your liking!
You’ll be top-stitching these stars, so there will be no need to turn them inside out. Right sides of your fabric should be facing out.
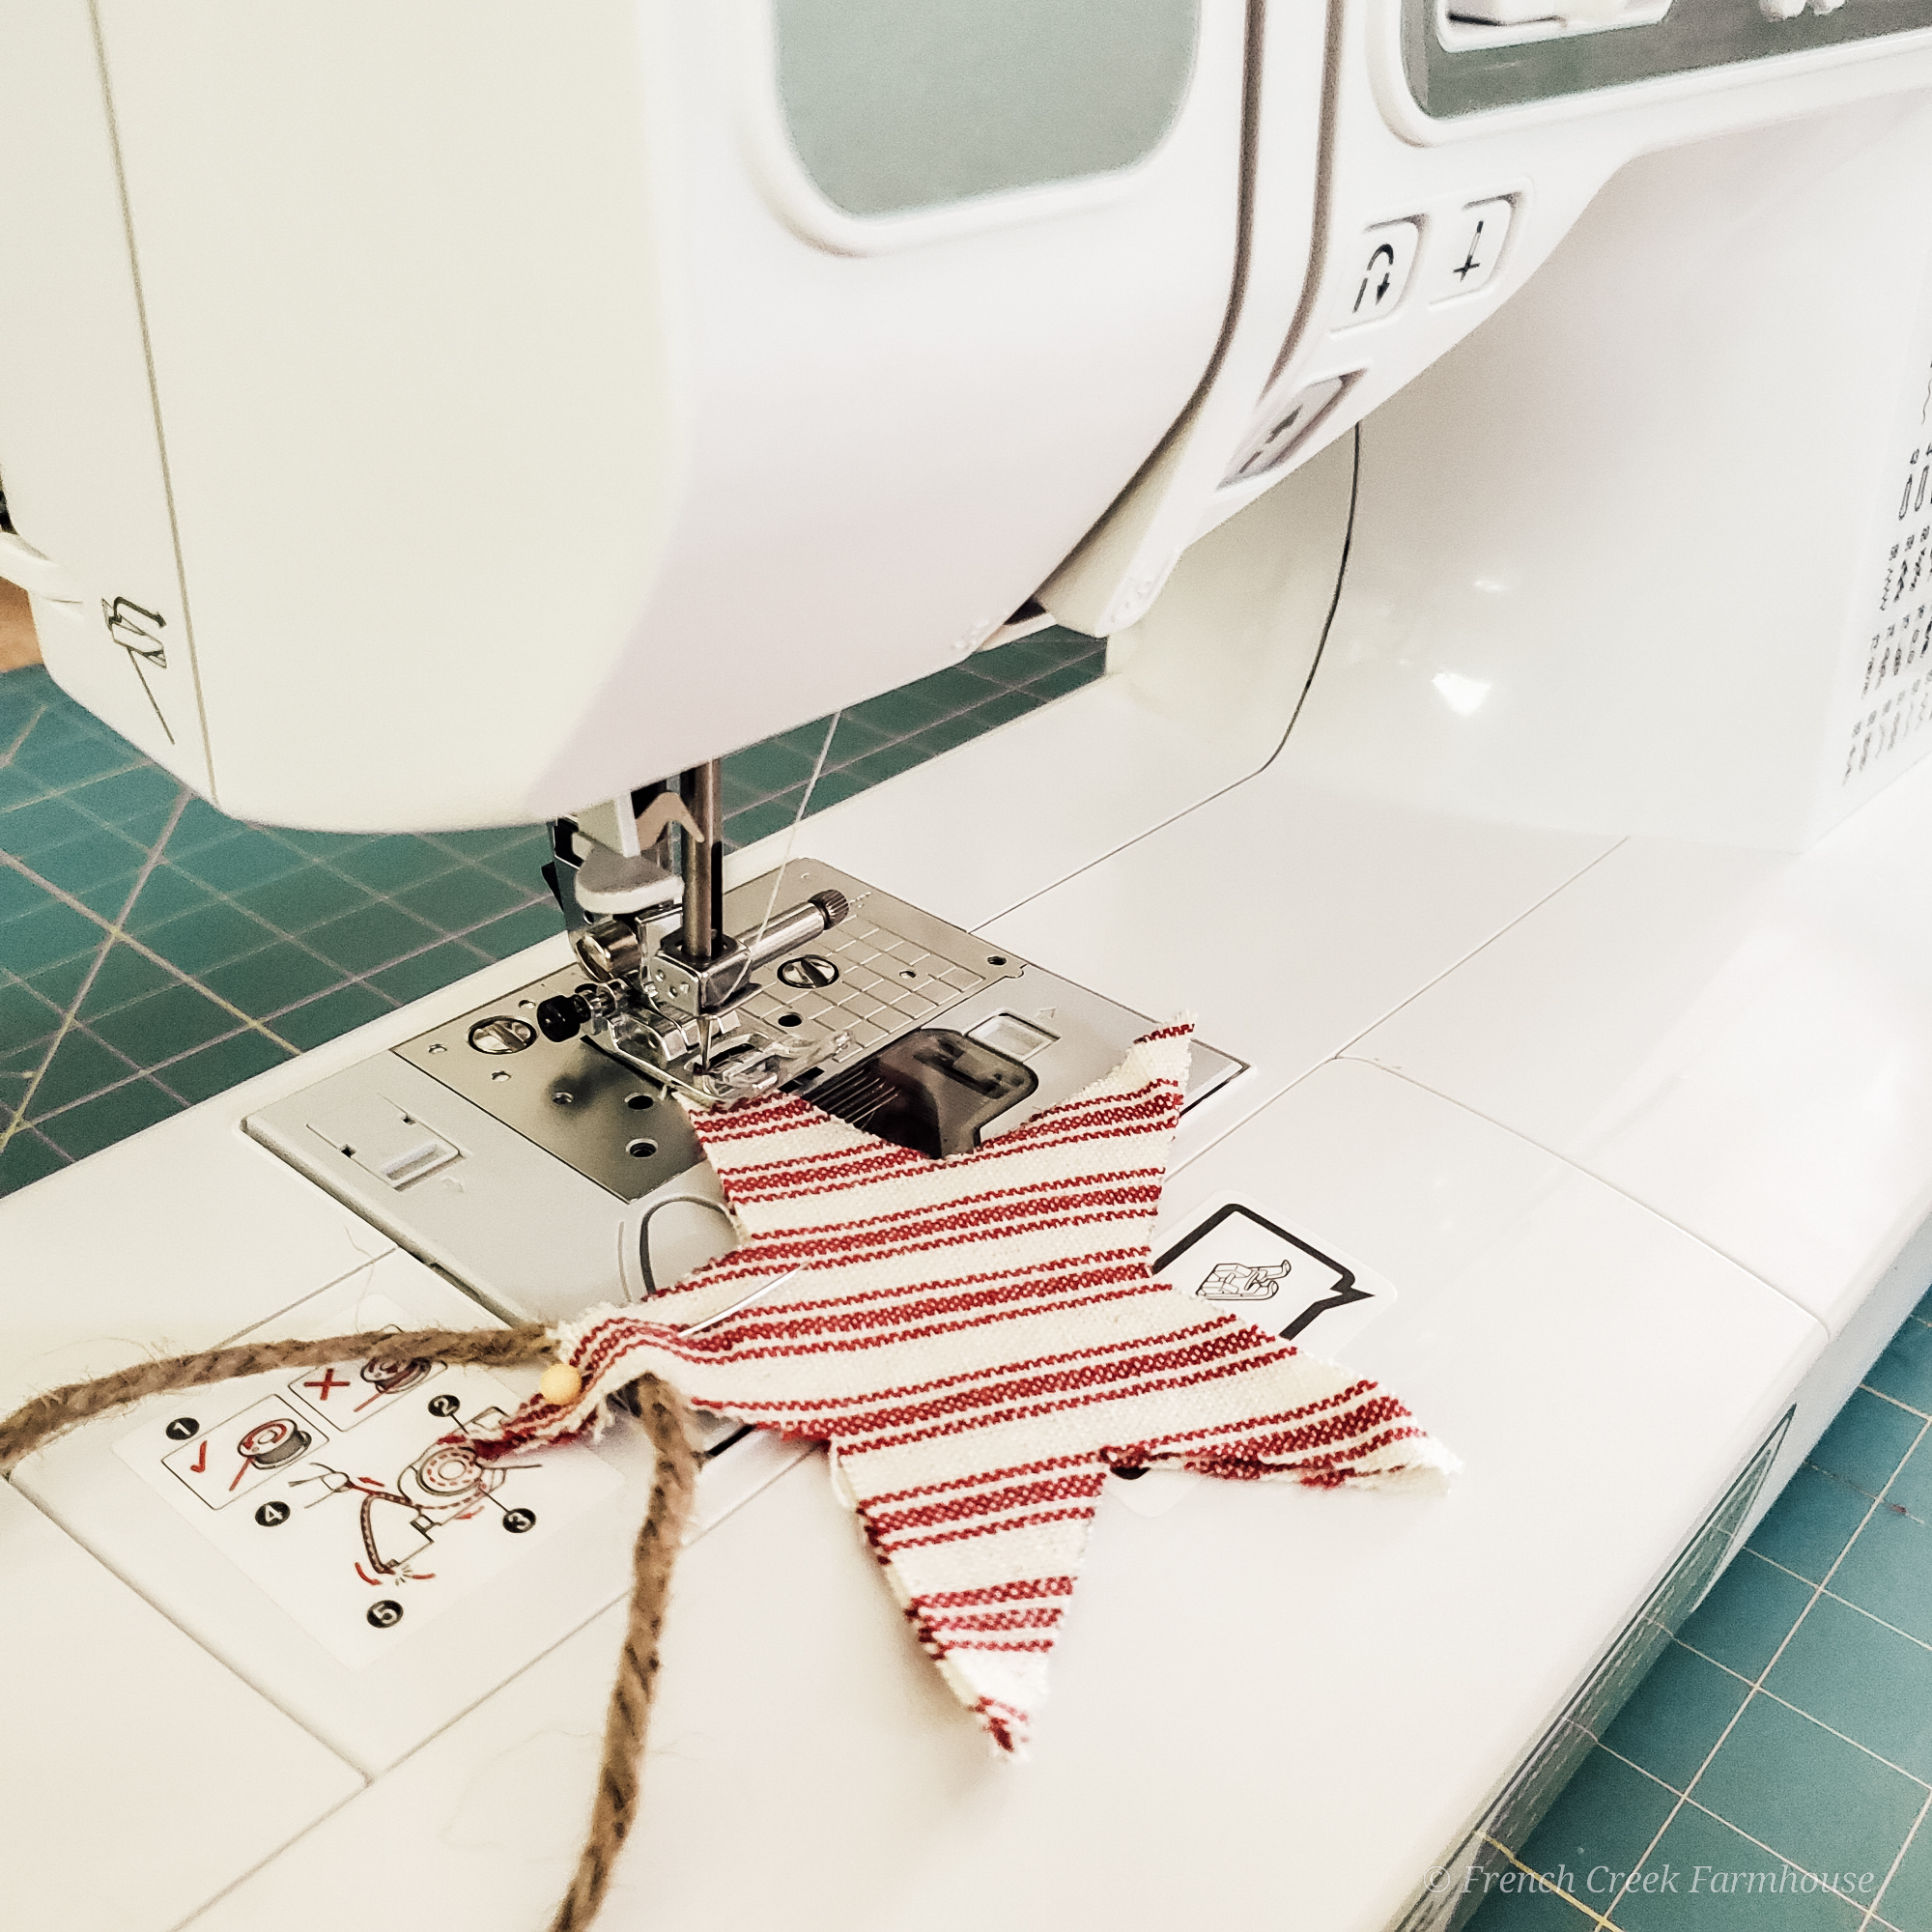
5. If the top point of the star is 12 o’clock, then I started my stitching at the 3 o’clock point (the point immediately clockwise from the top). Really, this is up to you, but I would not suggest starting or ending at the top point since that’s where the twine will be secured.
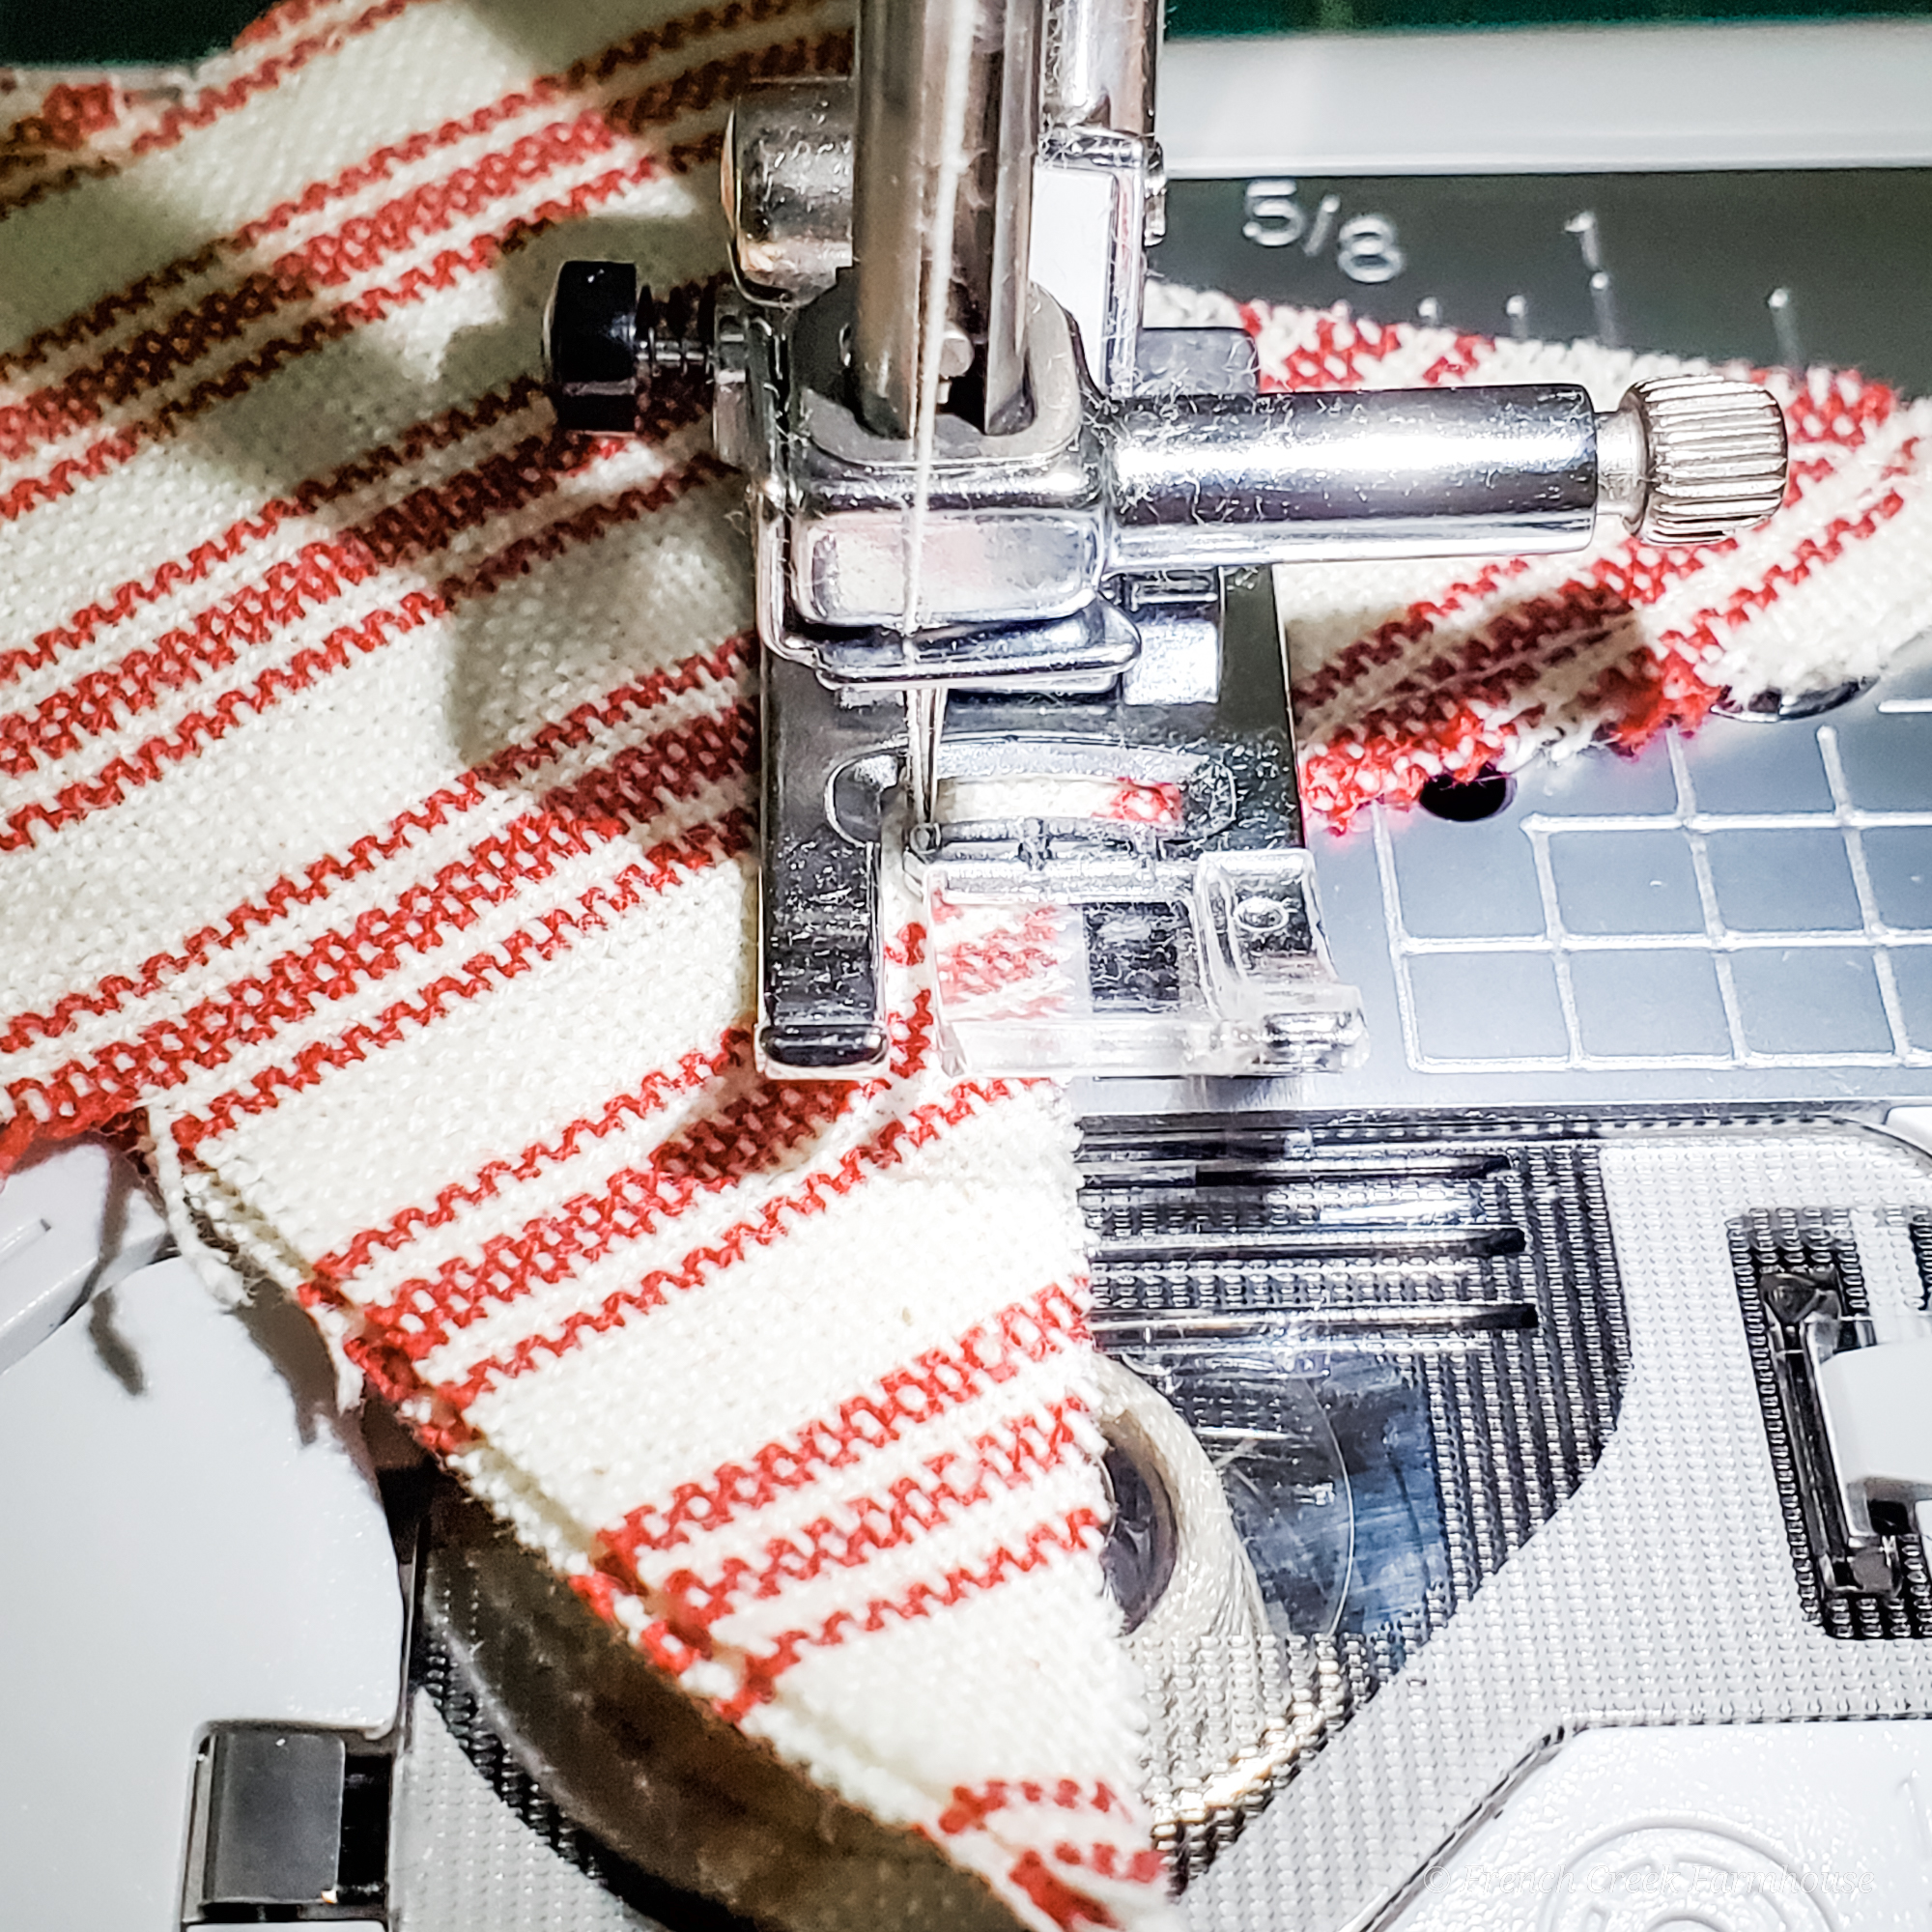
6. You can see from this photo that I used a very narrow seam allowance. I used the 4″ template, knowing that I wanted my stars to be slightly smaller than that when finished. Because these stars are top-stitched, the area outside the seam allowance will be a frayed edge to give that perfect farmhouse feeling!
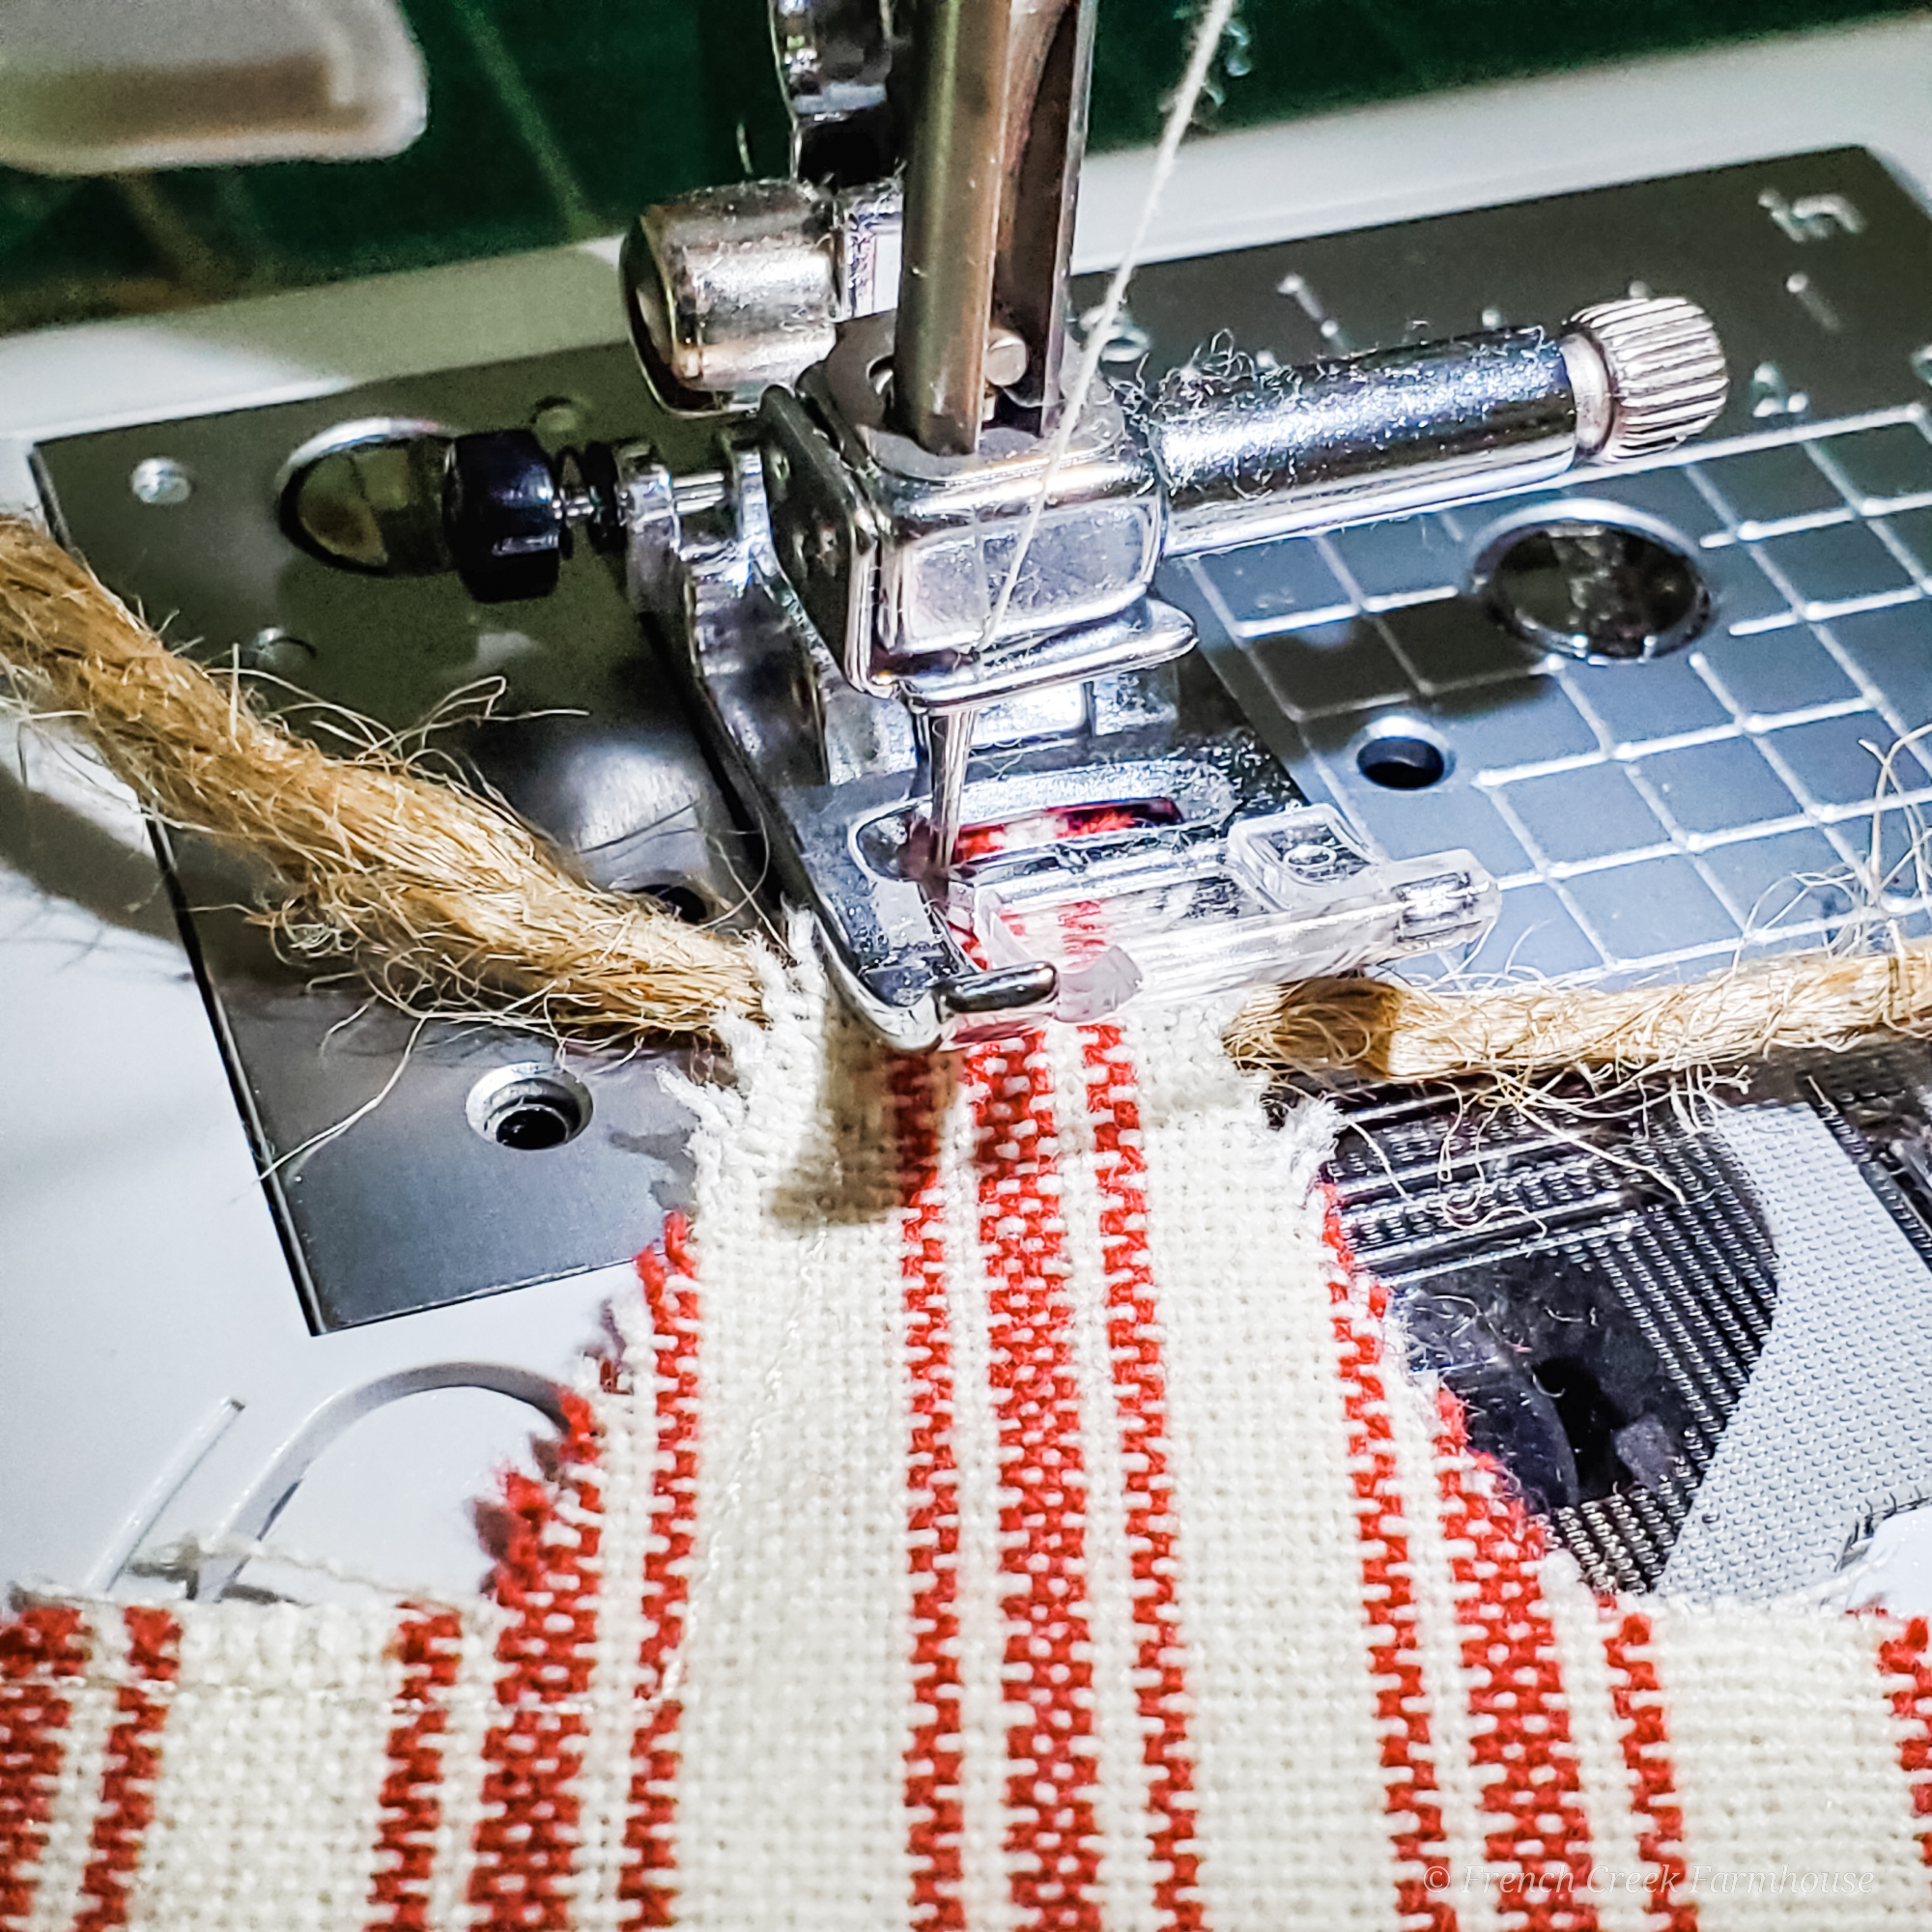
7. As you get to the top point in your stitching, you’ll need to place the twine between the two layers of fabric. I did this at 1/2″ down from the tip. Once again, adjust to your own liking!
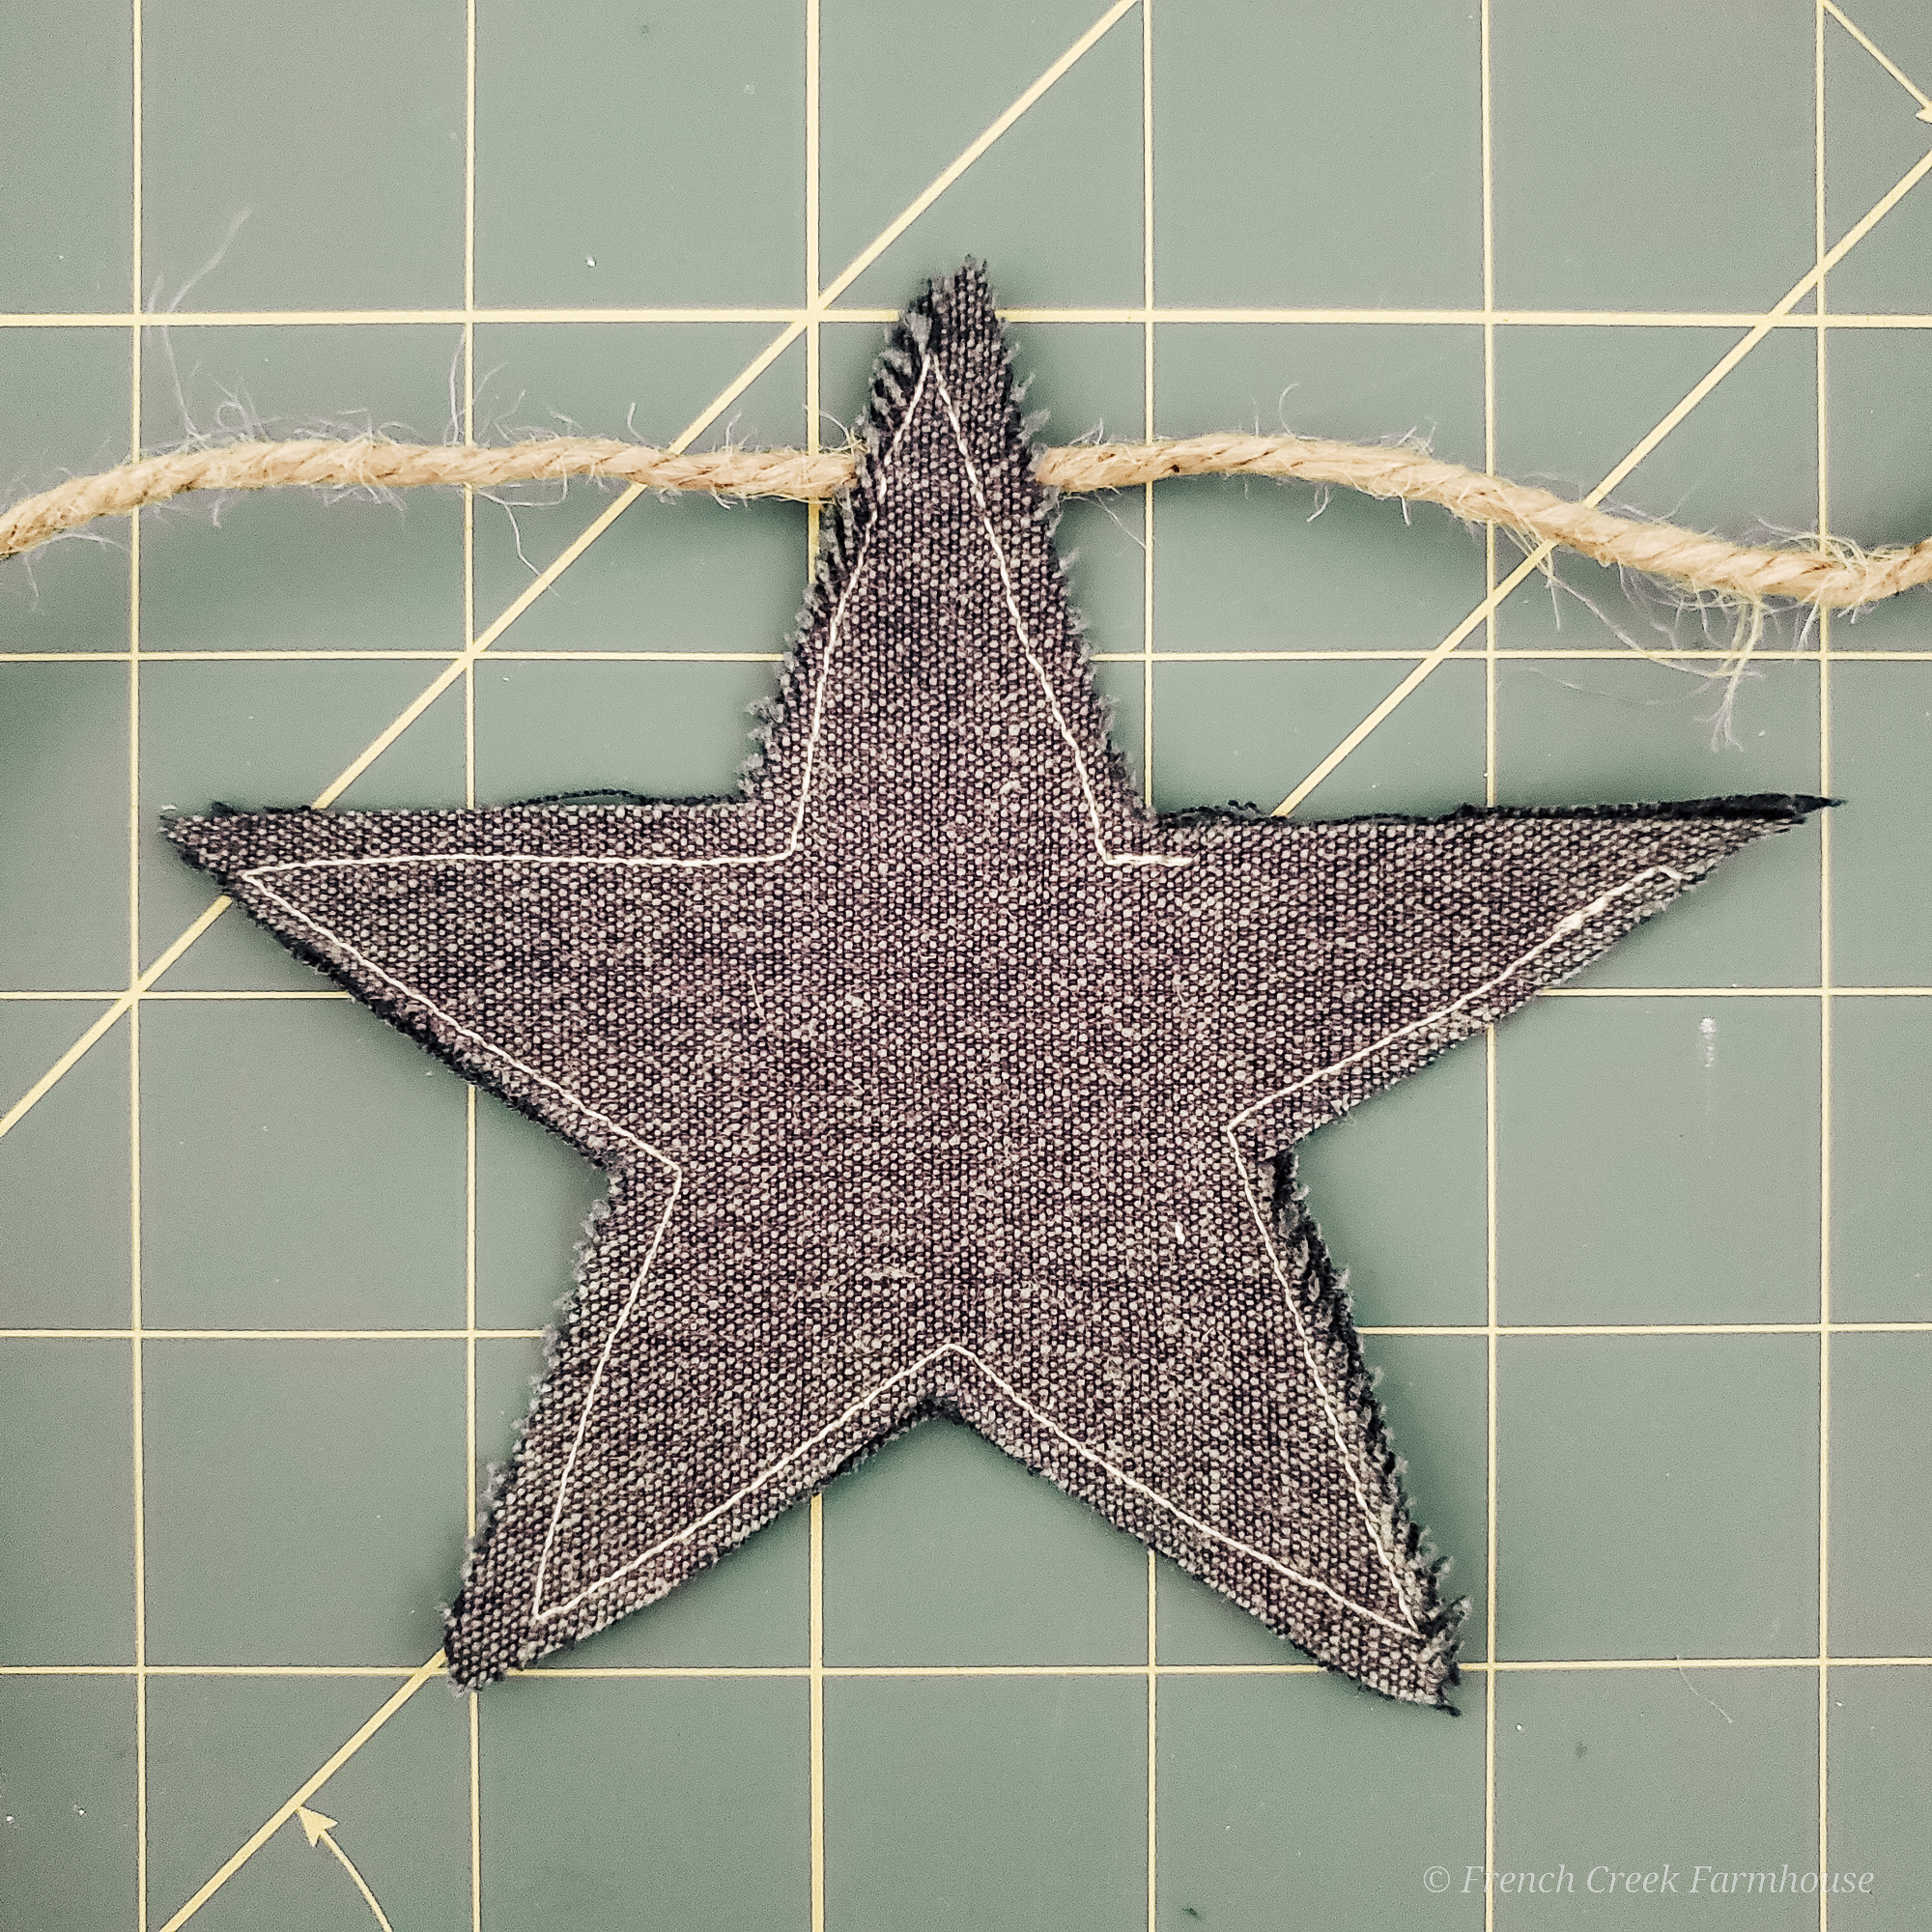
8. Sew until you have one side of a remaining point left open. This is where you’ll stuff your star. I’m showing you this on the denim star because the white stitching really makes the opening stand out.
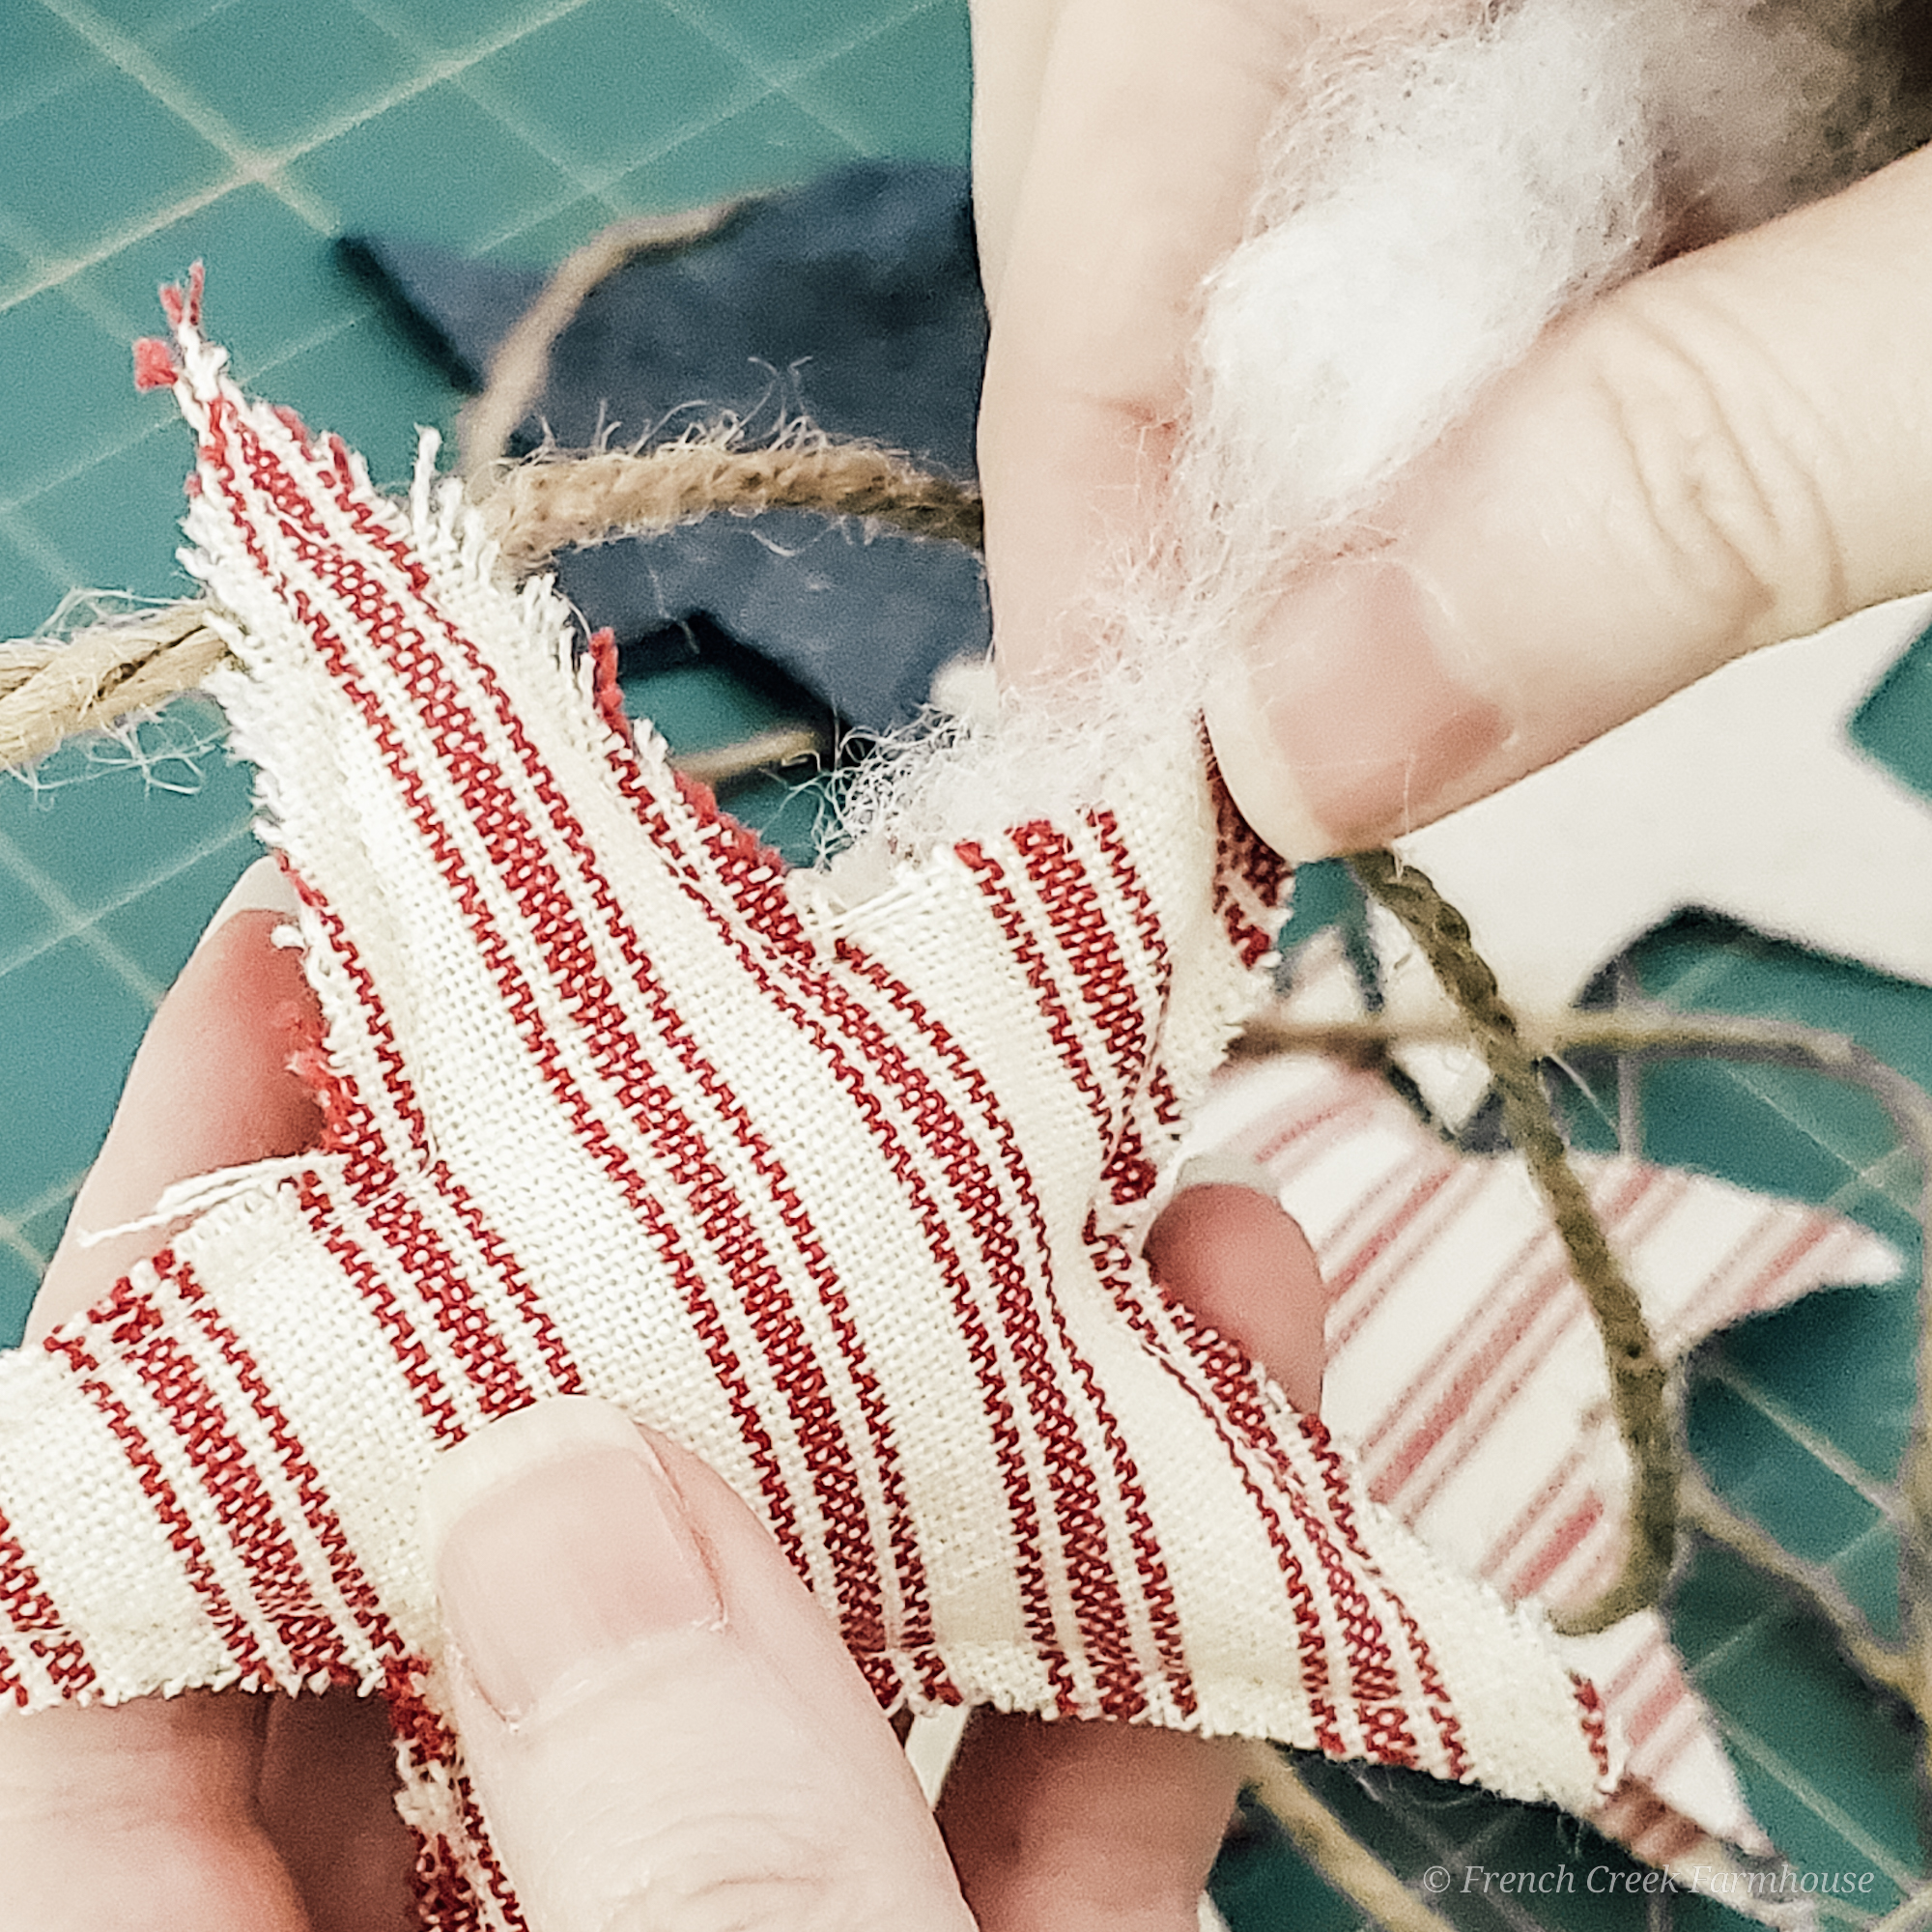
9. Stuff your stars using small pinches of poly-fil. I stuff each of the points first, and you’ll likely find it easier to use the tip of a pencil or a crochet/knitting needle to push the stuffing into the small tips.
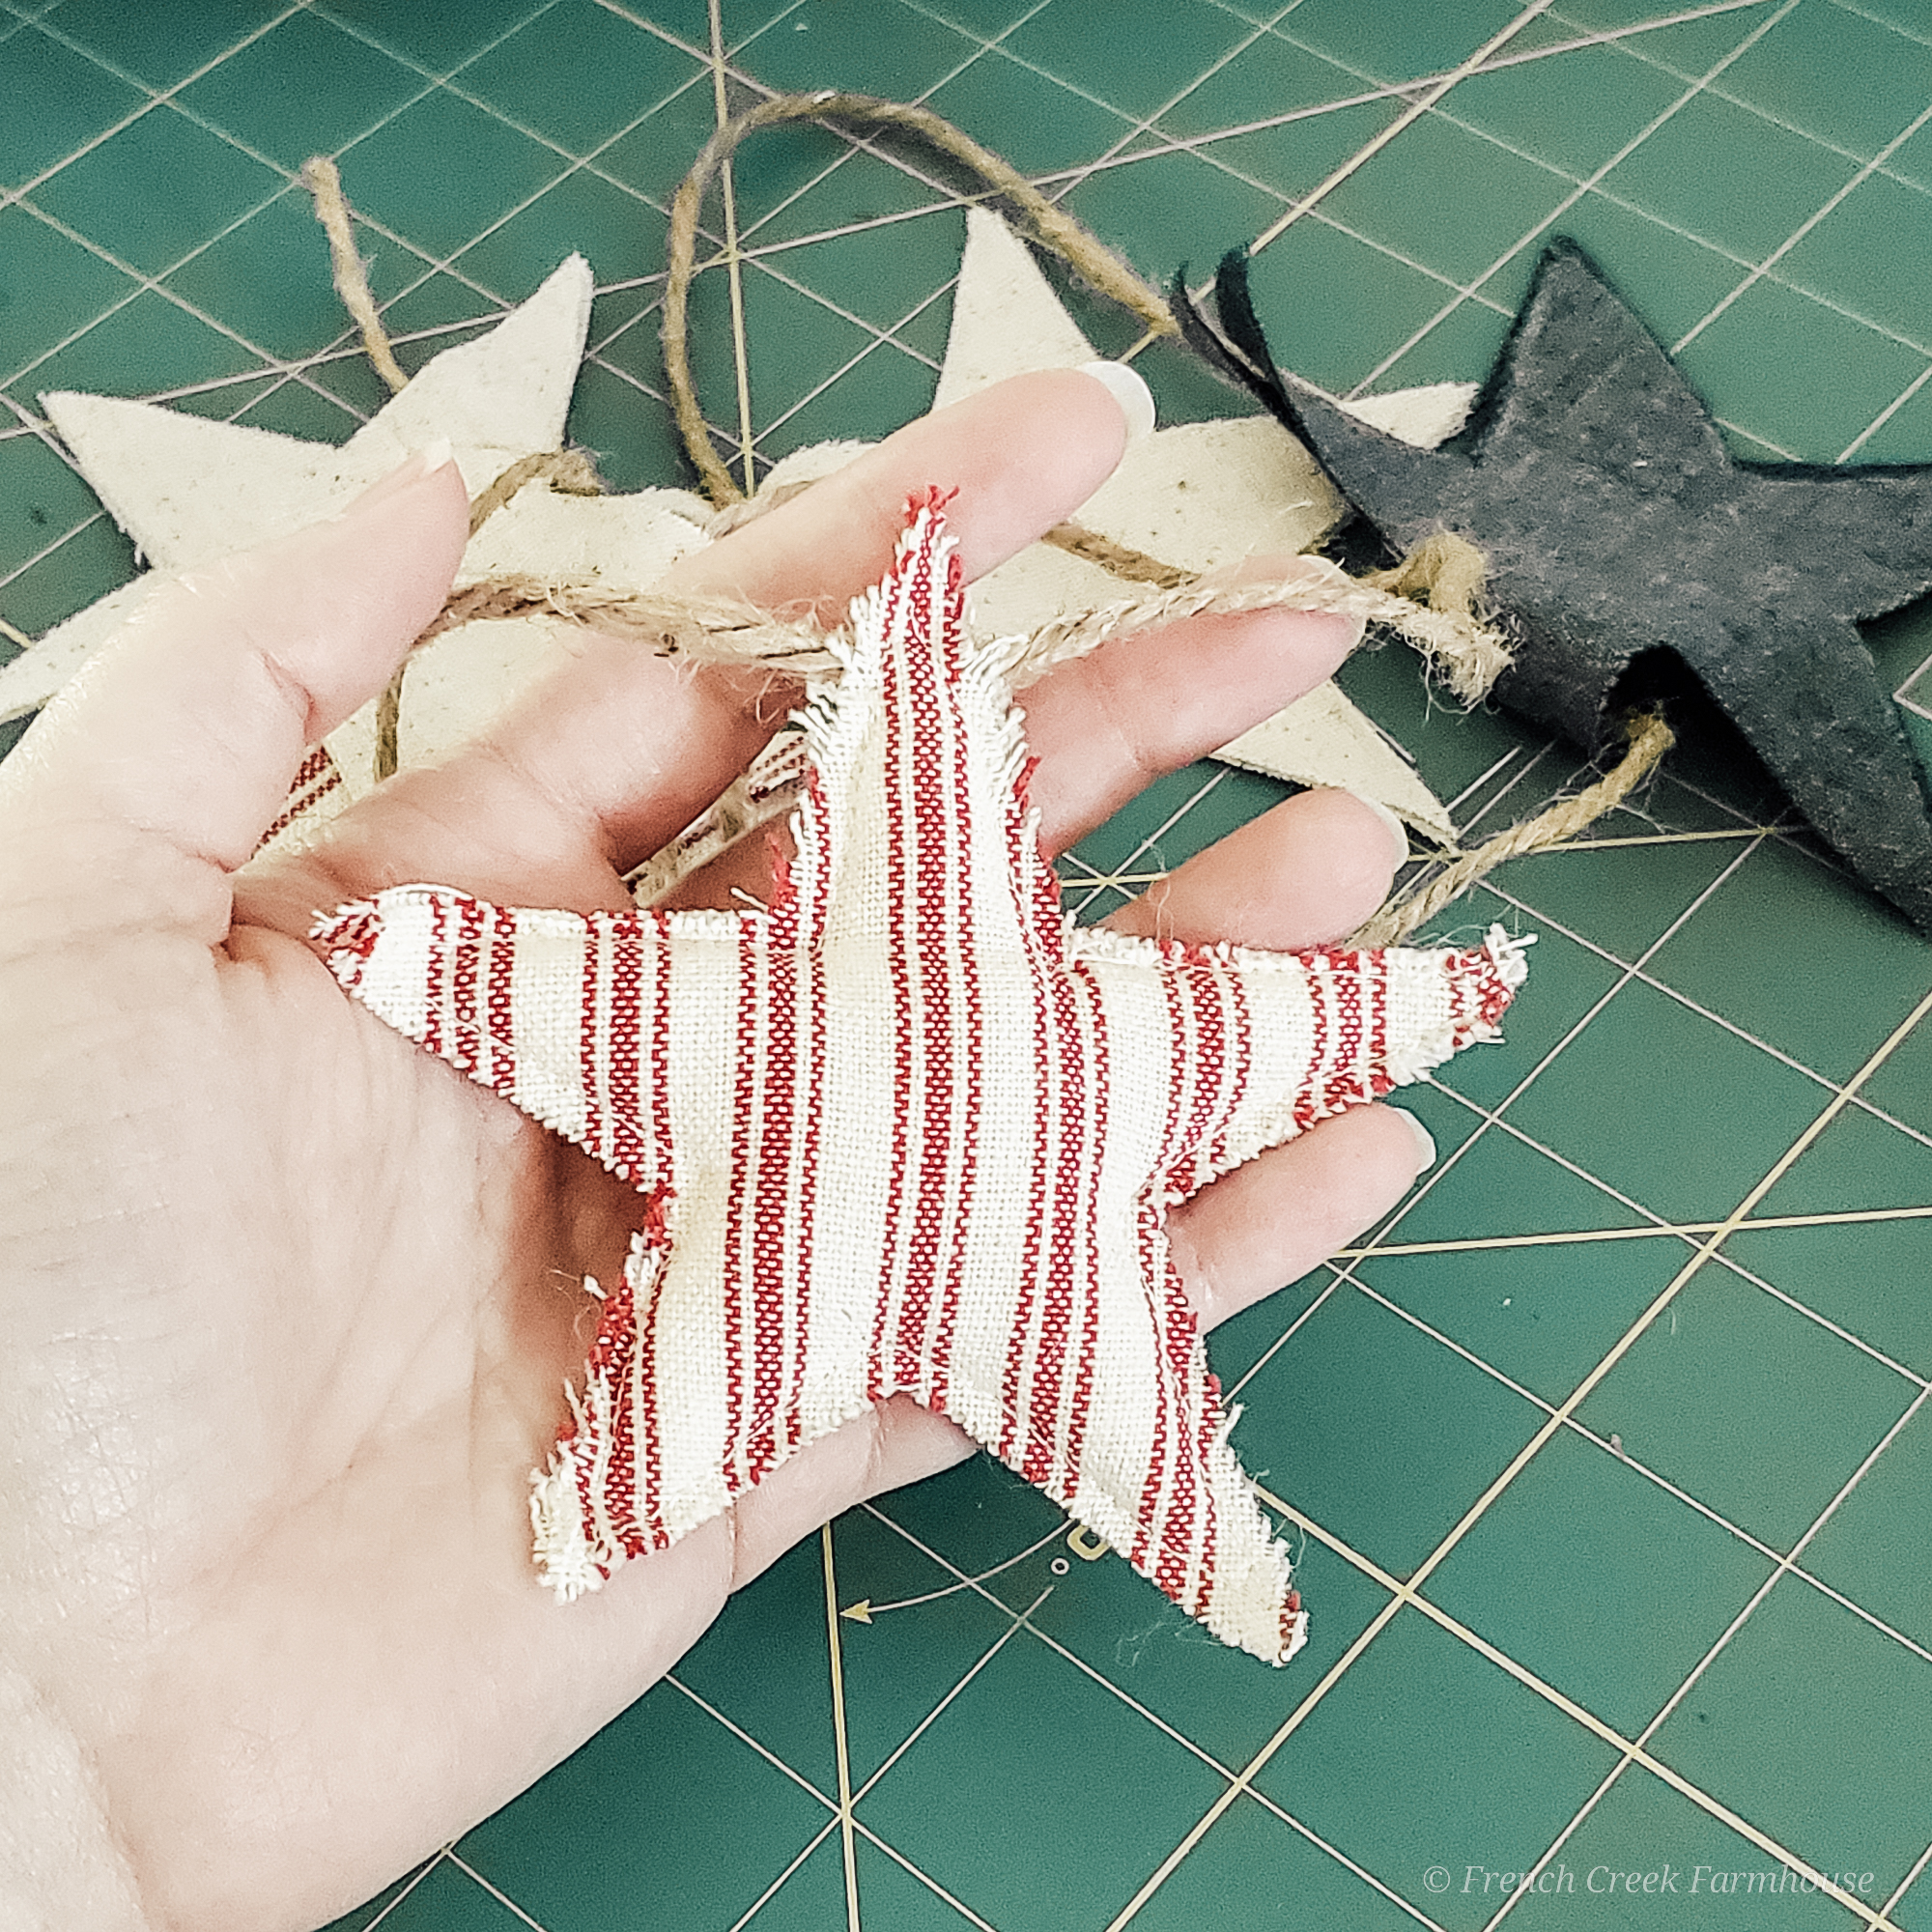
10. Sew up the open edge of your star, then move onto the next star and repeat the steps until done. I found it easier to sew all the stars to the twine, then stuff them all at the same time, then sew up all the remaining edges at the same time. But you do you!
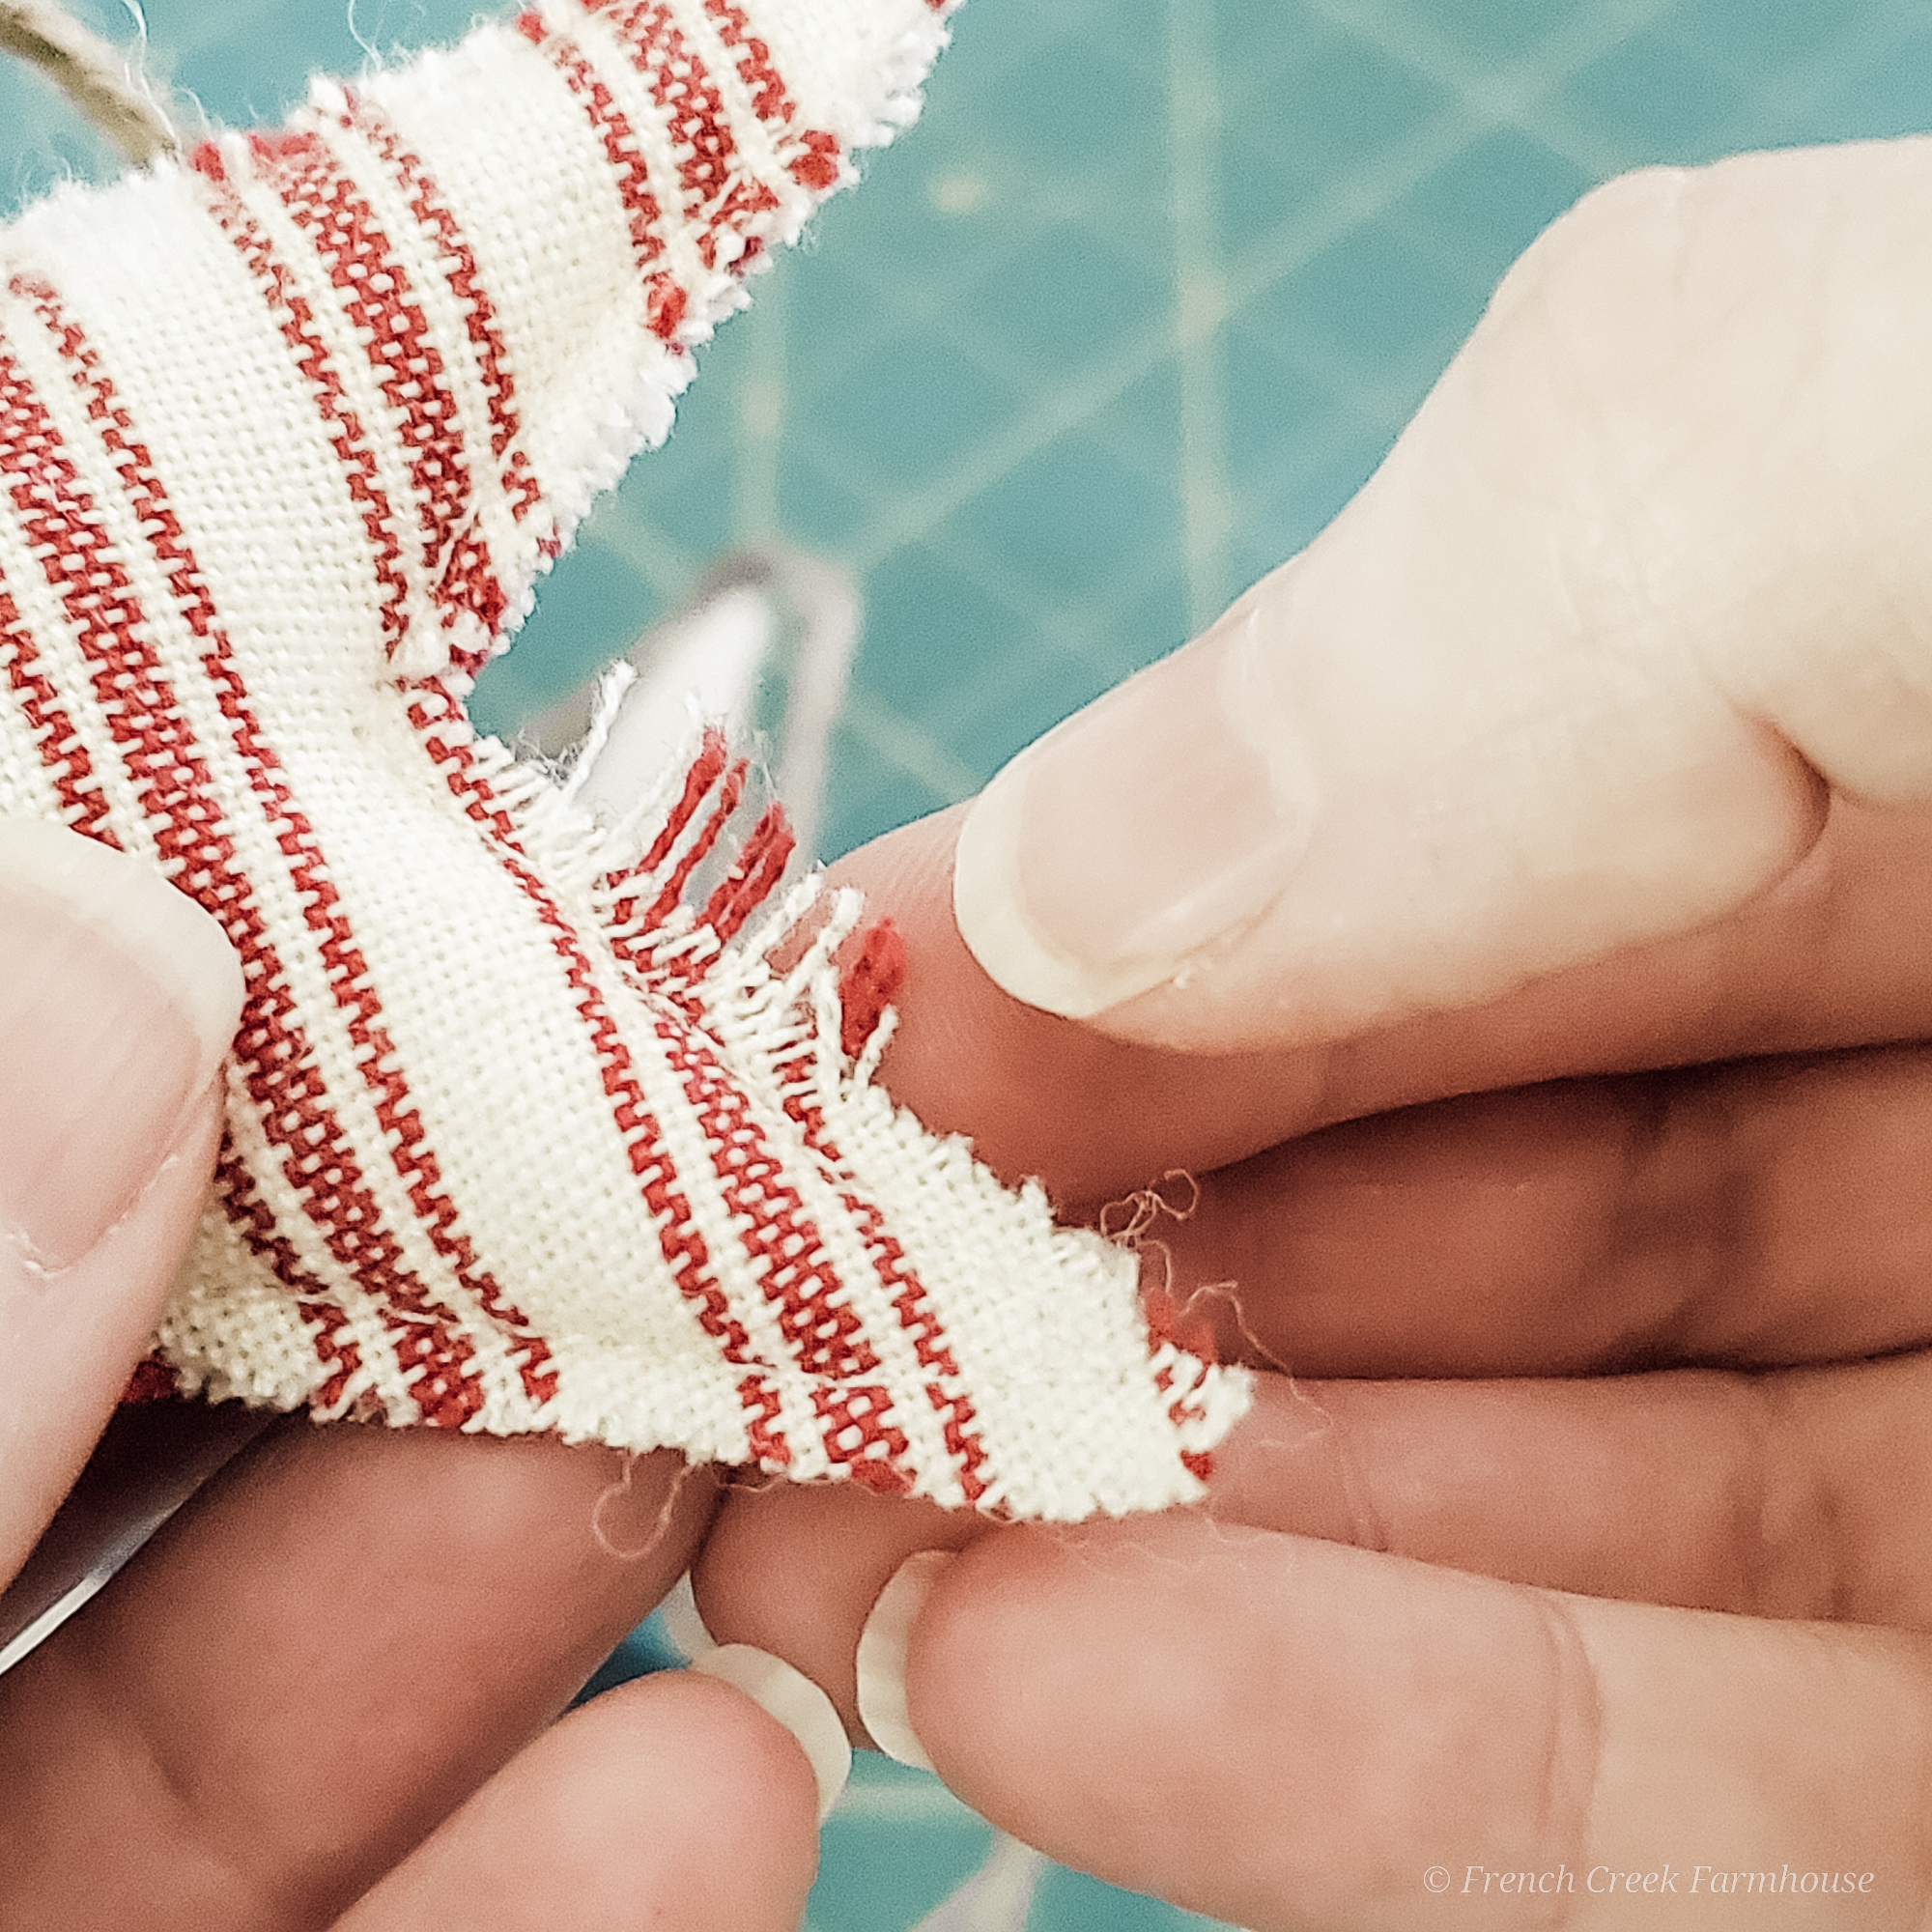
11. Finally, fray the edges of each star. To do this, just rub your fingernail across the raw edge of the fabric, and gently tug at the threads. After all the edges are frayed, you can give them a haircut to make the fray look nice and neat.

If you enjoyed this project, be sure to sign up for my newsletter, and never miss another DIY! You’ll get access to all of my FREE printables, patterns, and lots more!
To find more of my past DIY projects, just click on any category:
Crafts | Sewing | Fixer Upper Farmhouse Renovations






I do love a farm house aesthetic and this star garland is so perfect for adding a bit of Americana to it! I love your creativity! Thanks for linking with me.
Shelbee
http://www.shelbeeontheedge.com
Thank you so much, Shelbee! You just the sweetest friend! xo
These really are so cute Kristi. I'd love to use them as a bowl filler too.
Thank you for sharing your farmhouse fabric star garland tutorial at Create, Bake, Grow & Gather this week. I'm delighted to be featuring it at this week's party and pinning too.
Hugs,
Kerryanne
Wow, Kerryanne! That is such an honor! Thank you bunches! And yes, perfect as bowl filler…I've been making tons of them for all over the house! xo
These are lovely, just the right balance of shabby and chic (is that still a thing?)
I totally think it's a thing still! Haha! Maybe that's the beauty of shabby chic…it never goes out of style? 😉 xo!
These are so cute and easy. Thanks for sharing on Our Mini Linky Party