Laundry Room – Week Five: Painting The Cabinets
This is the fifth week of our 8-week mudroom/laundry room renovation, and now we are really getting into the hard work. These final projects are the ones that make me the most nervous because there’s a lot more room for error, and as happens with most projects, this week we encountered some headaches.
If you’ve missed previous posts, we’re completing our laundry/mudroom renovation as part of the Spring 2021 One Room Challenge. In partnership with Better Homes & Gardens, the ORC is a celebration of creativity that brings together designers as they make over one room in eight weeks. Each week, you’ll get to see the progress
and watch the project unfold.
In case you’re just now joining us for this renovation, you can catch up on the past few weeks here:
If you’ve come over from the ORC participants’ page and we’re meeting for the first time–welcome! This short video will introduce you to our family’s story and how we came to live in this fixer-upper farmhouse in rural Snohomish, Washington. You’ll also get to see the state of the mudroom when we first got the keys!
Disclosure: This is not a sponsored post, and I have received no compensation for sharing anything that follows. Some links within this blog may be affiliate
links, and I might earn a commission if you make a purchase through that link. This usually amounts to cents, not dollars, and helps to support the projects featured on this blog. I only recommend products from companies that I have found to be trustworthy. Read my full disclosure here.
THIS WEEK: PAINTING THE CABINETS
Just like I mentioned last week with the utility sink, there are pros and cons to our mudroom/laundry room, and that also extends to the cabinets.
For starters, they’re solid wood cabinets–that’s a pro! I mean, the doors are so heavy that I can only carry one at a time…these babies are super well-built.
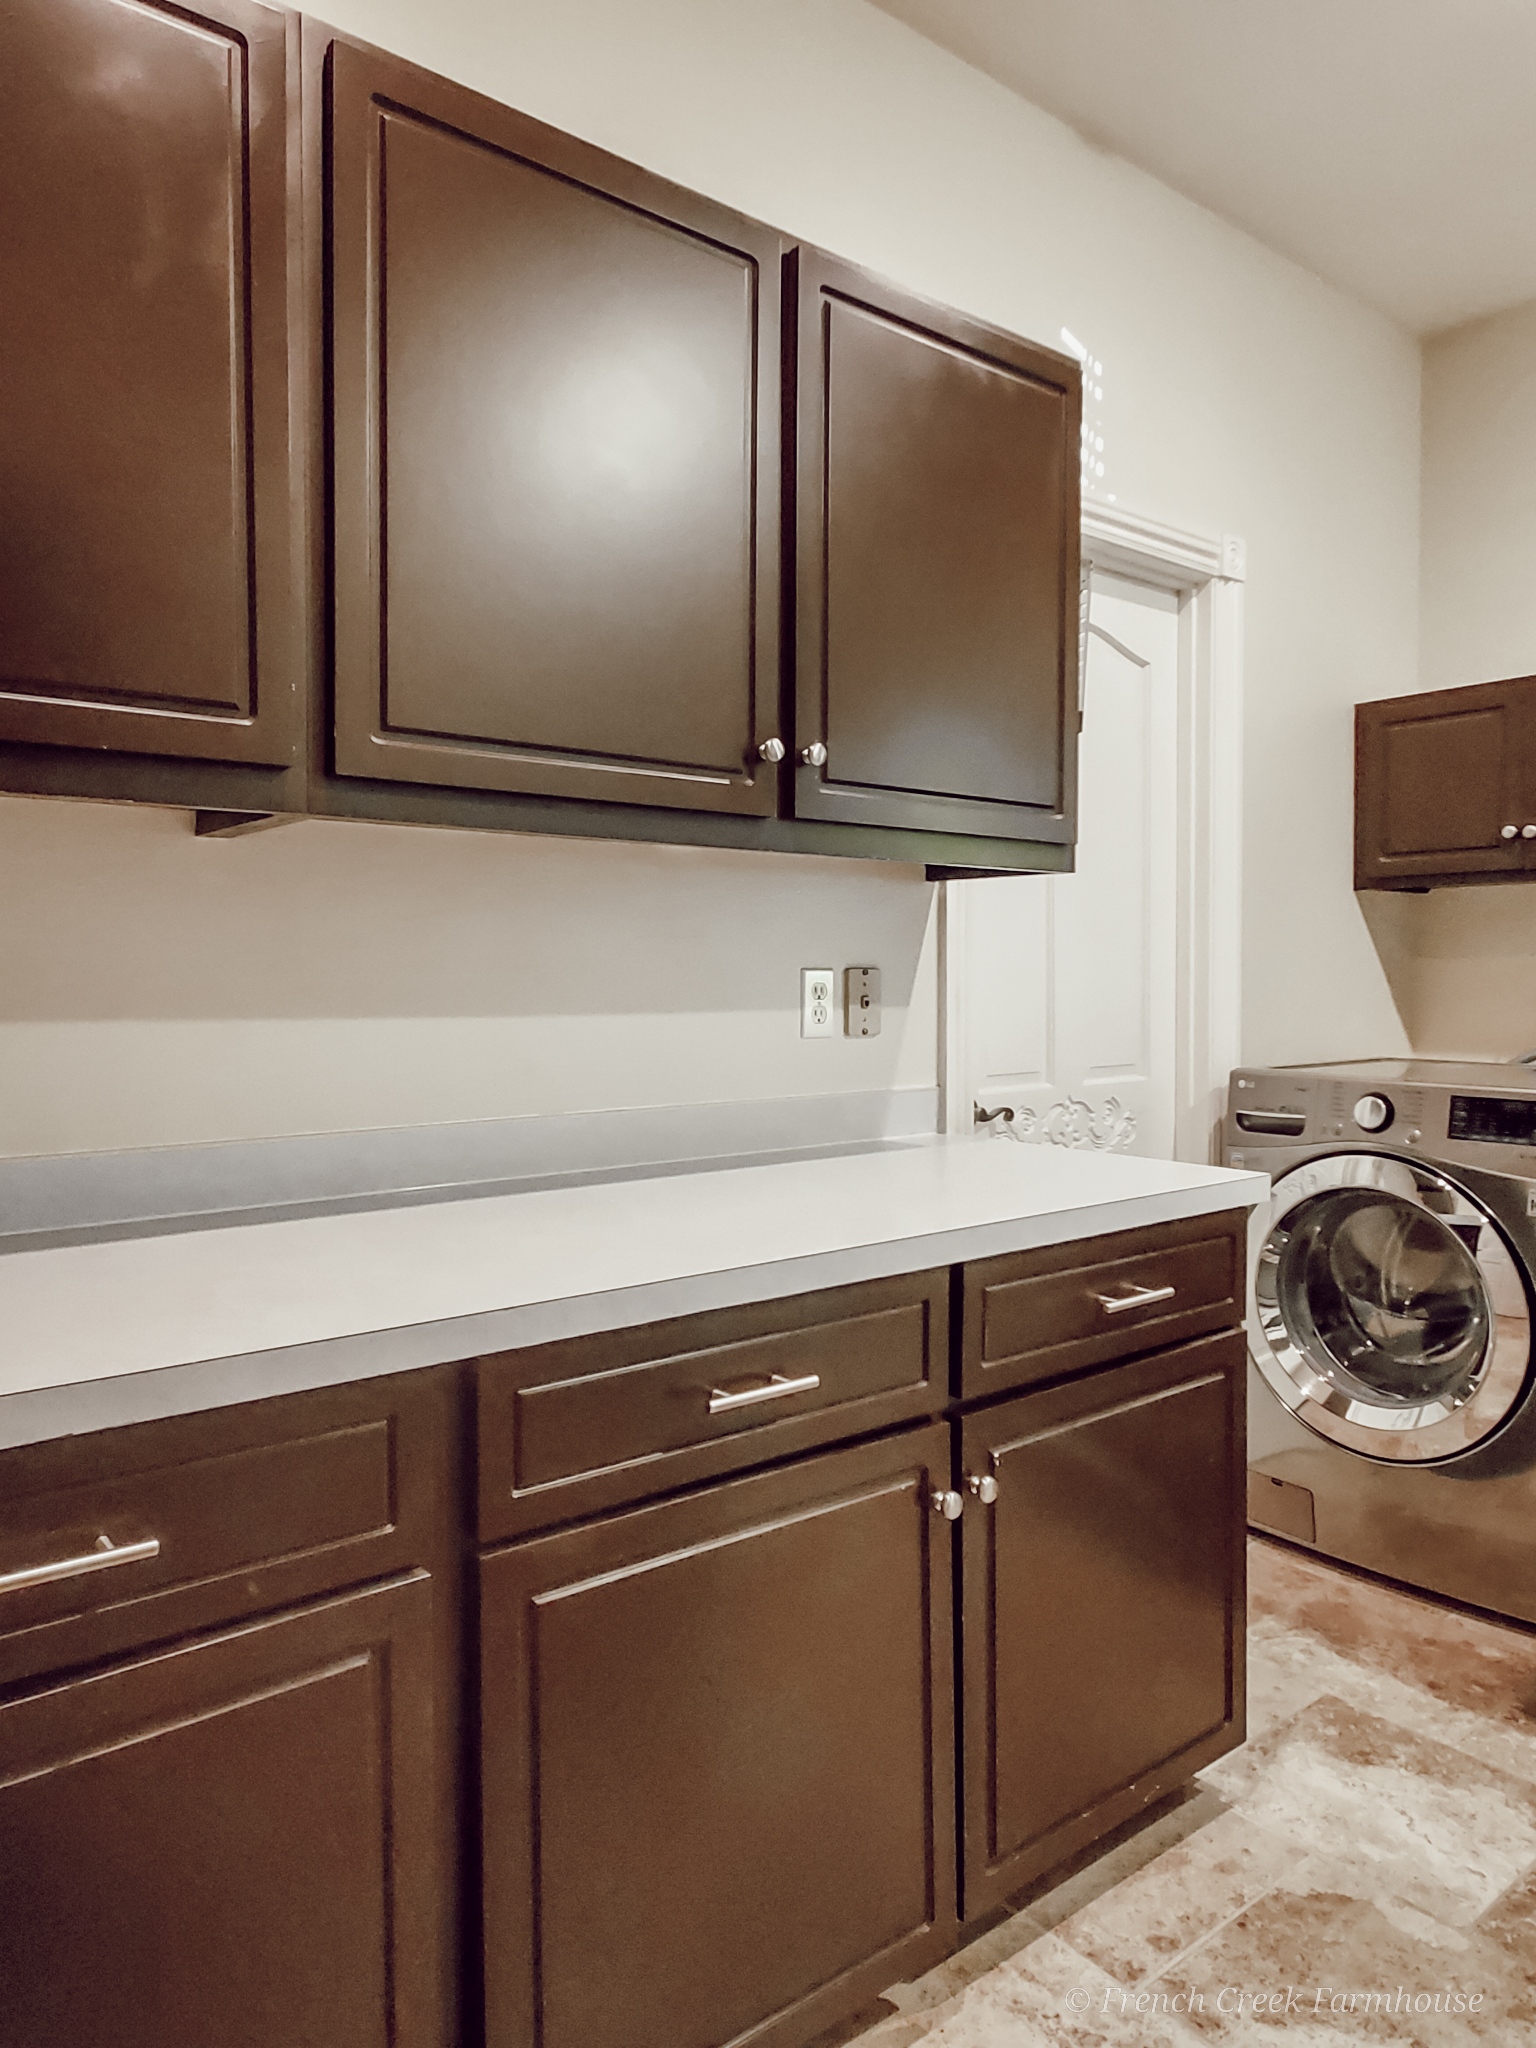
I love how much storage the cabinets give us–another pro! We don’t have a traditional walk-in pantry in our home, so part of this area serves as food storage for things we stock in bulk. Having so much cabinet space is a nice feature.
And the super long countertop provides tons of space for folding laundry or doing small projects, as well. A great bonus.
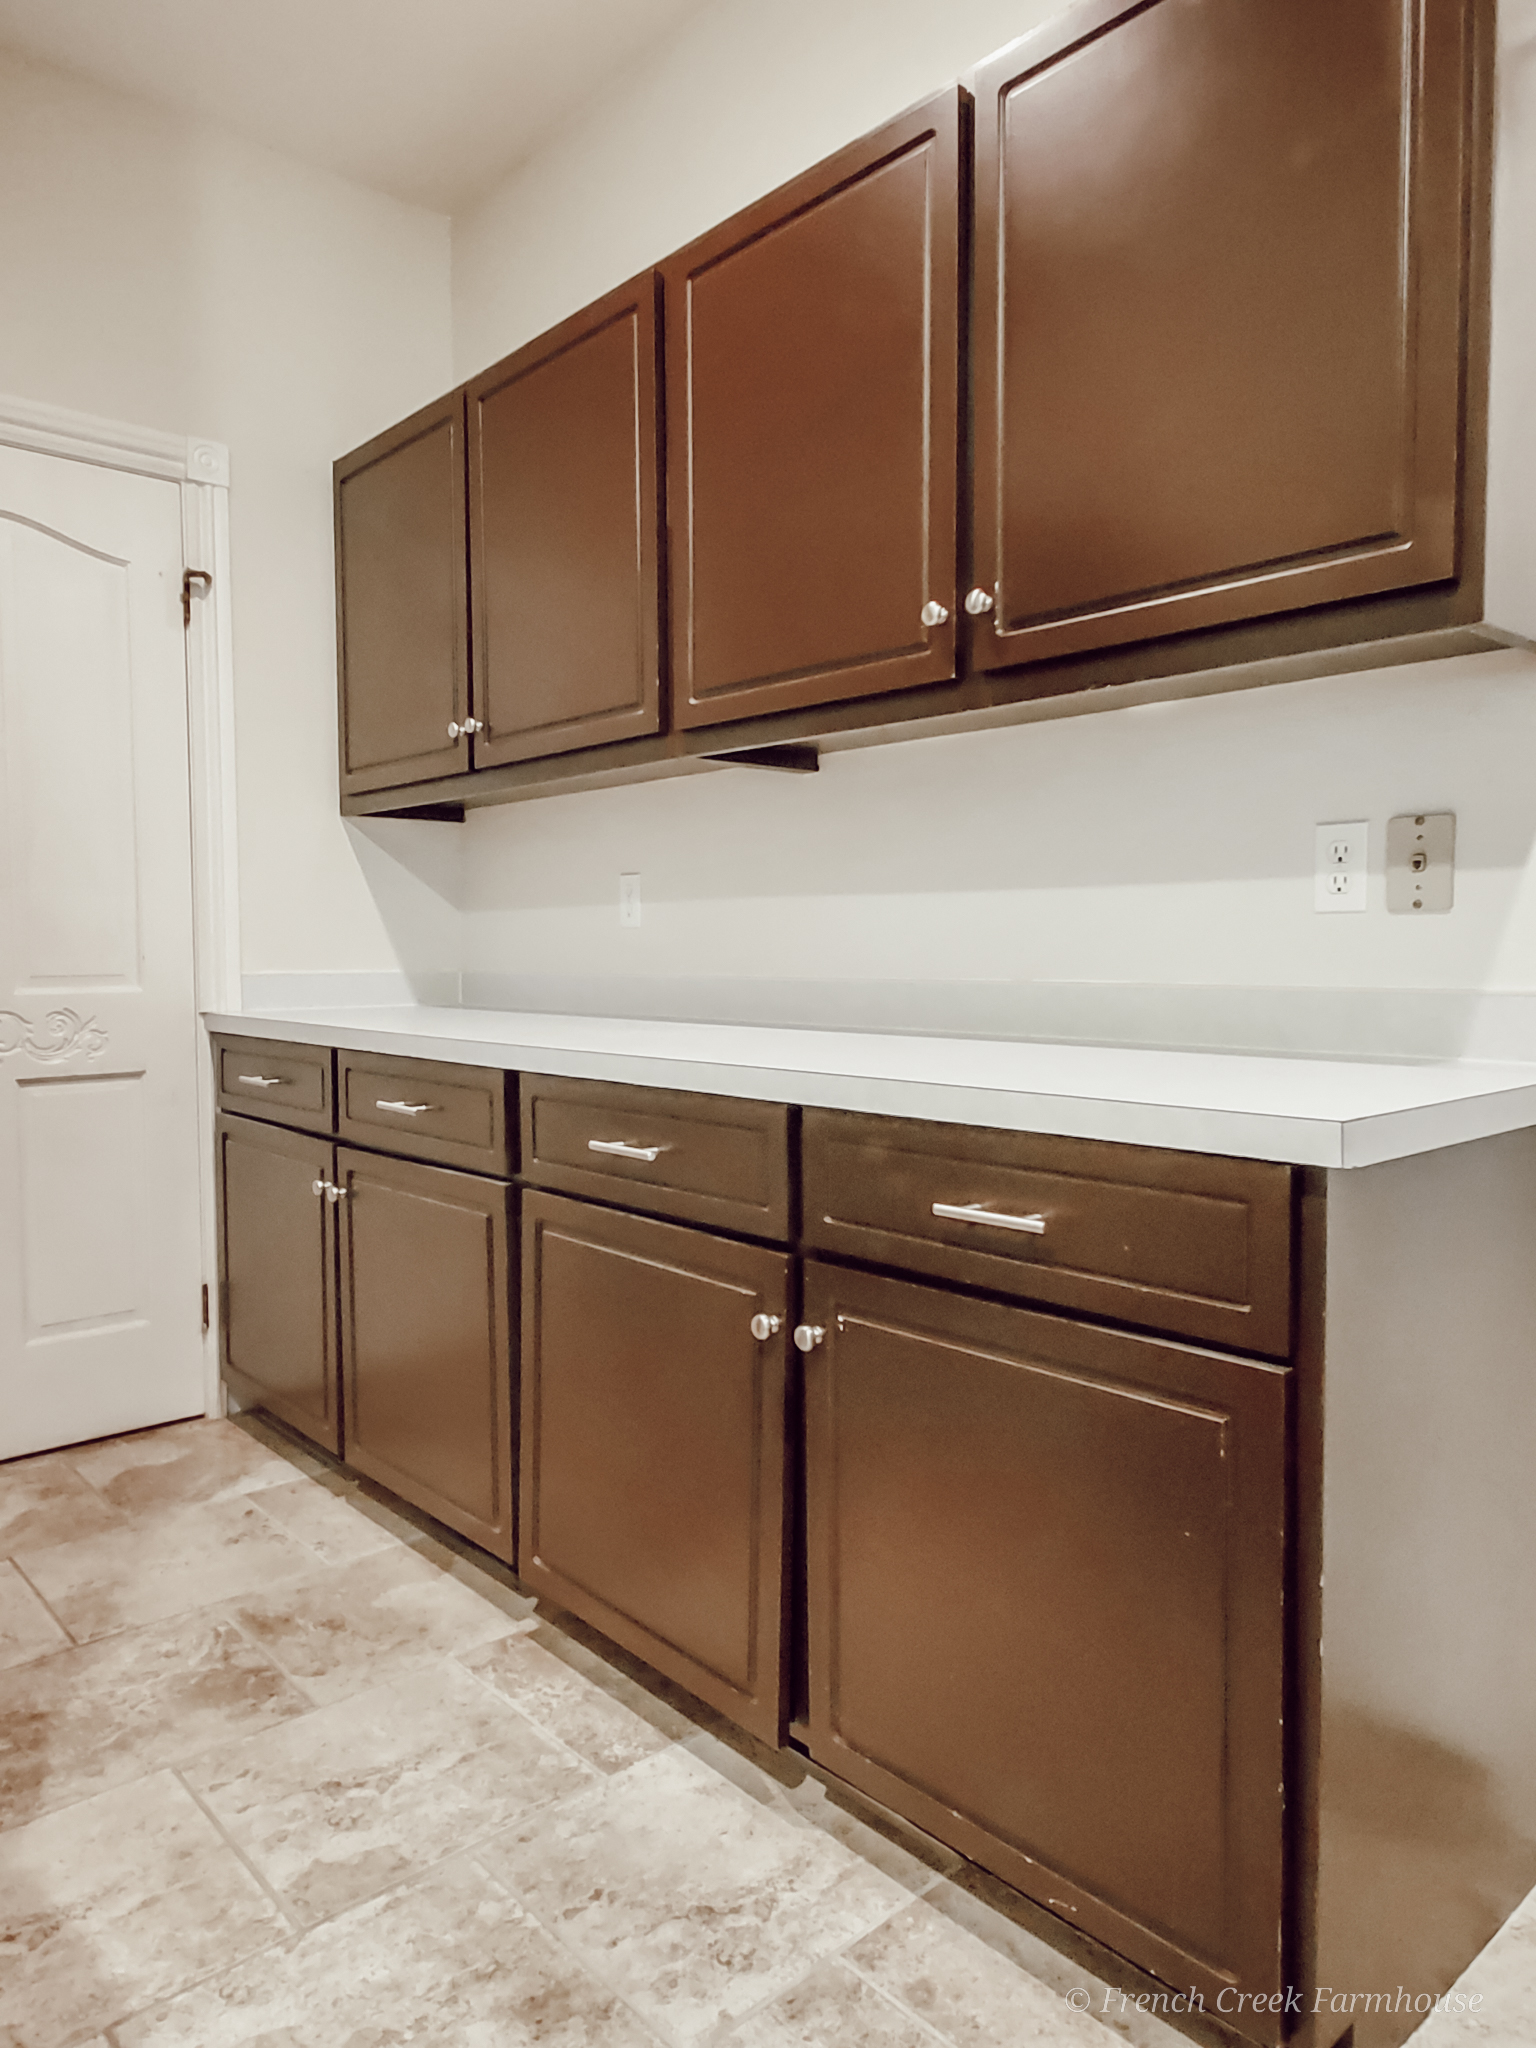
The downside is that the finish on the cabinets is worn and very dark. From the chips in the paint, I can tell that they have previously been white, then a pale yellow/cream color, and then dark brown.
My hope is that painting them a lighter color will brighten up the space and align better with the aesthetic of the house.
THE PAINT COLOR
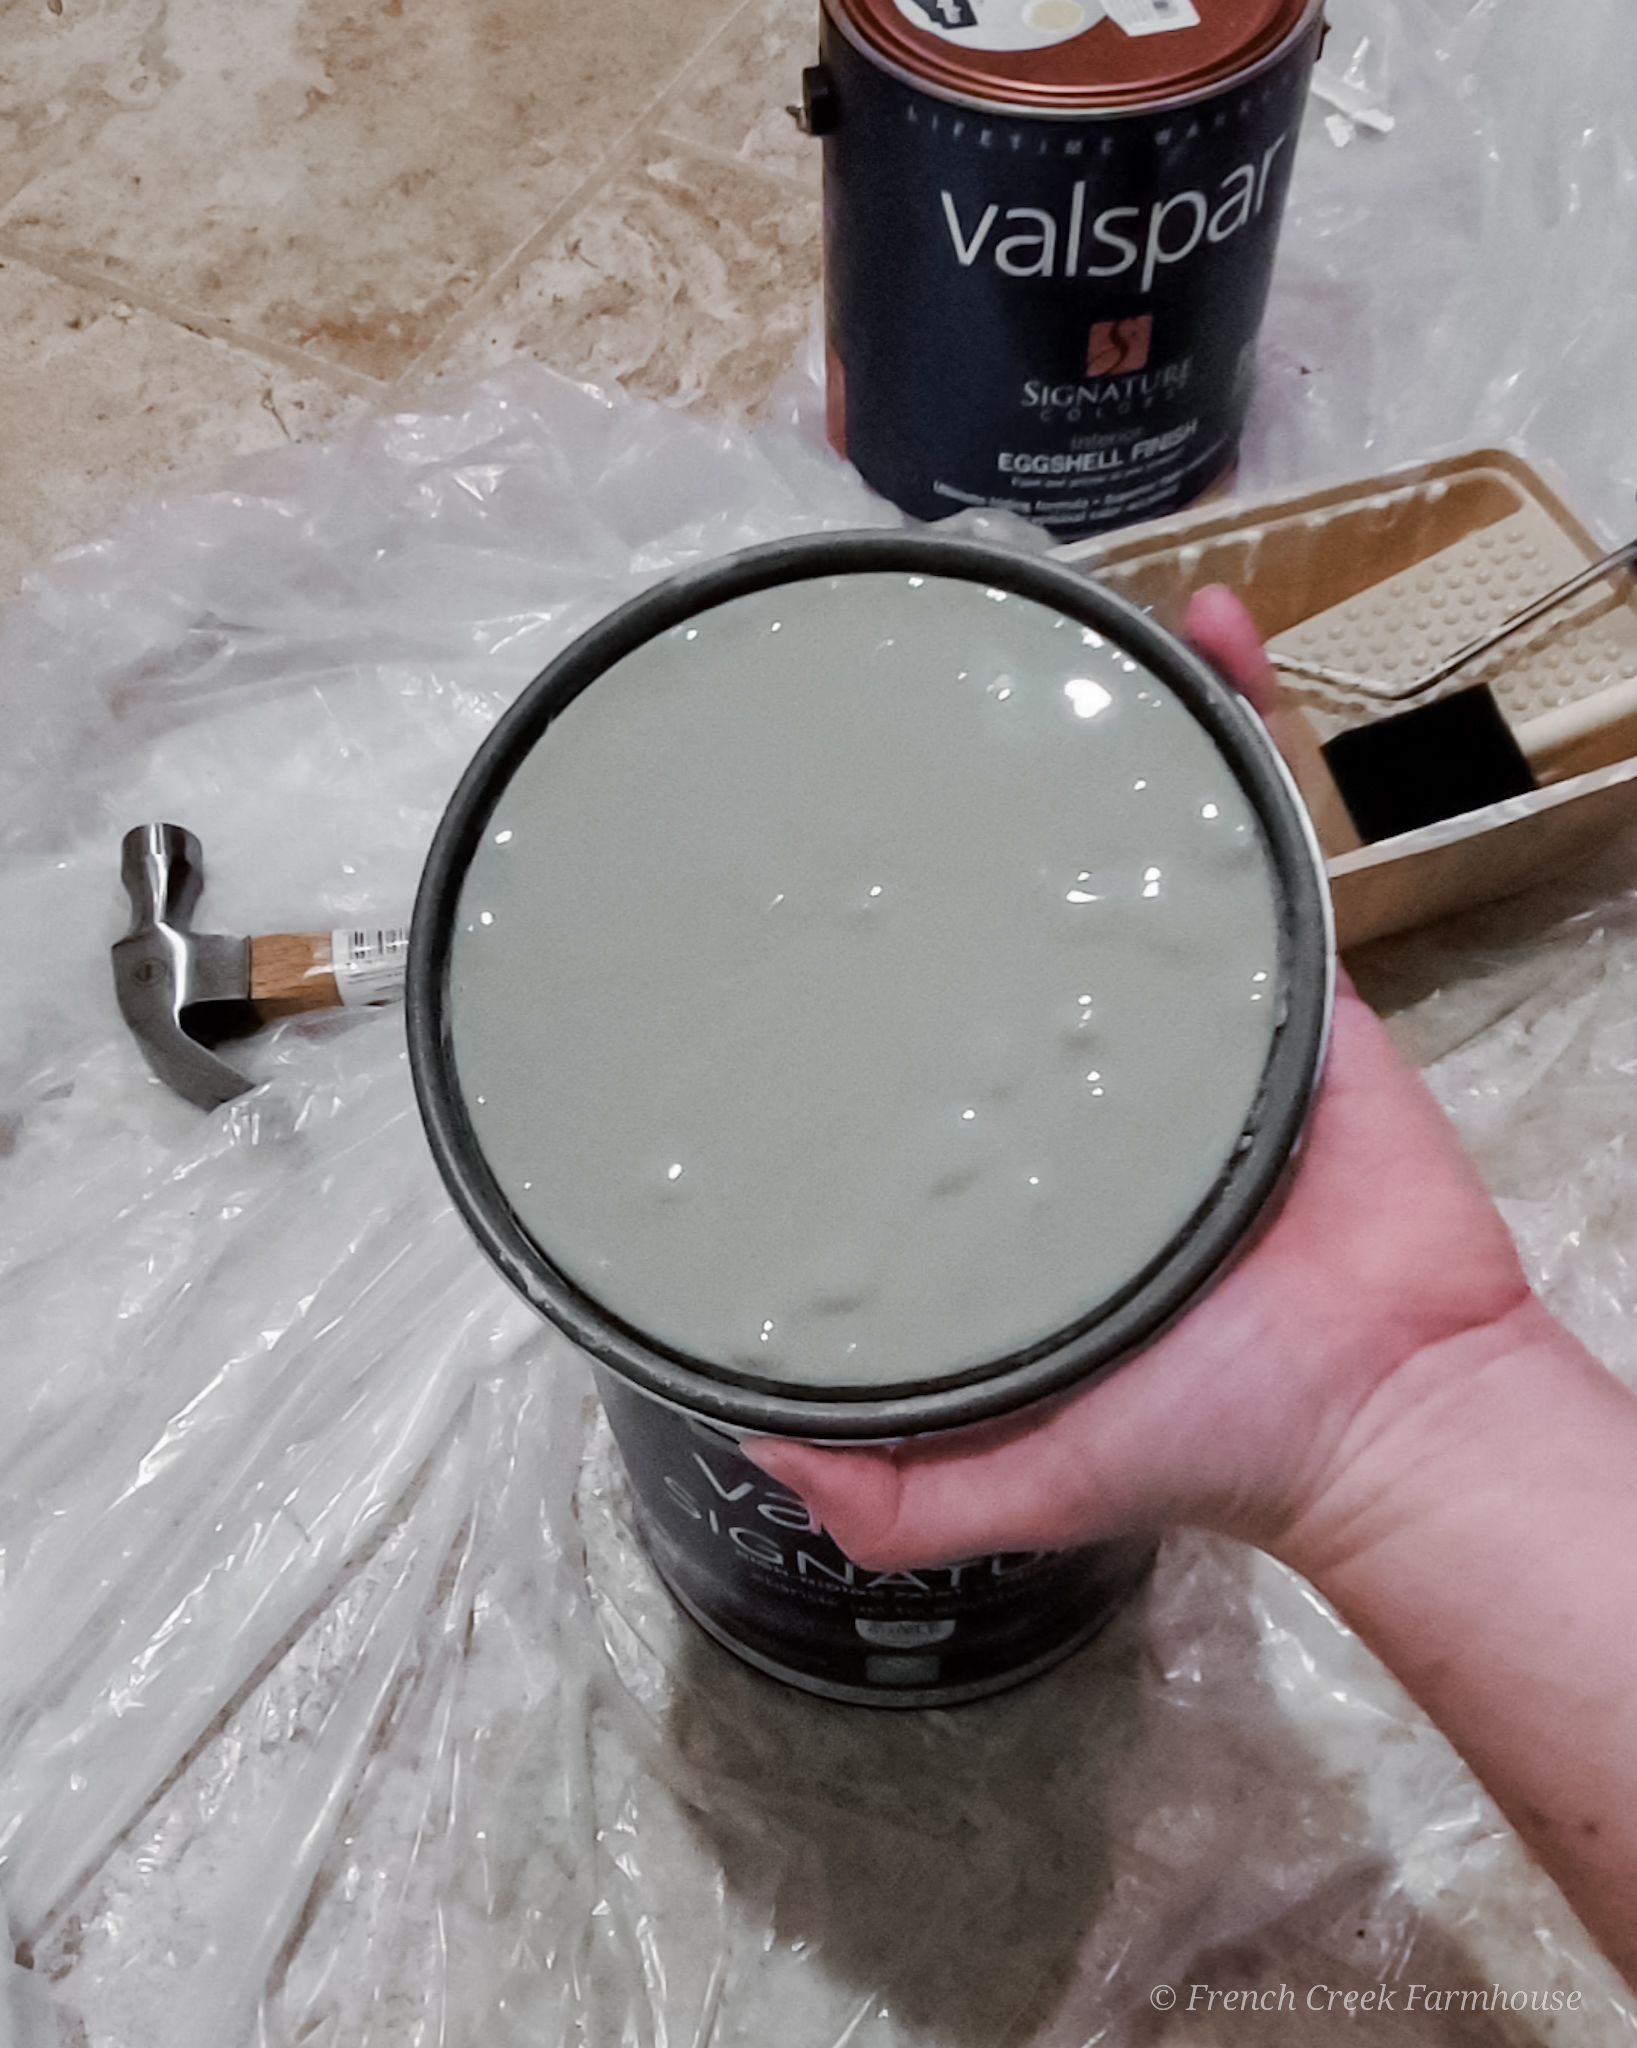
Choosing the paint color was a challenge. I talked about this in more depth last week, but the jist of it is that picking a color you’ve never used in your home before comes with some risk.
What we think will look good from the paint swatch might not work at all with the amount of light in the room, or the color of other design elements.
When choosing a paint color, my trick is to paint a large swatch on a piece of poster board or cardboard. It should be at least 12″ x 12″ so that you really get a good idea of the color. Then, you can move this large swatch around and test it at different times of day.
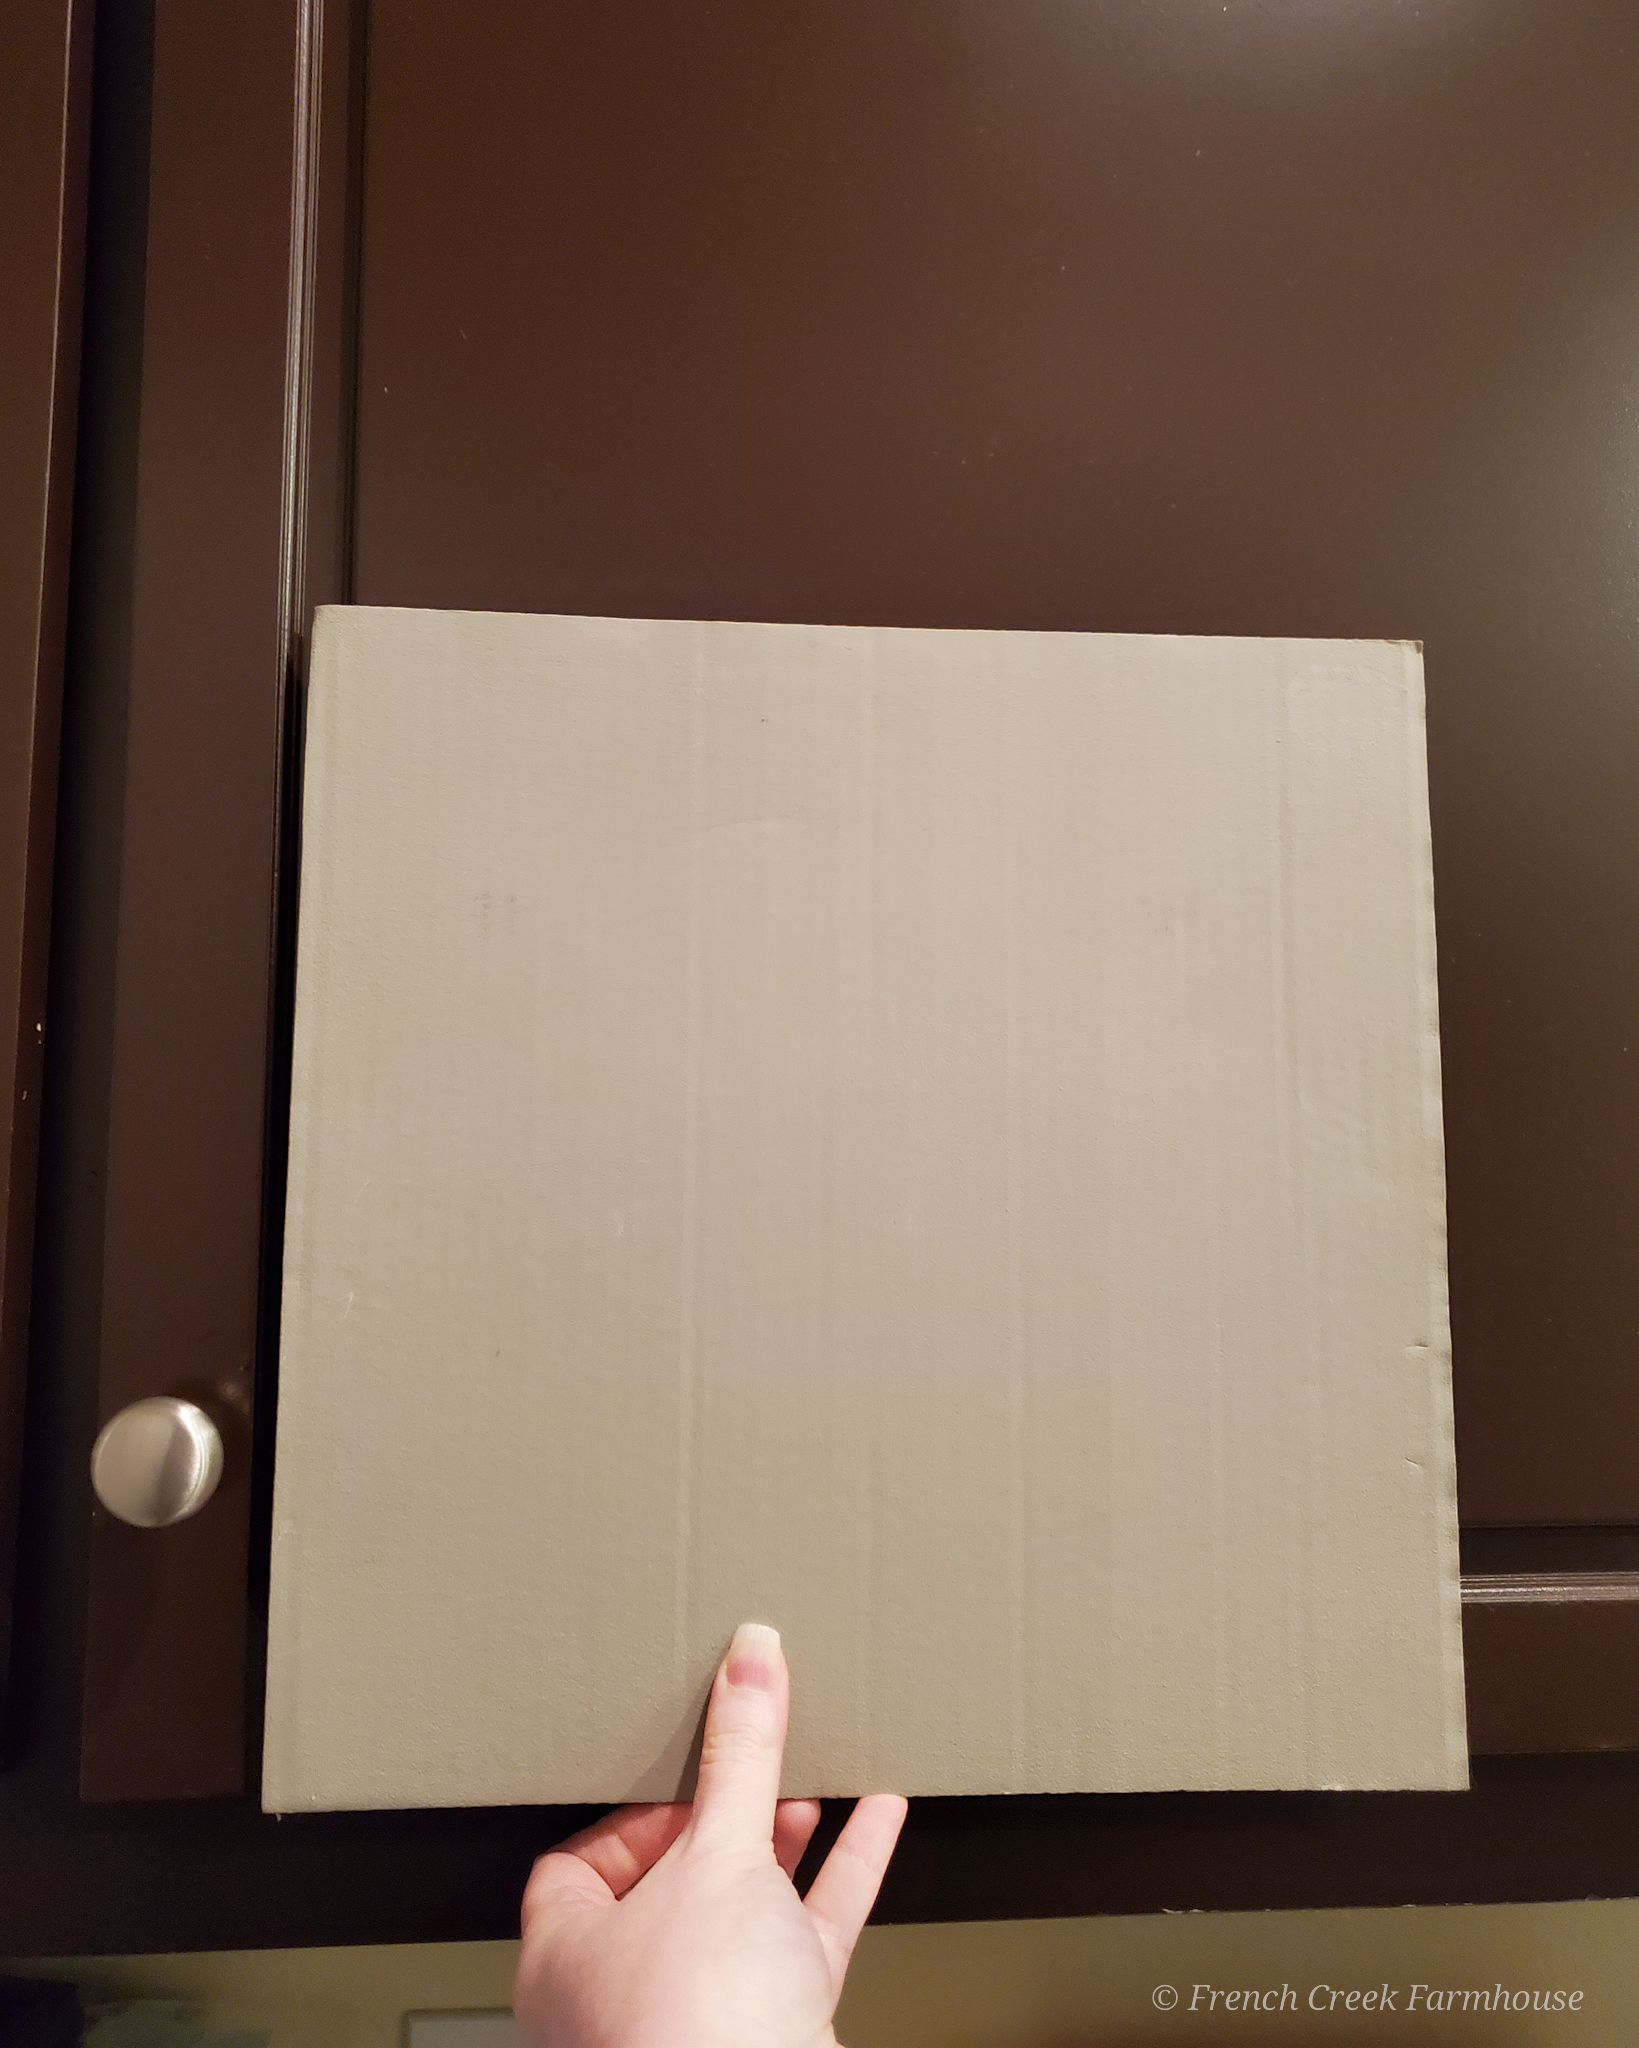
This method is also sooo much better than painting swatches on the wall. Inevitably, you end up with a whole rainbow of colors, and it becomes tough to choose when you’re viewing them next to other colors.
So, back to the color we picked.
Although I’ve received lots of messages about it after painting the utility sink cabinet last week, I can’t provide a name because we had this color custom made. However, here’s how we got to it.
I’ve been painting furniture for many years. In 2018, we opened our shop because I was selling so much of it that it had become too time consuming to schedule meetups with potential buyers all the time.
I had a palette of colors that I really liked and used most often, and I used chalk paint more than anything else.
One of the colors of chalk paint that I always loved was Annie Sloan’s French Linen. It is a true “greige”…a combination of grey and beige. The website calls it a “khaki grey”, and I think that’s a good description.
(Side note – if Annie Sloan is out of your budget, this is a close copycat, and I have only good things to say about the quality of the brand.)
The problem is that chalky-finish paint is not at all suitable for cabinets. It’s not washable, it’s prone to chipping, and it simply wasn’t intended for high-use pieces.
For cabinets, you want an enamel or latex paint with a little more sheen to it. However, sheen changes the way a color appears. Take a look at the way this color of grey changes depending on the sheen:
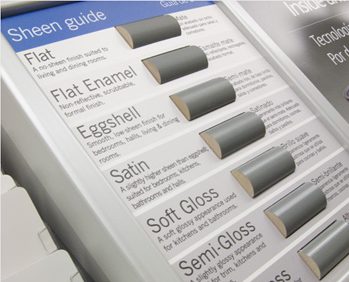 |
| Credit: Men In White Painting |
So, my paint guy and I got to work trying to match the color/sheen combo so that, even with the sheen of the paint, it would come out the way I wanted it to look. It took several rounds of tweaking just a little bit at a time and testing it against my larger swatch. But the effort paid off!
That practice in patience resulted in a completely custom color that is so darn close to the original that it would be hard to tell the difference!
THIS WEEK’S PROGRESS
The three big projects remaining in our renovation are the cabinets, countertops, and backsplash. This week, we started to tackle painting the cabinets.
In the course of any fixer-upper project, you will inevitably encounter things that don’t go as planned. No matter how much you prepare, it’s impossible to remove every possible risk, so DIYing is largely a test in one’s ability to rebound from setbacks with grit and grace.
The previous four weeks of this project have gone relatively smoothly, save a few issues with my health. A lot of that was due to the fact that the first few projects we tackled were lower risk, easier parts of the work to complete.
These final few projects are where the bulk of the renovation work is really going to happen, and therefore, it’s the biggest chance for things to go awry.
And, of course, we encountered a snag.
I originally planned for the cabinets to take two full days of work. It should have gone like this:
- Day One: Remove cabinet doors and hardware, clean, paint one side of doors, and apply first coat of paint to cabinet boxes.
- Day Two: Paint the other side of doors, and apply final coats of paint to cabinet boxes.
Instead, Day One only consisted of removing the doors and hardware. My body wasn’t cooperating at all, so I couldn’t even make it through this simple task on my own. Rob had to step in and take care of it that evening.
The source of the problem, we think, is the heat wave we had been experiencing earlier this week. My heart just can’t tolerate it anymore (if you don’t know what I’m talking about, you can catch up in this health update).

For reference, August is the hottest month of the year here in Snohomish, Washington, and the high temperatures usually average around 76 degrees. But, the first week of June? We’re used to high temps in the mid-60s…maybe the occasional 70-degree day that makes everyone giddy.
This week, we had temps in the mid to upper 80s. Far from normal for us…even during the hottest time of the year (which is still months away)! This was making doing any project work very tough for me.
To make matters worse, this heat wave was about to be followed up with rain in the forecast, so my window of opportunity to get anything accomplished with painting was rapidly closing!
Early the next morning, I was determined to make up for lost time. I loaded up with heart meds, and I started early to clean the doors and mask off the cabinet boxes for painting. This wasn’t too bad because I could do it while sitting on the floor, so that kept my heart rate somewhat under control.
The weather report predicted a high of 86 degrees, so I had a feeling things were going to get rough as the day wore on.
At lunchtime, we set up our 10×10 canopy under a tree in the shade, trying to make as cool of a spot as possible to paint the cabinet doors. We laid out drop cloths and arranged all the doors and drawer fronts.
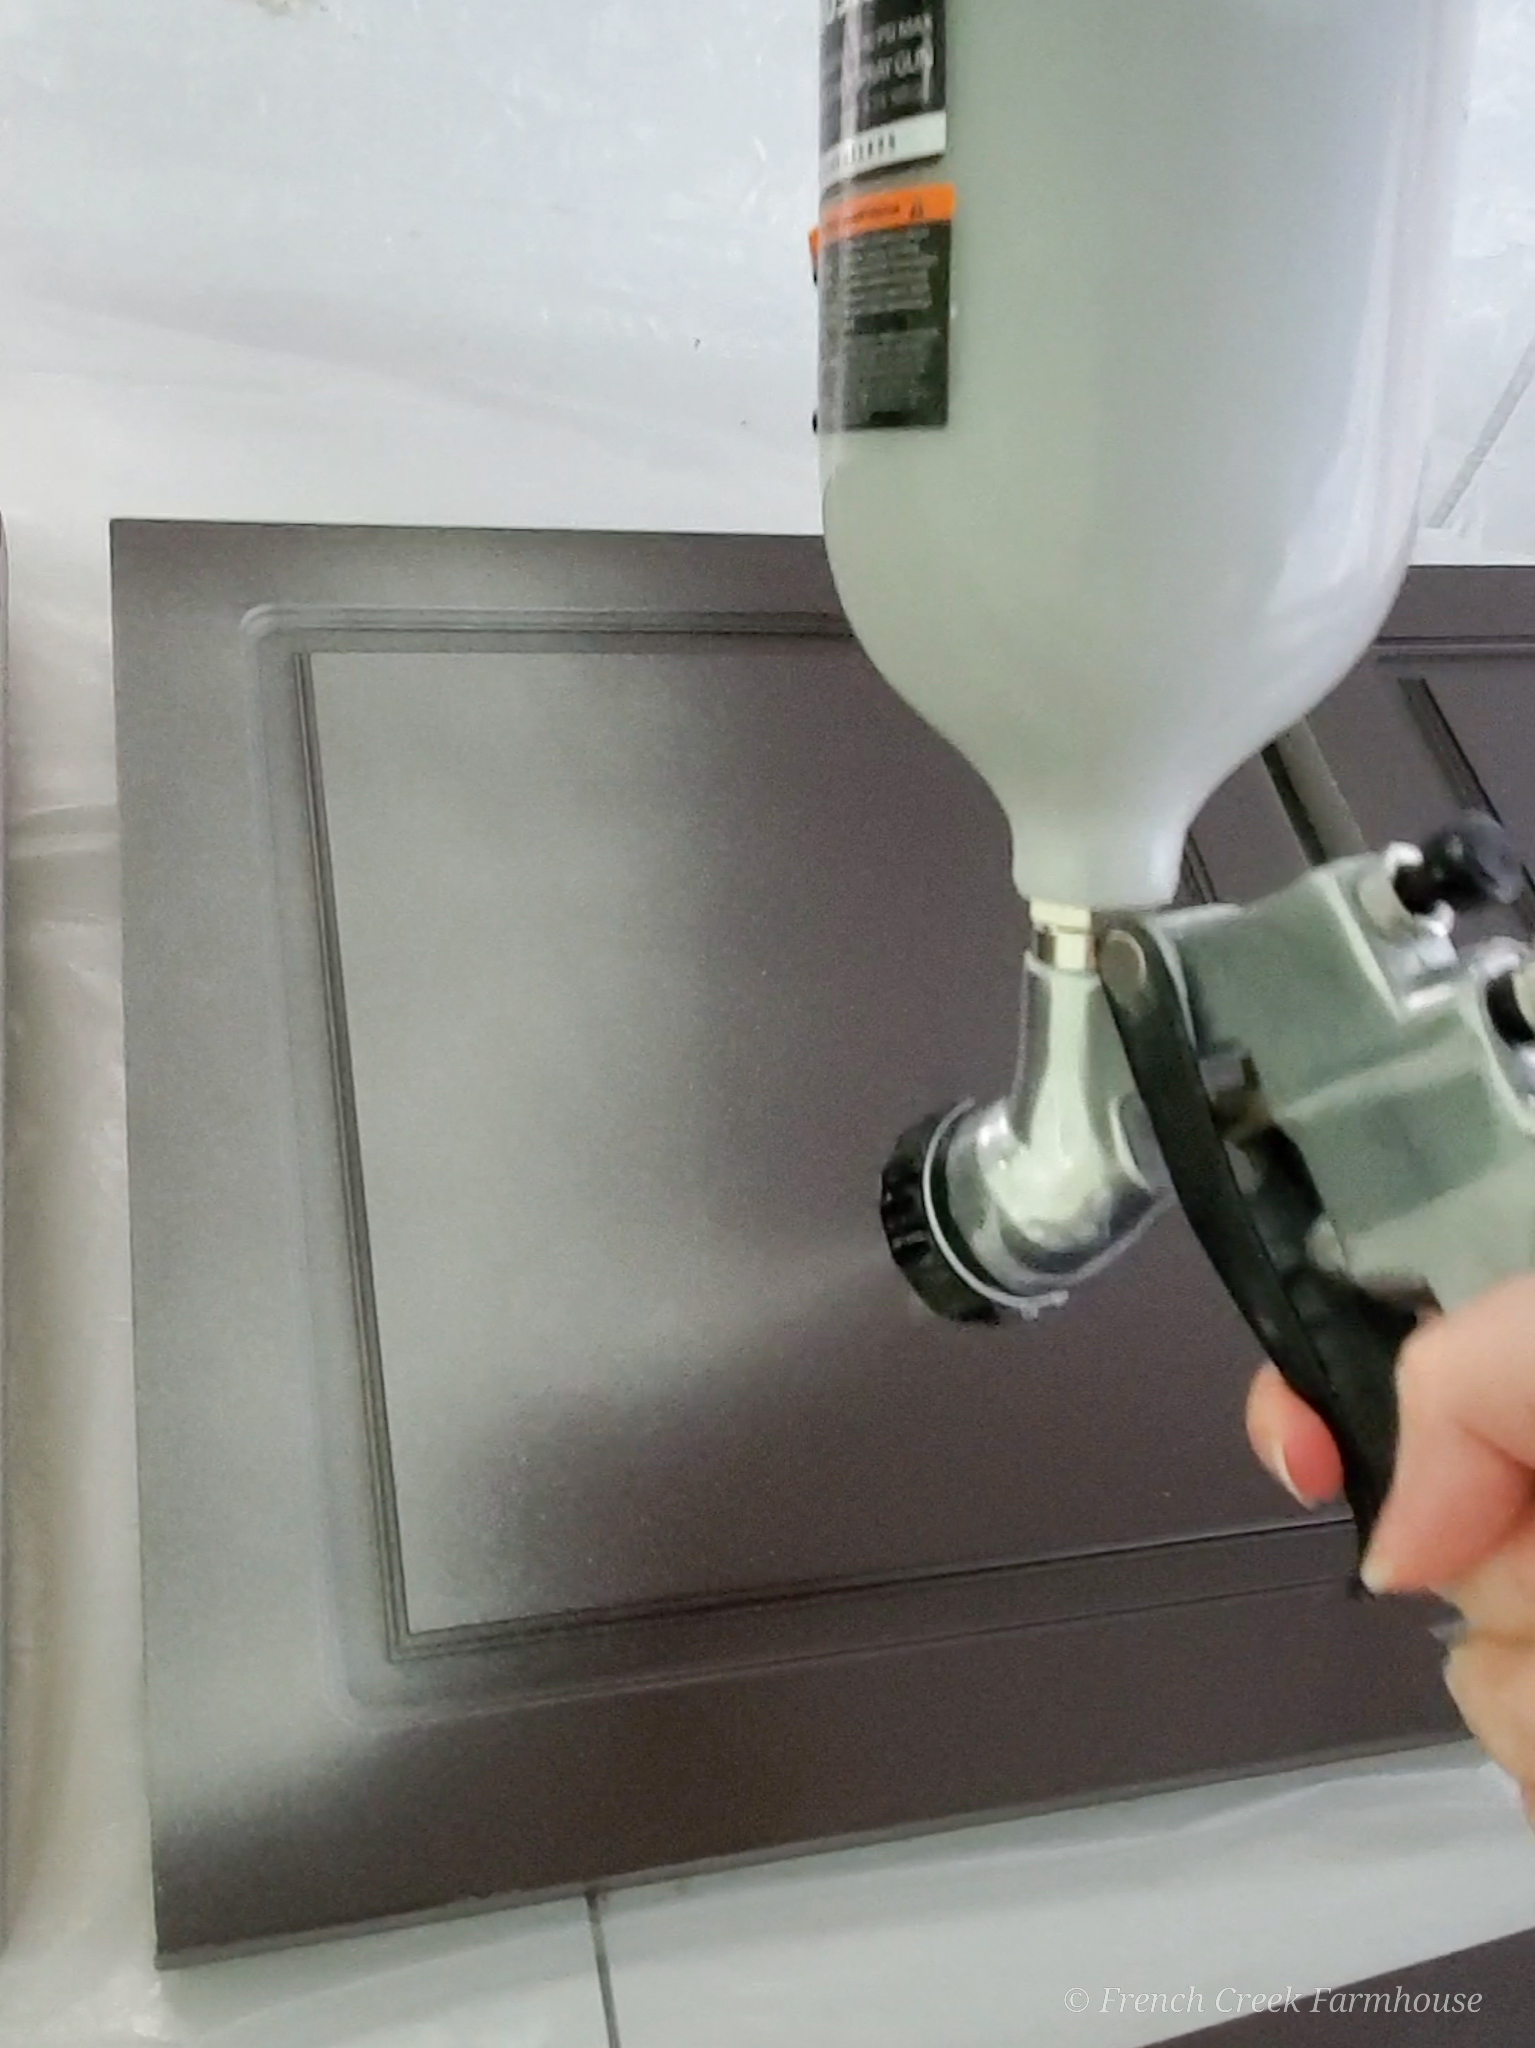
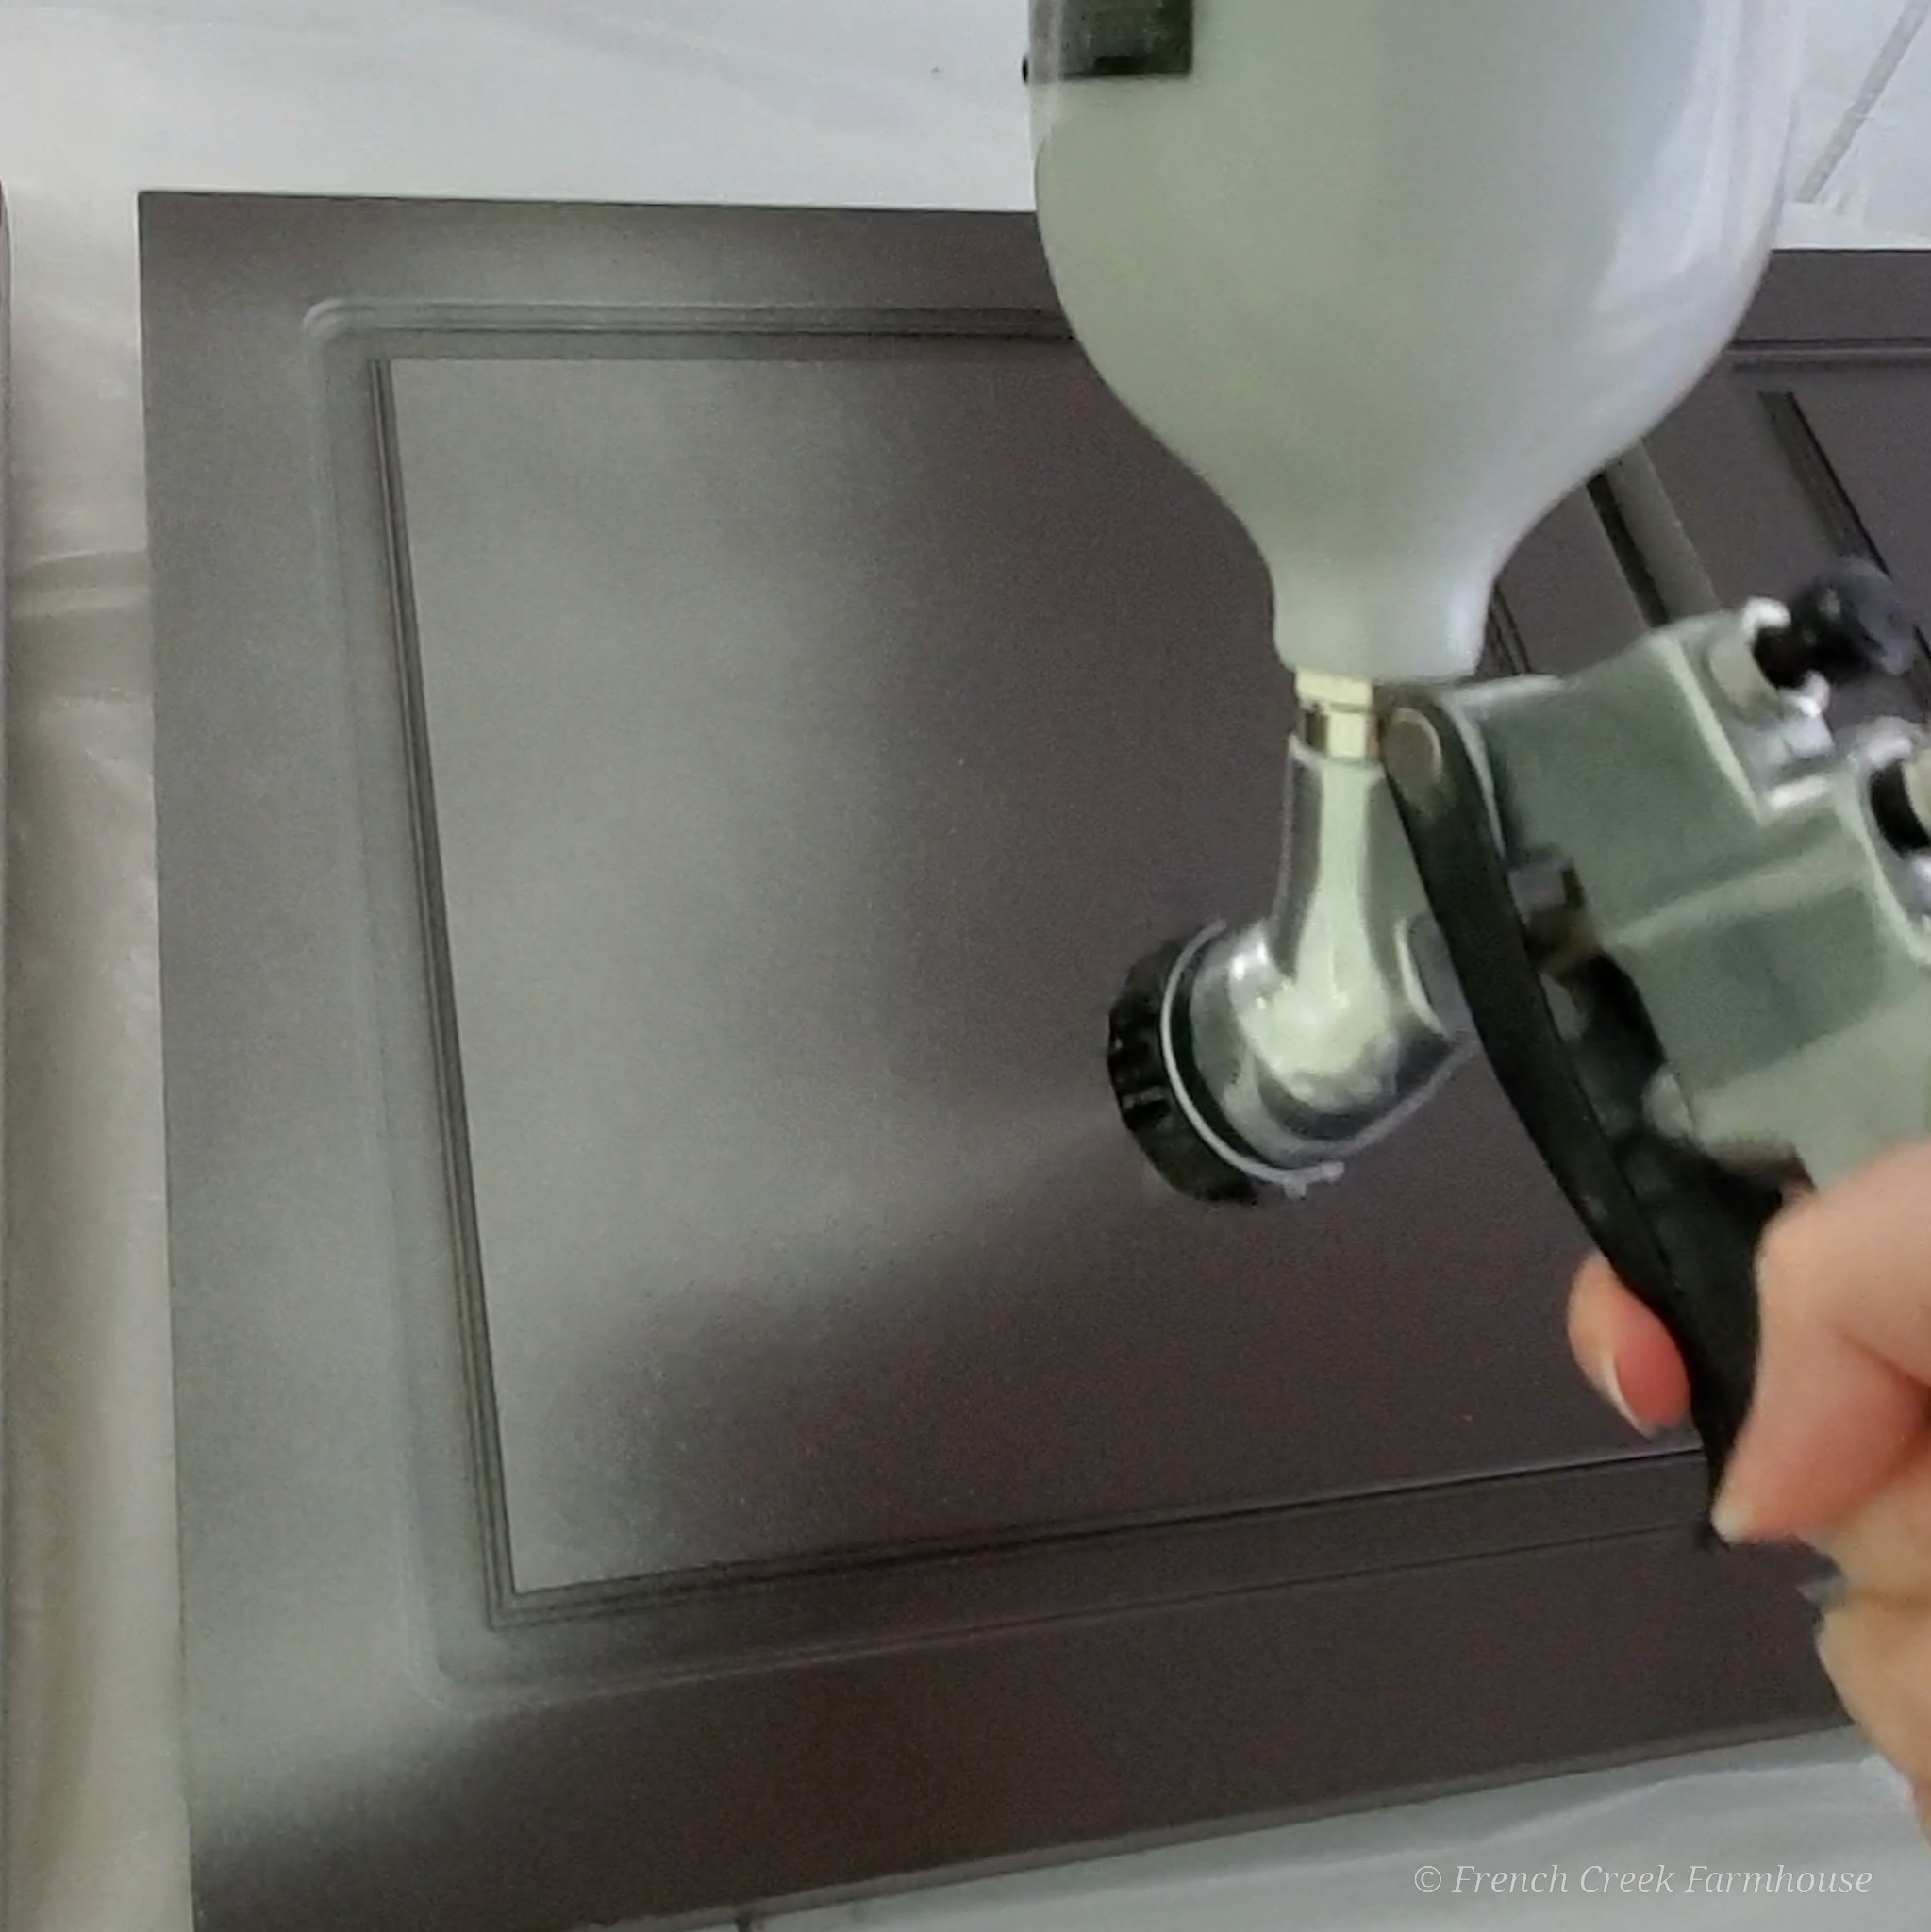
As soon as Rob finished working for the day, we used my gravity-fed HVLP sprayer with our air compressor to paint the back-side of them all. Truly, spraying is the only way to paint cabinets…about 15 minutes, and they were done. (At least, with one side.)
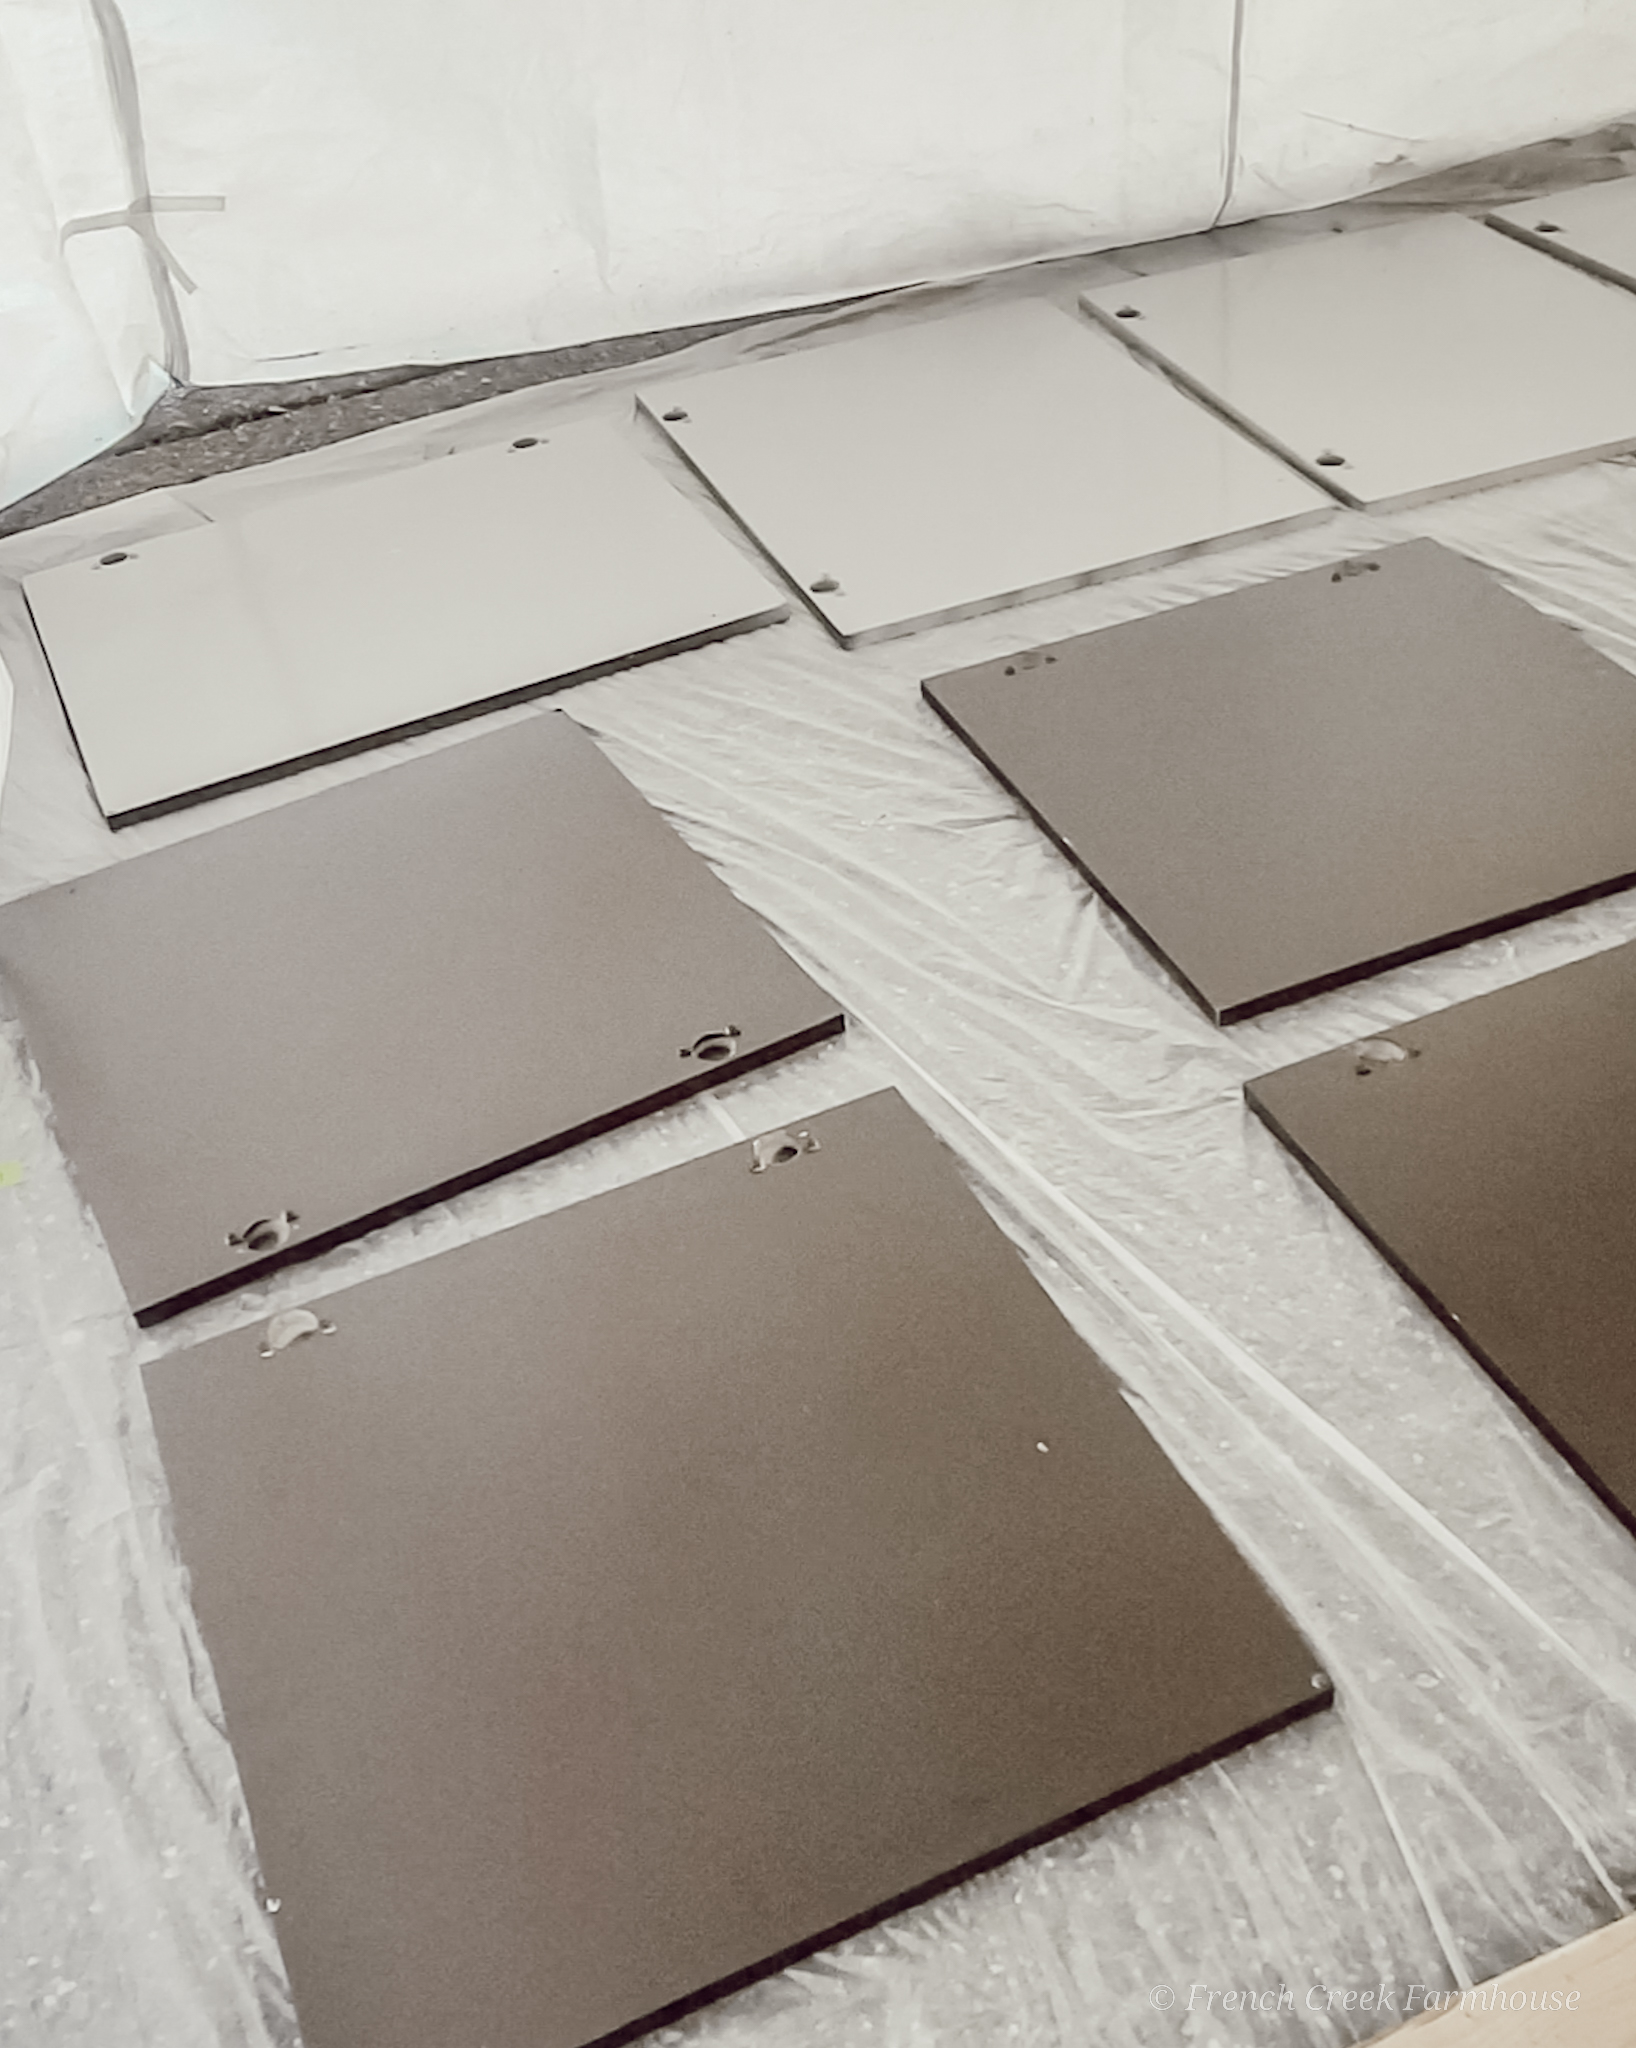
I ended the day feeling quite good about the progress, even if we were behind schedule.
This is inevitably when a problem strikes–right when you’re feeling good about things. It’s the universe’s way of humbling a DIYer, I think.
Before the clock hit 7am the next morning, I went into the tent to check how well the doors had dried overnight. I couldn’t wait to see!
Horrified, I found that little bits of debris had blown in and stuck to the paint of several doors…mostly, the ones closest to the door opening.
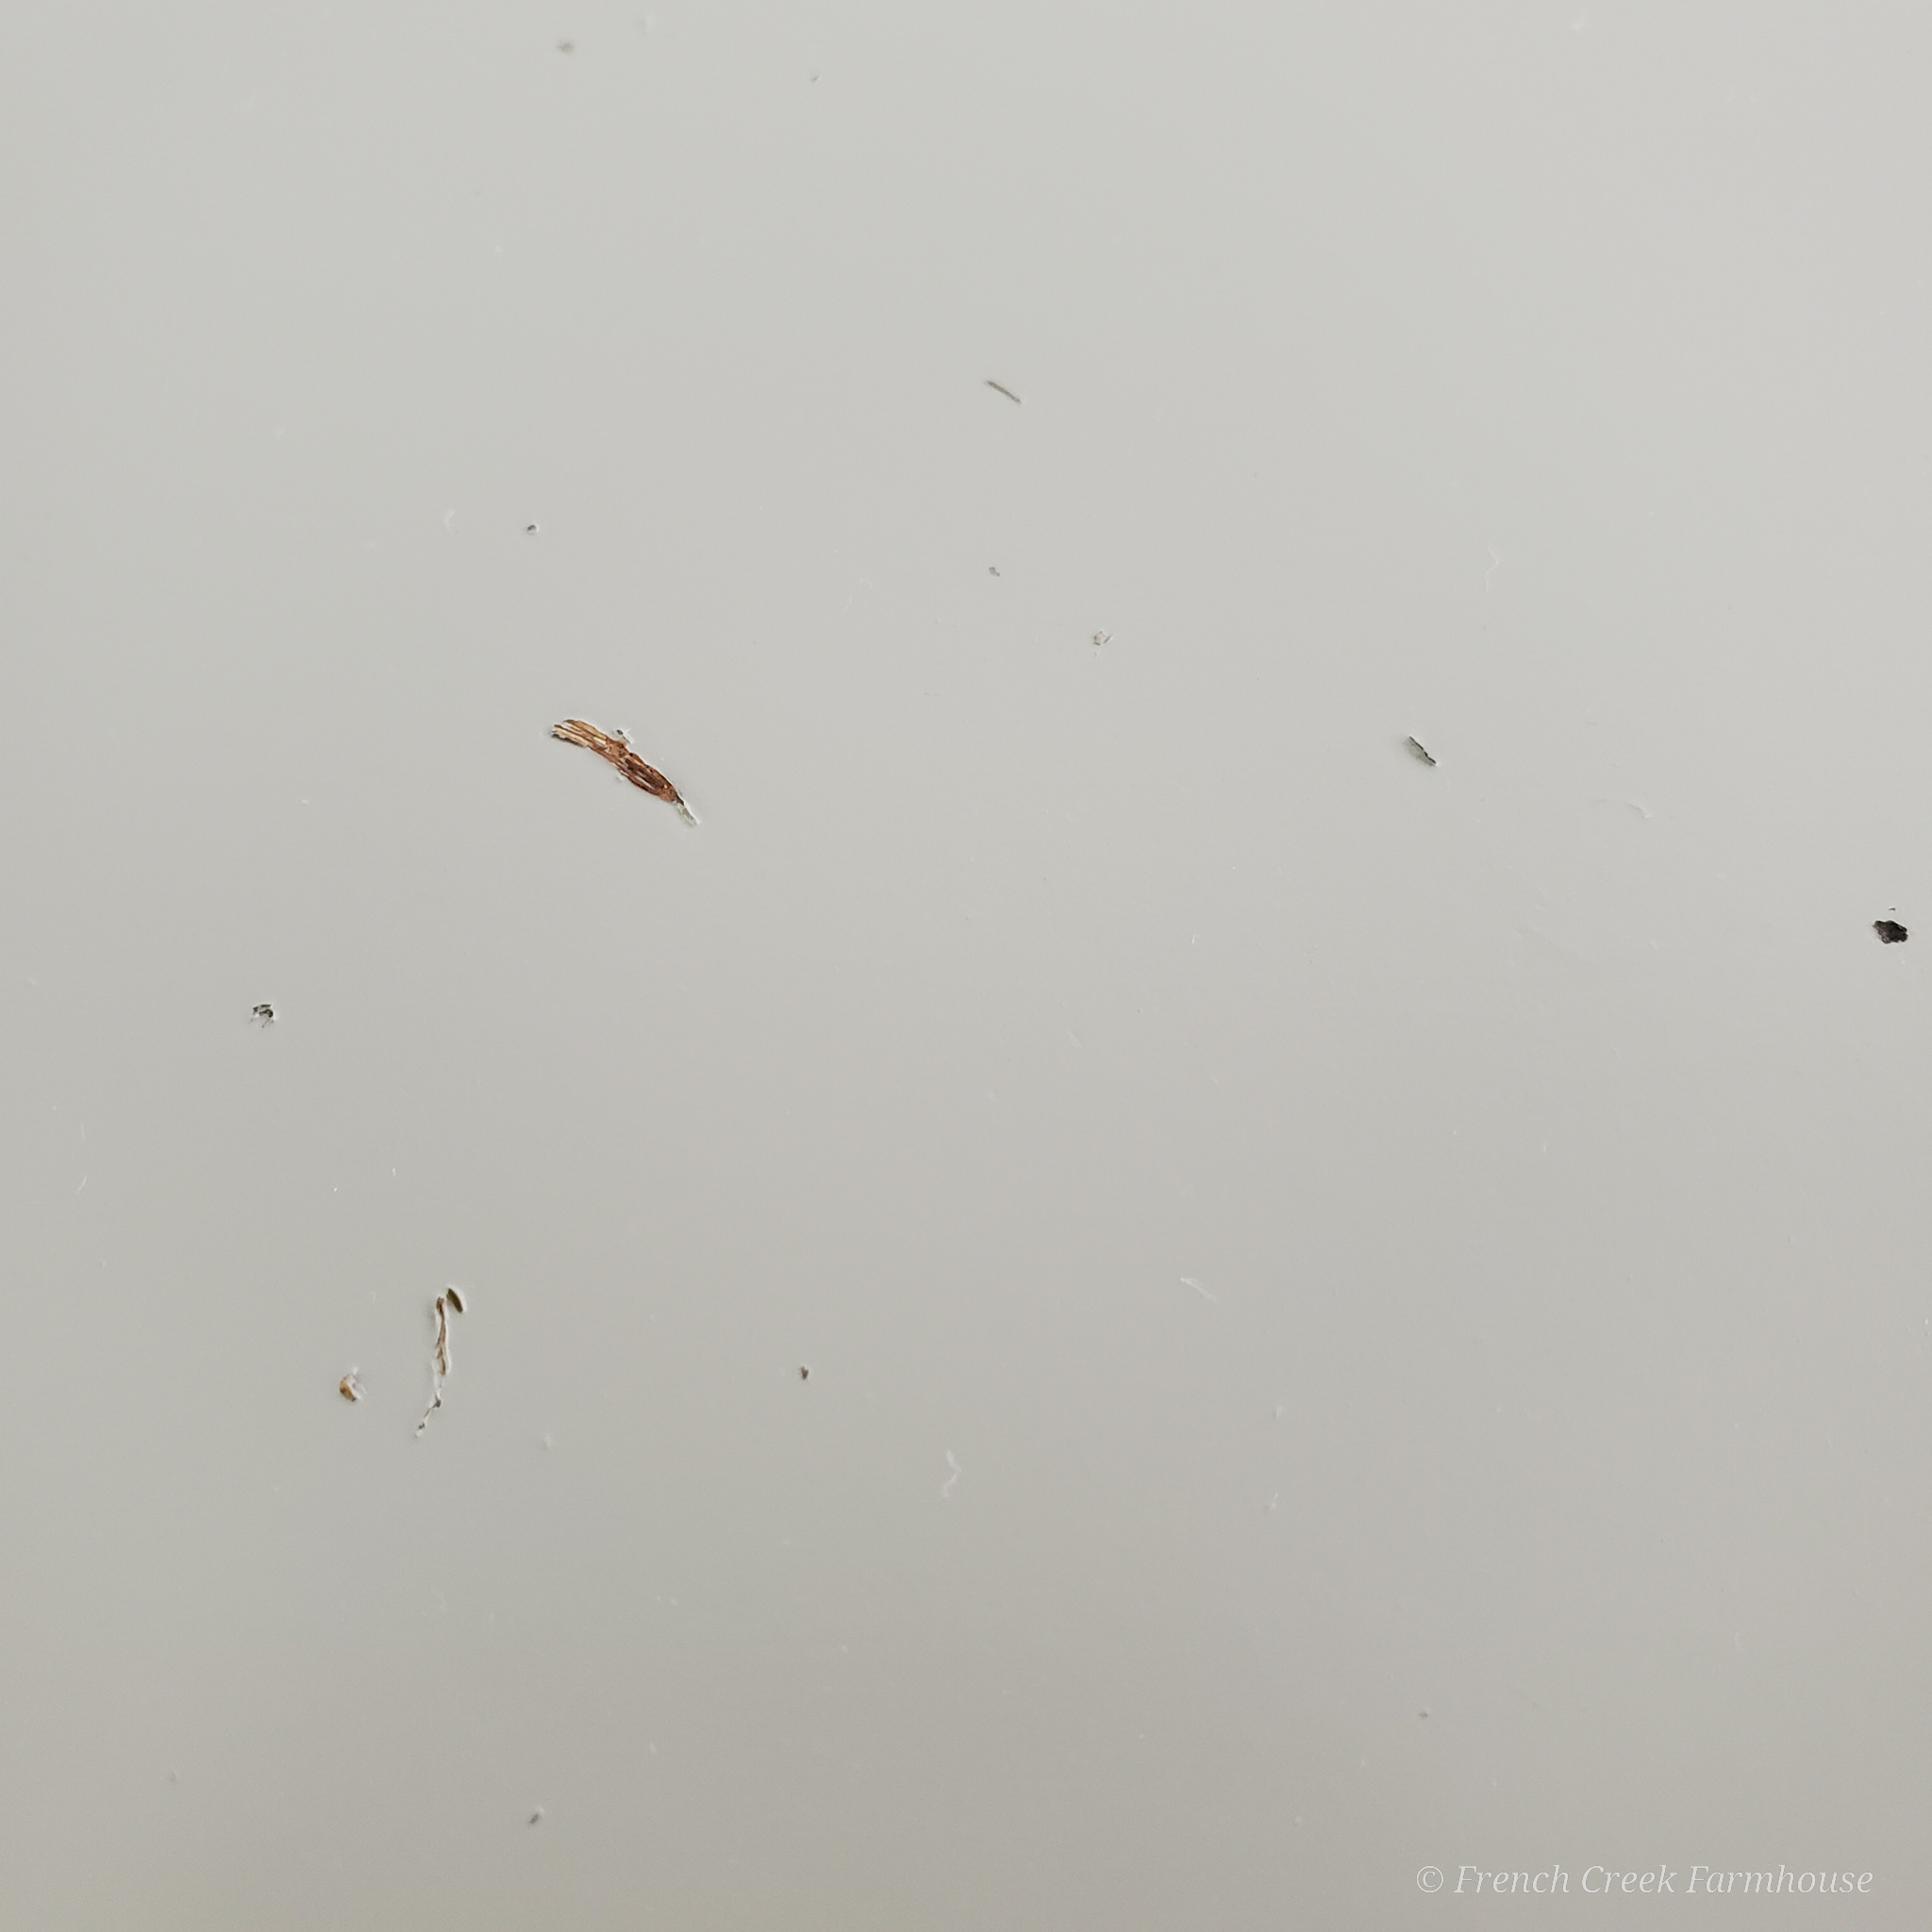
My feeling about this setback boiled down to, “We’re already behind and rain is coming; I have no time to dwell on this“.
We immediately got to work digging out a bunch of our folding tables from the garage. We set them up around the perimeter of the tent and covered them with fresh, clean plastic drop cloths.
Then, we set up the doors and drawer fronts again, and I carefully brushed the debris out of the paint. I’ll need to touch up those spots, but luckily, these are the insides of the cabinet doors, so no one will really see them.
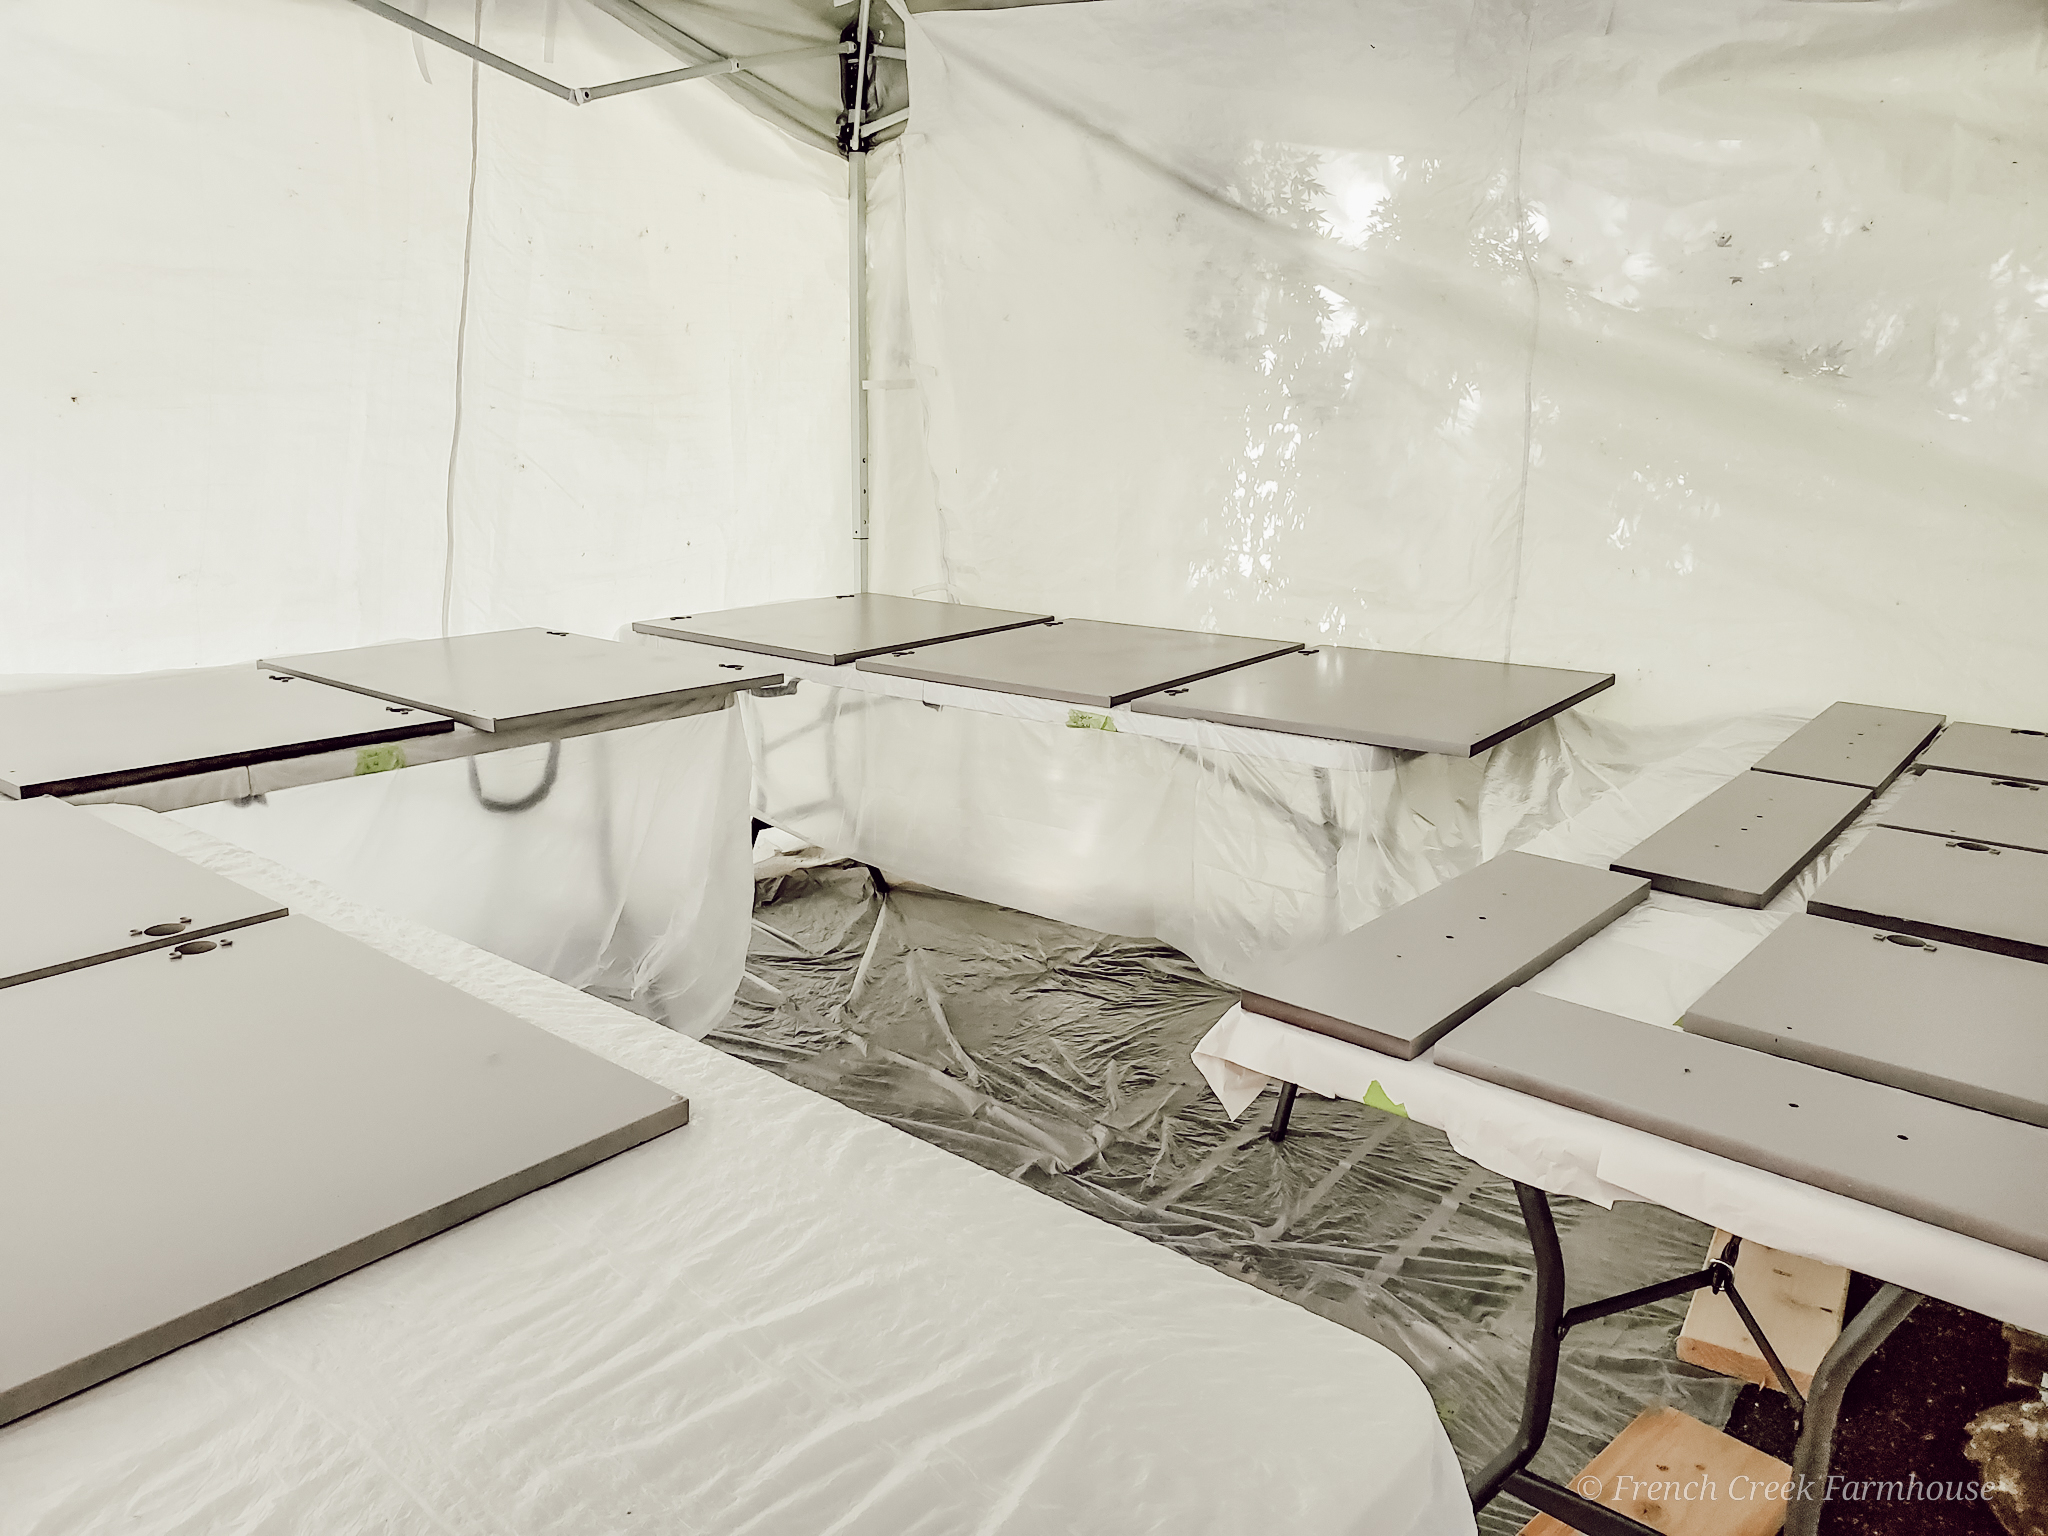
The cabinets continued to hang out in the tent during the work day, and then before dinner, we hit the front sides with another round of paint.
That round went SO much better. No dust or debris to be found, and it was infinitely easier to paint them at table height compared to on the ground…definitely a note for the next time I get the desire to paint cabinets.
Since you don’t want the tacky side of the cabinet doors laying flat during the second round of painting, I used these little pyramids. I’ve been using these for years, and they work like a charm! I’ve yet to have one break, and they have certainly taken some abuse. One of the best secrets for painting that I know!
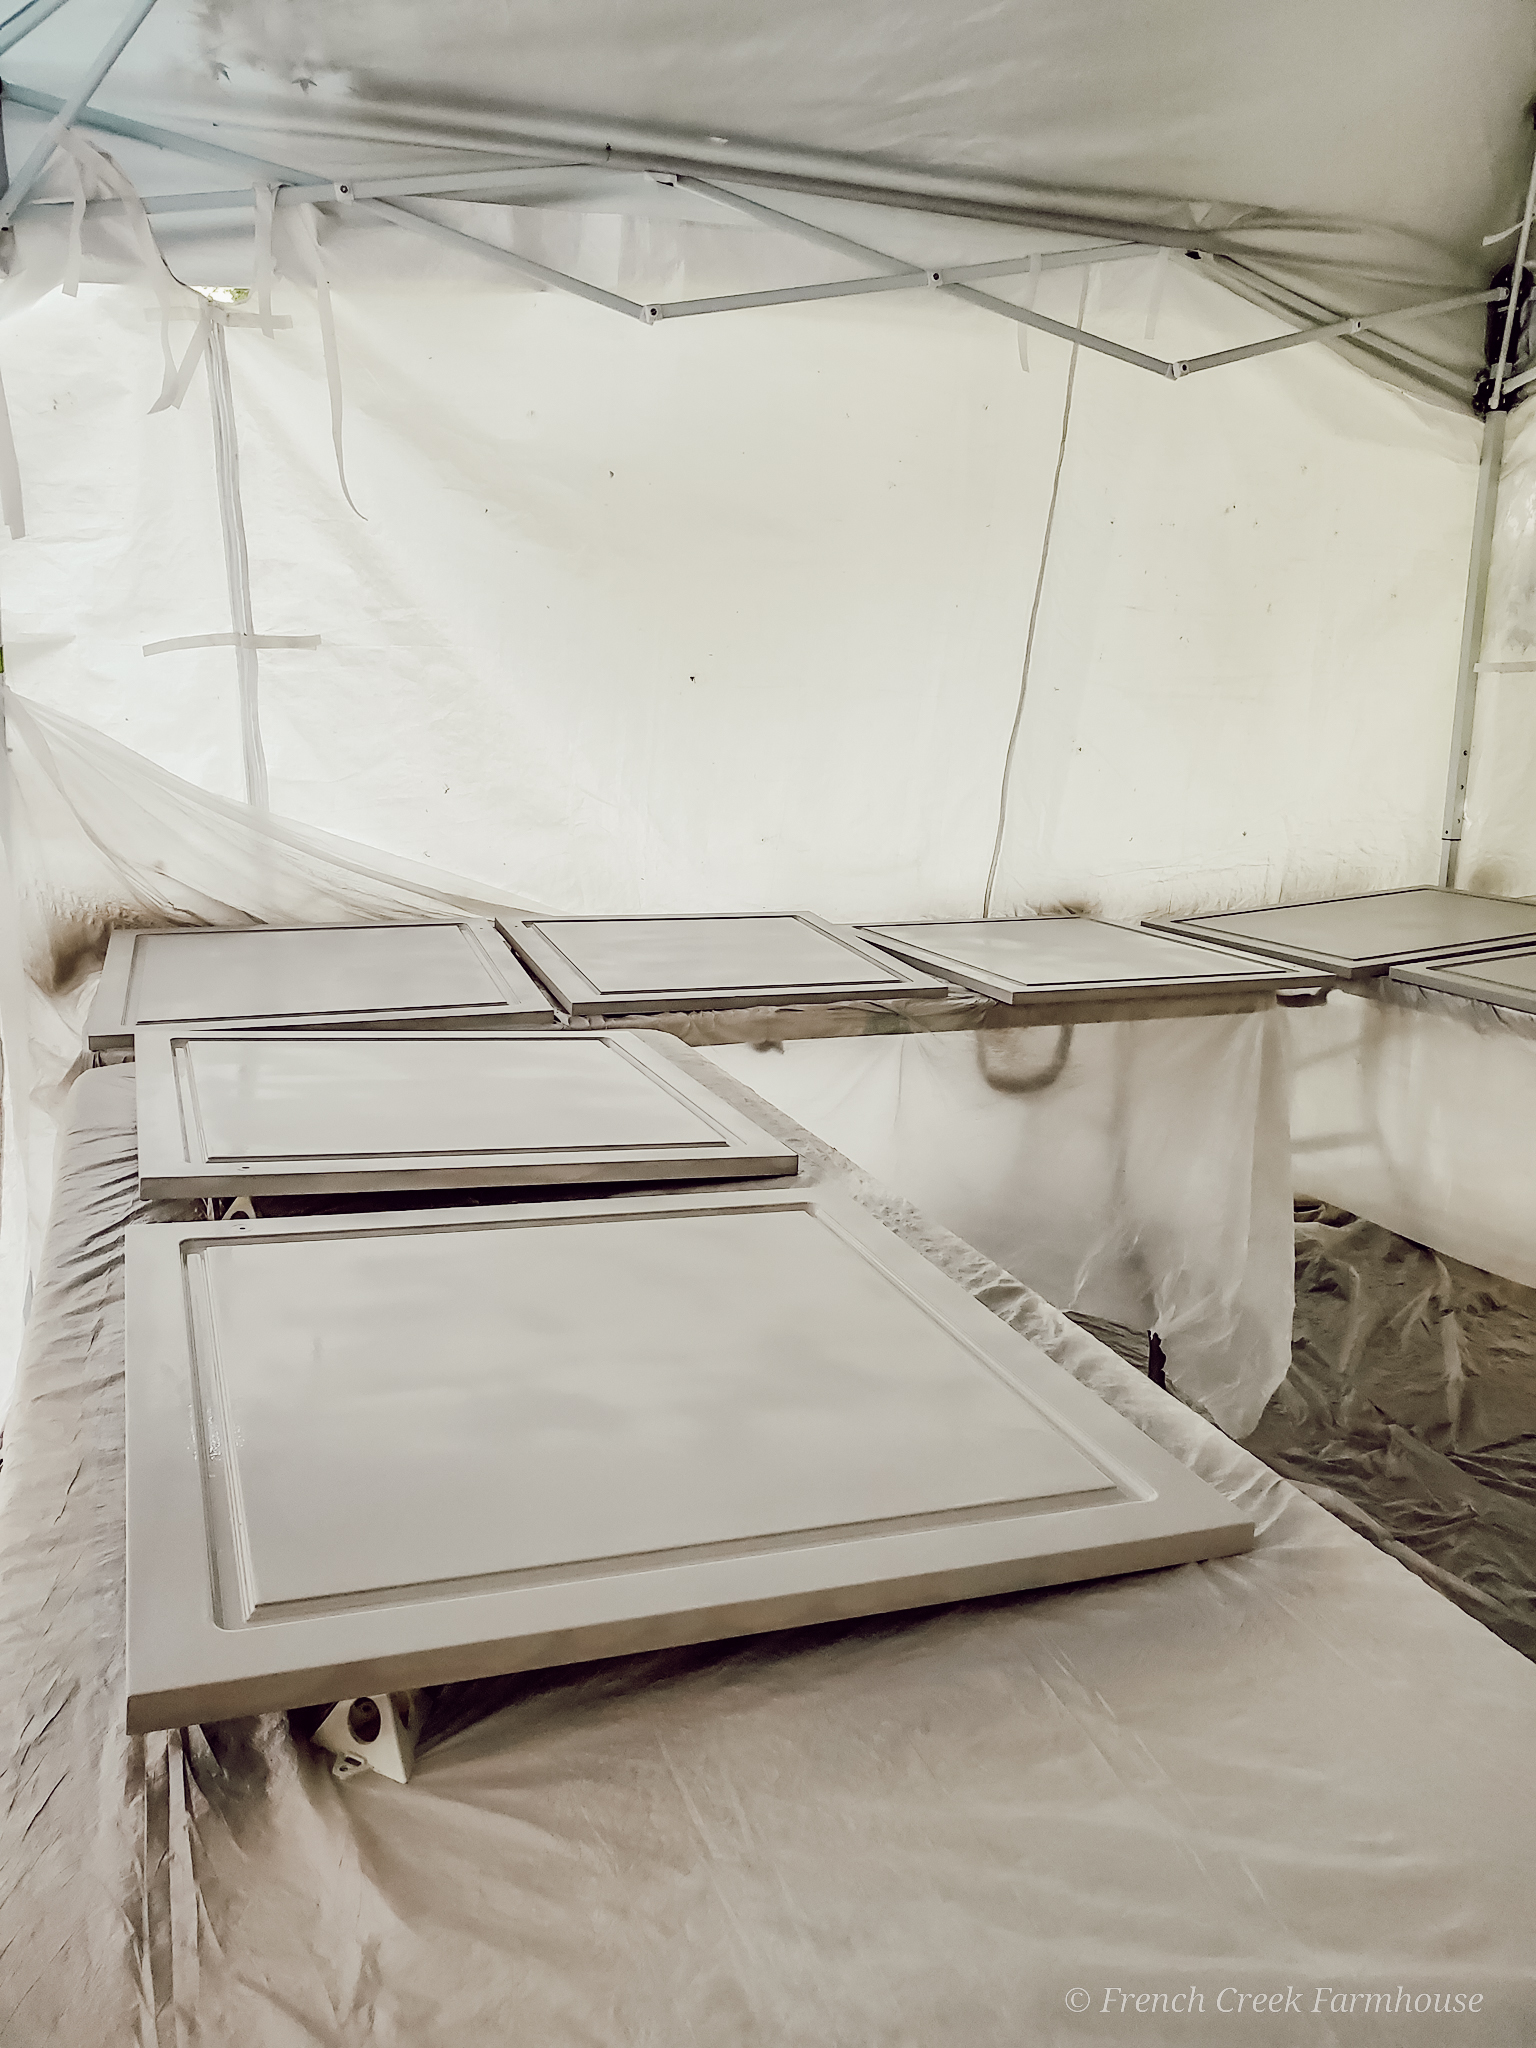
I still need to finish painting the cabinet boxes, and progress has been a bit slow this week with trying to balance my health needs against the task list.
The blessing is that I can sit on the floor and scoot around on my bum to work on the lower cabinets without having to worry about falling or having any big issues.
Is this all ideal? Nope…but, we’re making incremental progress, so I’m counting it as a win!
I’ll be sure to drop an update on how the rest of the painting goes during Week Six…coming soon!






Girl, you are doing a great job with all your difficulties. It's hotter than the hinges here too. Virginia usually isn't this hot (90F) until August. I'm 76 and had to mow today. Yuk. Keep up the good work, one bite at a time. You'll make it!
Thank you so much for the encouragement, Grace! You are truly a bright light in the world. xo!
I love the new cabinet color! Thanks for sharing at Vintage Charm!
Thank you so much, my friend! xo