Laundry Room – Week Two: Vintage Lockers
I have wanted a set of vintage lockers for so, so long. A few times, I’d come close to scoring some, but they always seemed to slip through my fingers. Finally, it was my turn to score an awesome vintage find!
Last week, we kicked off our laundry room renovation as part of the Spring 2021 One Room Challenge. In partnership with Better Homes & Gardens, the ORC is a celebration of creativity that brings together designers as they make over one room in eight weeks. Each week, you’ll get to see the progress and watch the project unfold!
These vintage lockers are one of the design elements for our space, and since the hunt for them took SO long, they really deserve an update all of their own.
Here’s a reminder of the design board for our laundry room that I shared in last week’s post (read the full post here):
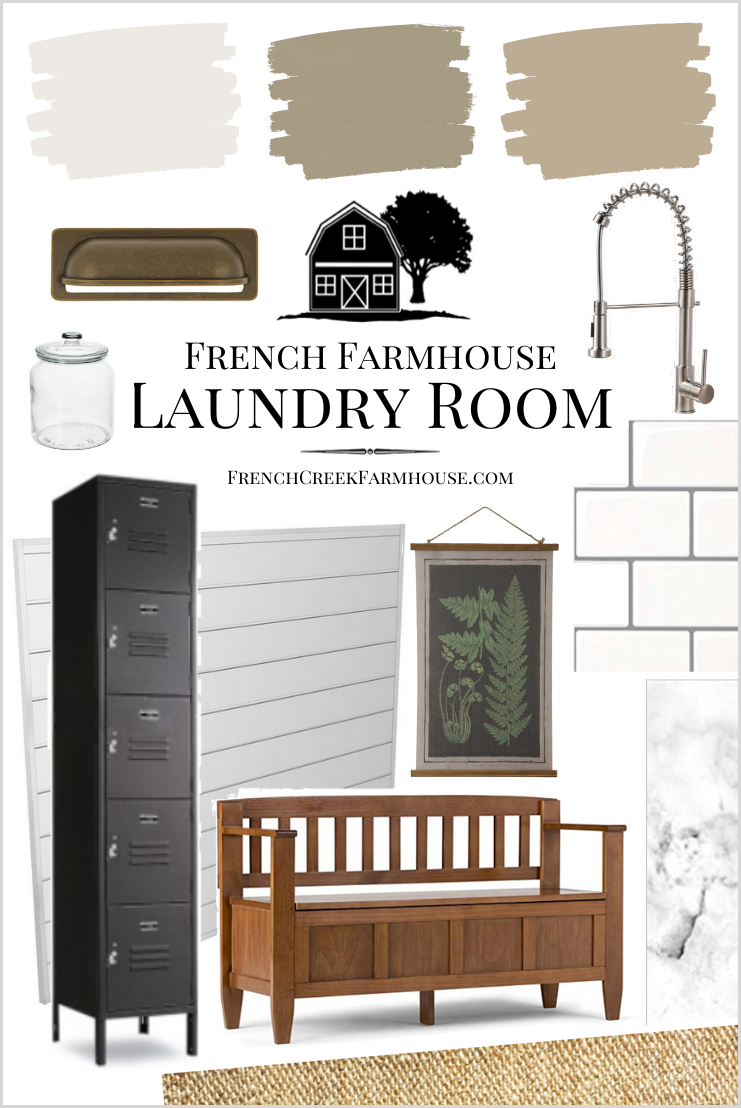
Disclosure: This is not a sponsored post, and I have received no compensation for sharing any of these supplies. Some links to products that follow may be affiliate links, and I might earn a commission if you make a purchase through that link. This usually amounts to cents, not dollars, and helps to support the projects featured on this blog. I only recommend products from companies that I have found to be trustworthy. Read my full disclosure here.
Part of the reason that finding a set of lockers was so tough was that I knew exactly what I wanted. You’d think that knowing what you’re searching for would make the search easier, but nope. Whenever that happens, my search is bound to take longer than I’d like!
My theory is that narrowing down the parameters to something specific makes finding the perfect vintage piece more elusive than searching for just any old vintage piece.
I had several very specific requirements:
- My lockers needed to be the classic, vintage school-style with horizontal vents, and I wanted multi-cubbie doors. I’d seen several of the long-door style and almost gave in a couple of times, but I’m so glad I waited!
- They could not be taller than 65″, but 60″ was ideal, because I wanted to be able to decorate above them without pushing my decor too far up to the ceiling. Most of the lockers I was finding were 72″ tall and didn’t work for me.
- They could not be wider than 24″ because that was as much space as I had available on the wall to still fit a bench without the mudroom feeling crowded.
- They could not be deeper than 12″ because I didn’t want them to stick out weirdly into the room. Many lockers are 15-18″ deep, so this was tough!
- They needed to be within my budget. So many of the lockers I’d found were selling for $300 or more, and that was way more than this thrifty gal could justify!
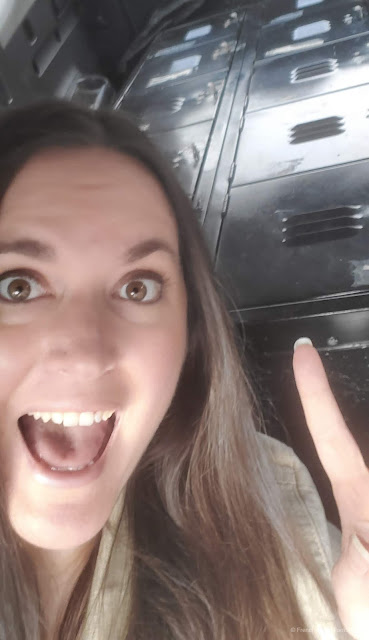
You can just imagine how excited I was to find this set that met every single one of my requirements–complete with the original chippy black paint! Just look at the pure joy in this selfie I sent to my sister as Rob drove us home from Seattle that day!
The only problem was that someone had used tape on each door to write names identifying each cubbie’s owner. That tape had dried out many, many years ago and left behind a mess.
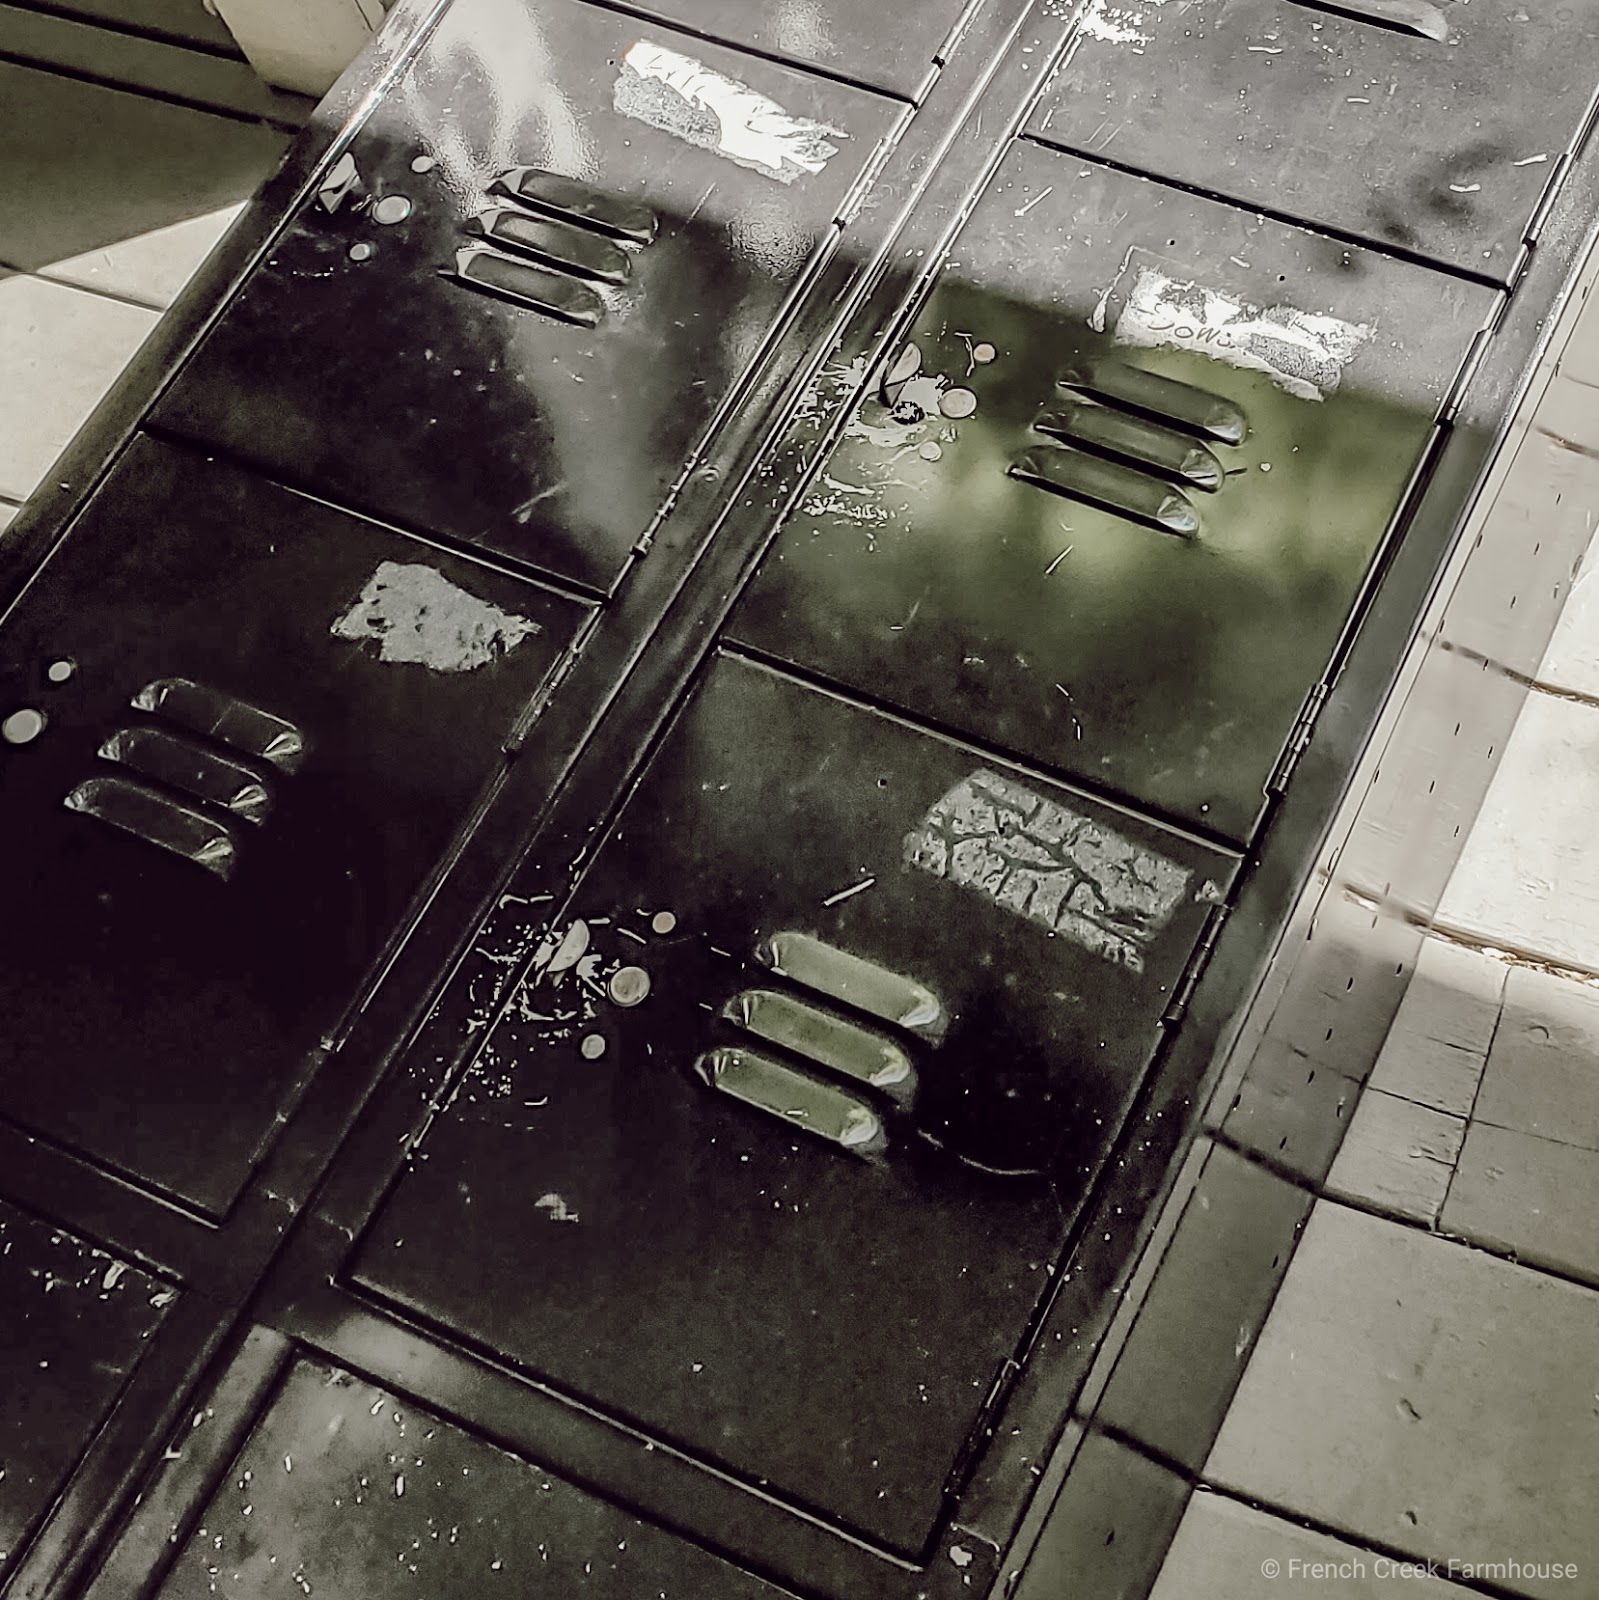
Honestly, I didn’t think that this week’s update would only be about cleaning up my vintage lockers, but it proved to take quite a lot of effort to remove that mess without damaging the original chippy paint. Since incorporating vintage elements into our design was important to me, I’m glad I put in the effort!
So, here’s what I did…
First, I should note that the tape was no longer sticky. The glue had completely dried out. To start, I tried (unsuccessfully) to scrub it with Clorox wipes. These are my go-to solution for so many projects…it’s amazing what they can do!
But they didn’t work. I mean, not even a little.
Next came the Magic Eraser. Again, no luck. Such a surprise because I usually consider this “the big guns”, but this glue residue was super old!
I didn’t want to try scraping because my goal was to make sure I didn’t remove any of the original paint while trying to clean up the lockers.
Had the glue not been dried out, I would have tried a hair dryer. But that wasn’t what I was facing. Since the glue from the tape was so dried out and crusty, I decided to try rehydrating it instead.
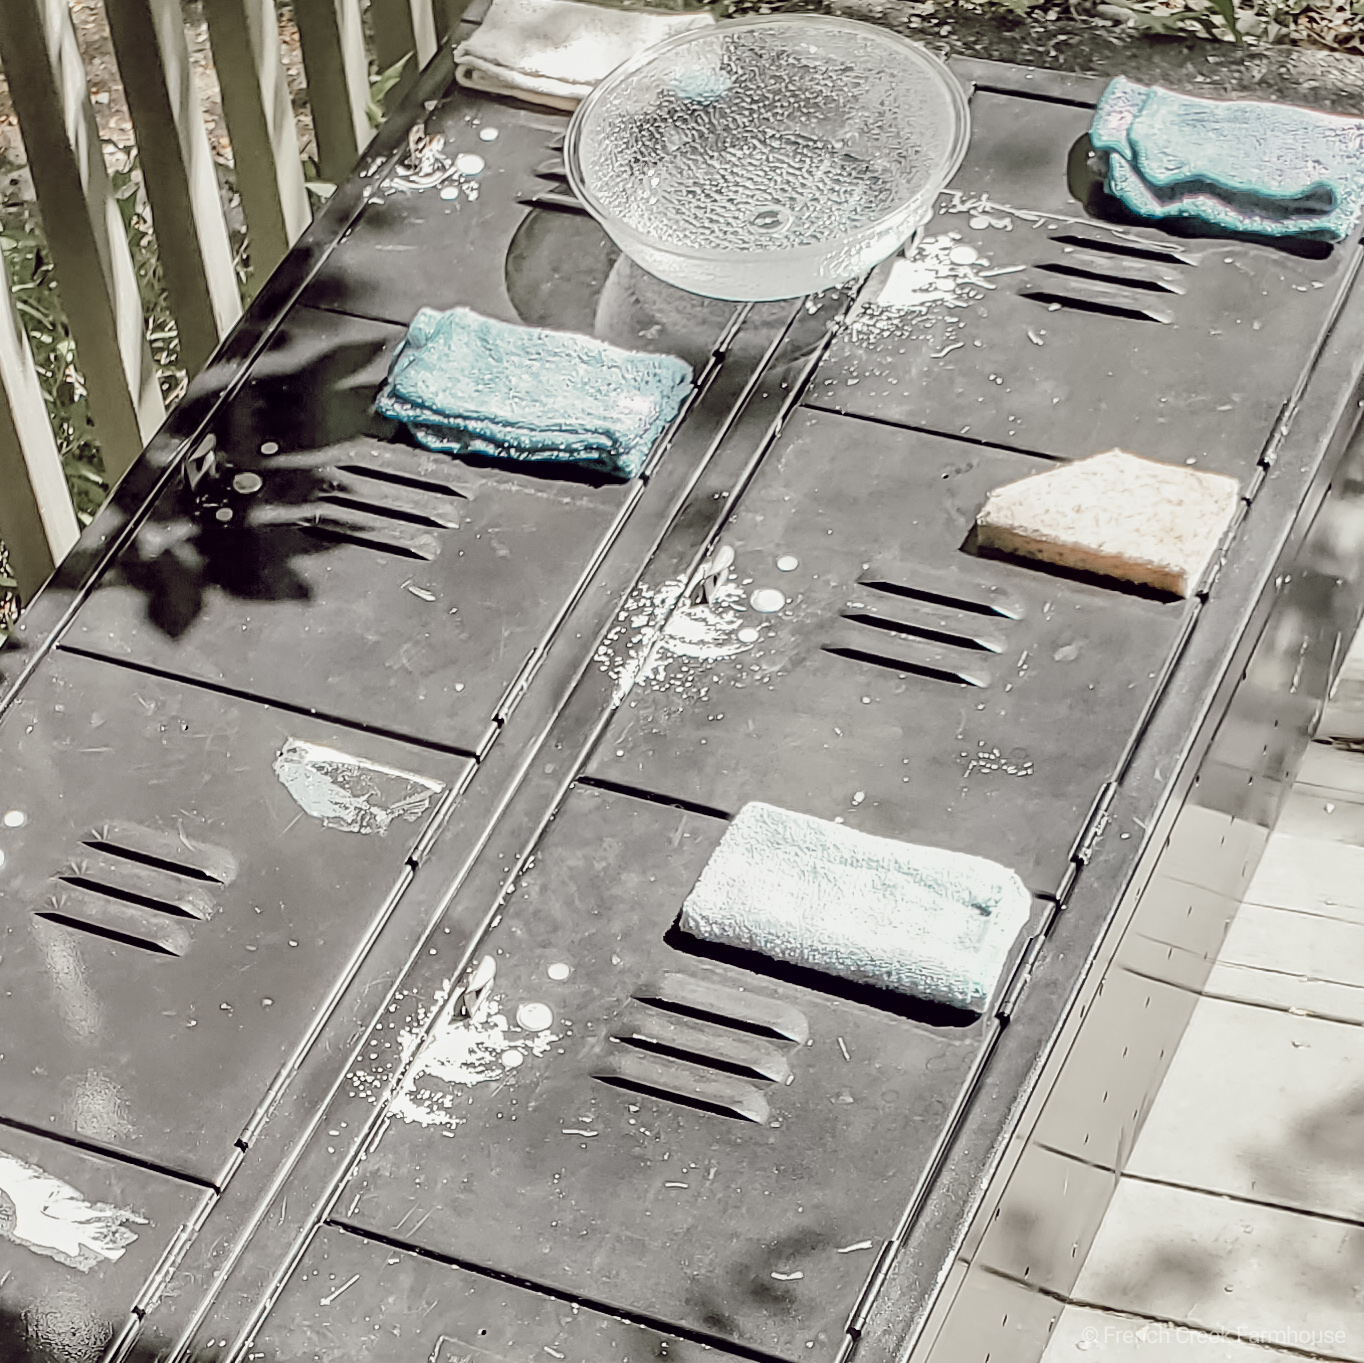
We took the lockers out to the porch and laid them on their back. Then, I soaked a bunch of sponges and washcloths in water. I placed them, fully saturated (no wringing out), onto the tape and left them to sit for a couple of hours. Every once in a while, I made sure they were still super wet since it was a hot day.
It worked like a charm! Well, almost. The glue did become rehydrated, and then I had to scrub them. And that turned into two days of elbow grease.
I alternated between soaking the glue and scrubbing. And in the end, all the yucky glue mess was gone!
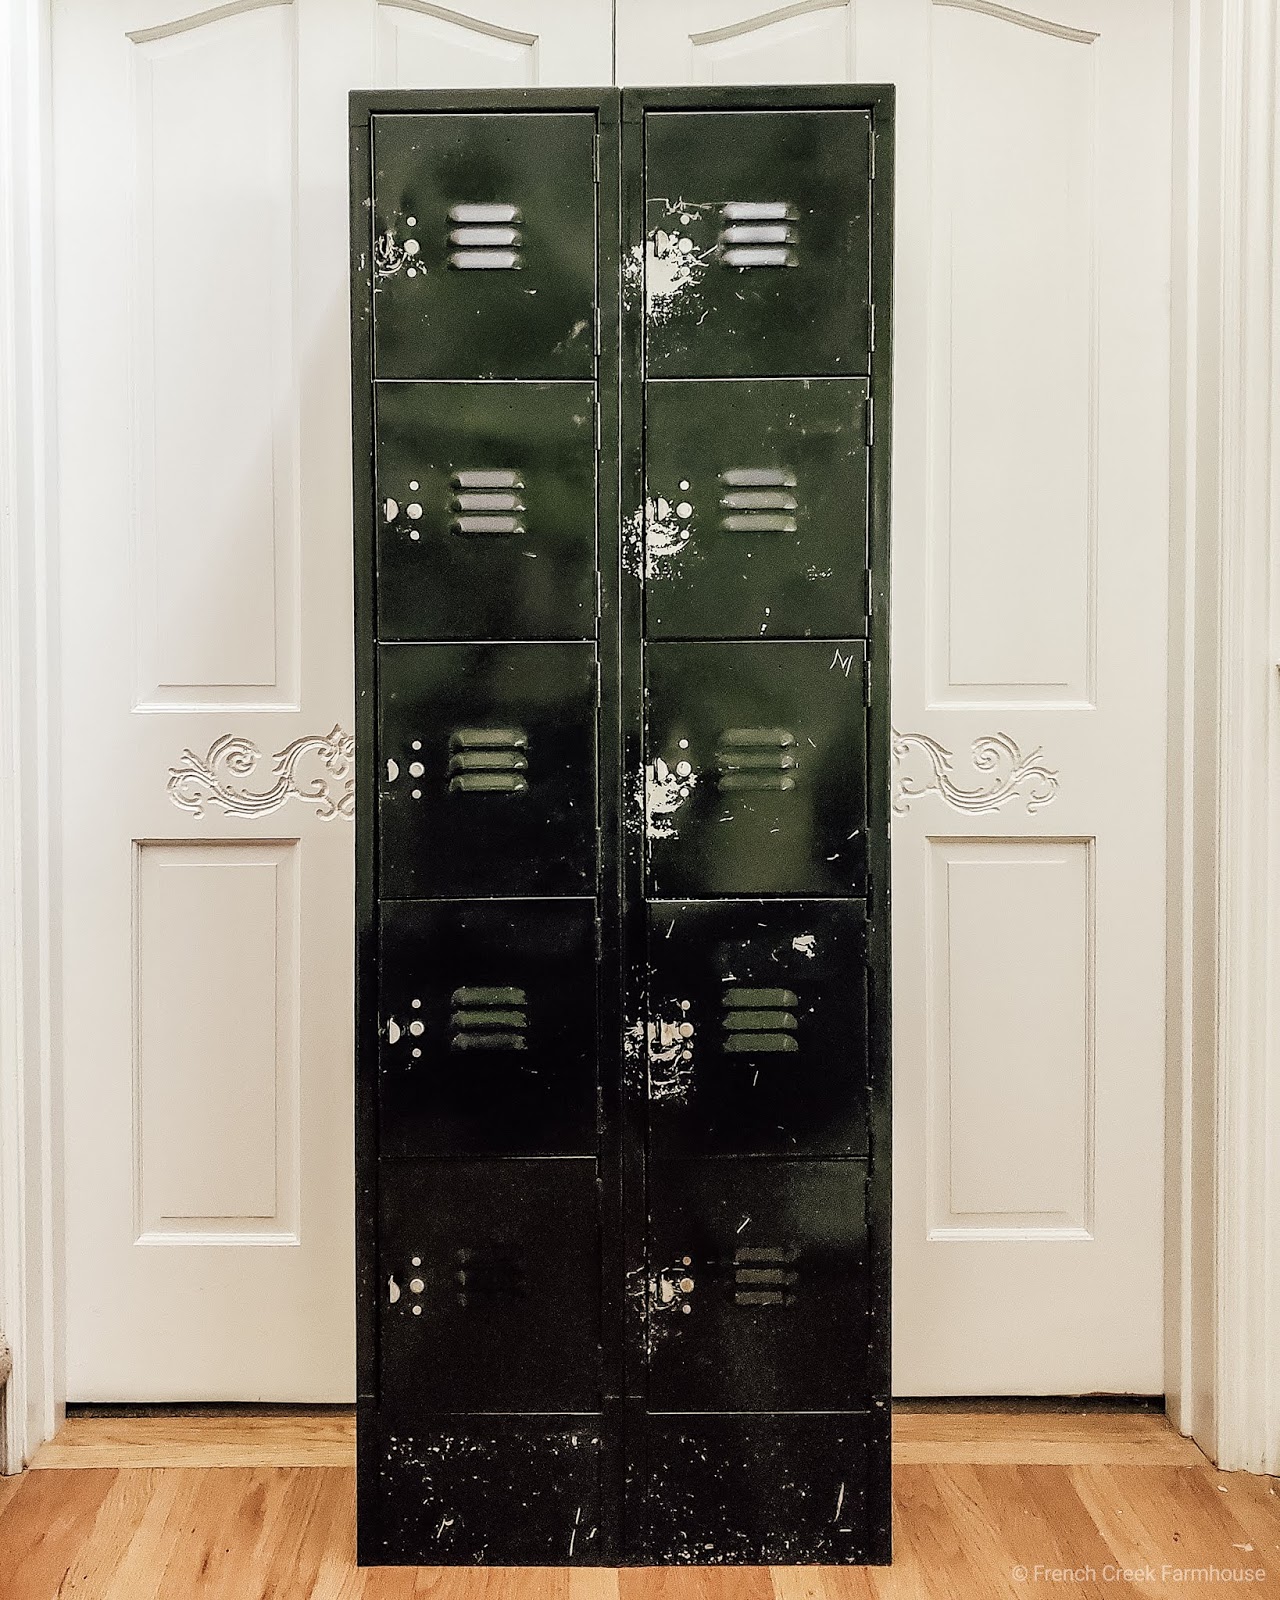
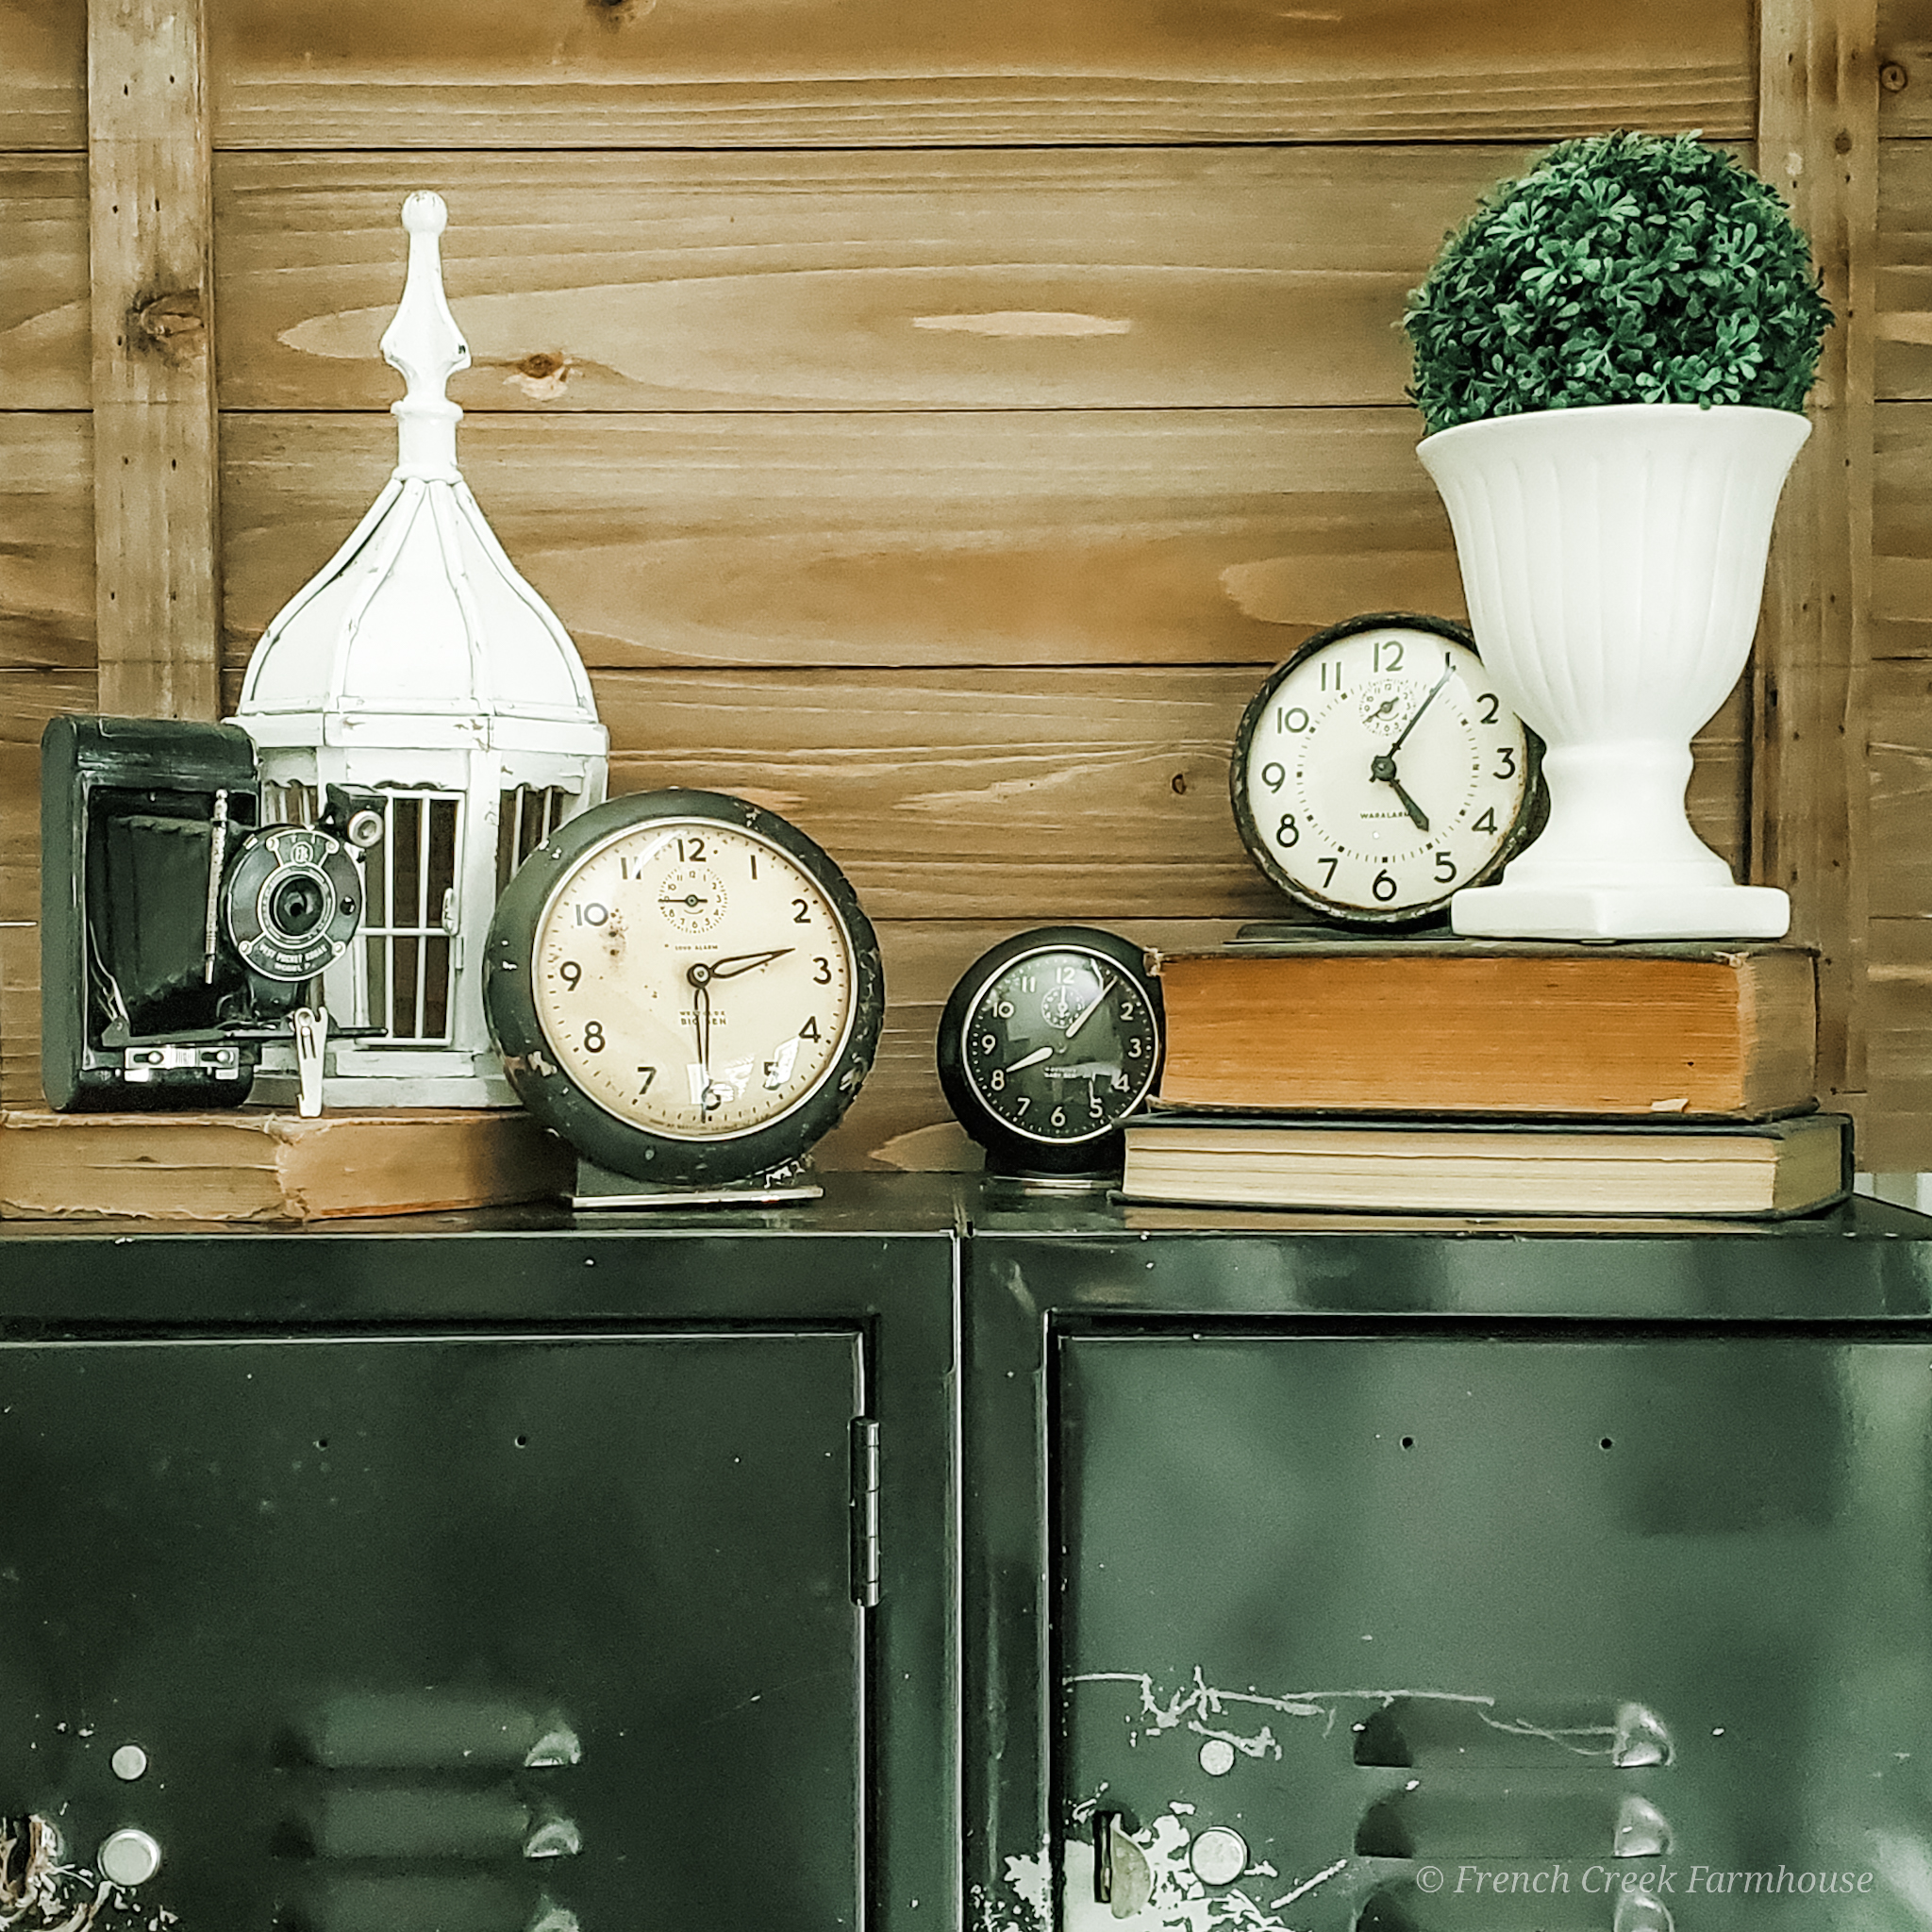
I really like the chippy black paint, so I don’t think I’ll be re-painting these. However, I could change my mind later. For now, I’m really happy to have found the perfect piece for this project, and I can’t wait to get them set up soon!
The one thing I would still love is finding some vintage locker numbers since the original ones were removed at some point in their history. Bonus points if I can find some that have a French vibe! My friend, Traci, owns a fantastic vintage shop specifically for these types of items, and she’s been on the hunt for me to try to find just the right size that I need.
So, what do you think about vintage lockers as mudroom storage? Do you have any? Are you searching for some? I’d love for you to drop a note in the comments section!
Stay tuned for next week as we continue the project–big changes are already underway, and I can’t wait to show you the progress!
If you want to make sure not to miss an update, be sure to sign up for our newsletter, below, that will keep you in the loop about new posts and everything going on here at the farm. Plus, follow along on Instagram and Facebook daily!
P.S….Good news! Right now, I’m giving all of my newsletter subscribers a set of my Spring Cleaning printables that are perfect for building your home maintenance binder! This guide addresses both inside and outside the home, as well as the garden–everything you need in one place! You can snag it here!





Those are so cool – I hope you do keep the chippy paint…it gives them such a personality
I love the lockers!! Wow, what a chore to get those stickers off. Bravo for pushing through. They look great!
Thank you so much, anonymous friend! xo!
I've always been a fan of lockers! Glad you're able to incorporate it. Can't wait to see how it all comes together 🙂
Thanks, Sanju! Loving seeing your space come together…yay for laundry rooms! 🙂
Great find, where can I get a set cheap?
love these. need something like this in my laundry room. been pricing them on Amazon. BUT did you secure yours to the wall? I like your lockers because they sit flat on the floor. the ones I see have legs. thanks for sharing!!! love all of your stuff!
Angela (from NJ)