Laundry Room – Week Three: Finding Myself Through Shiplap
When deciding on the finishes in our mud room/laundry room renovation, I knew that I wanted the space to incorporate a simple and utilitarian aesthetic, while still being beautiful. As we fix up our farmhouse, it has been important to me that it is returned to the authentic styling that is appropriate in a true farmhouse. Shiplap is one of those elements–but only if done right!
This is Week Three of our laundry/mud room renovation as part of the Spring 2021 One Room Challenge. In partnership with Better Homes & Gardens, the ORC is a celebration of creativity that brings together designers as they make over one room in eight weeks. Each week, you’ll get to see the progress and watch the project unfold.
In case this is your first week following along, be sure to check out the previous posts on our progress:
Week One: The Design
Week Two: Vintage Lockers
This week is all about shiplap! When HGTV and The Gaines’ popularized shiplap as the quintessential farmhouse wall treatment, I’ll bet they never imagined the impact it would have on home design.
However, there are a lot of choices when it comes to using shiplap in your home, and because it’s important to us to renovate our farmhouse authentically, we’re very mindful about where and how we use certain design elements. A little background about shiplap explains why…
Disclosure: This is not a sponsored post, and I have received no compensation for sharing any of these supplies. Some links to products that follow may be affiliate links, and I might earn a commission if you make a purchase through that link. This usually amounts to cents, not dollars, and helps to support the projects featured on this blog. I only recommend products from companies that I have found to be trustworthy. Read my full disclosure here.
WHAT IS SHIPLAP?
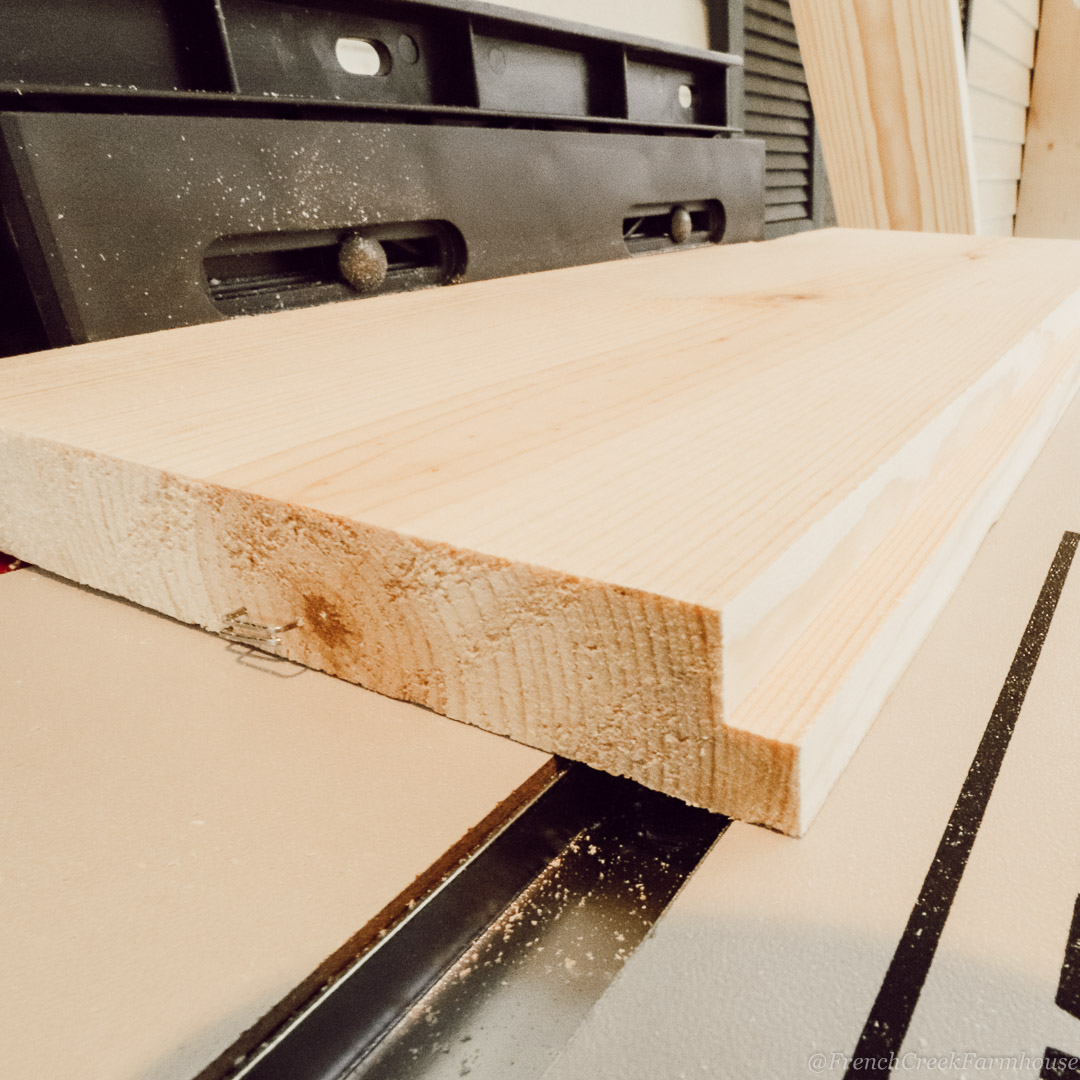
Shiplap is a type of horizontal wood paneling that was designed to create weather-resistant exteriors that would more efficiently block out wind and moisture. It was never intended to be exposed, and instead, acted as the base layer upon which exterior siding, or interior wallboard or plaster, would be applied.
To be clear–shiplap was used on exterior walls, even though you now see homeowners applying it everywhere.
Shiplap’s weather protection comes from the overlapping joints on the horizontal edges of the boards called “rabbets” (no, not rabbits!). These L-shaped notches overlap each other in such a way that moisture cannot easily get between and behind the boards.
REAL OR FAUX?
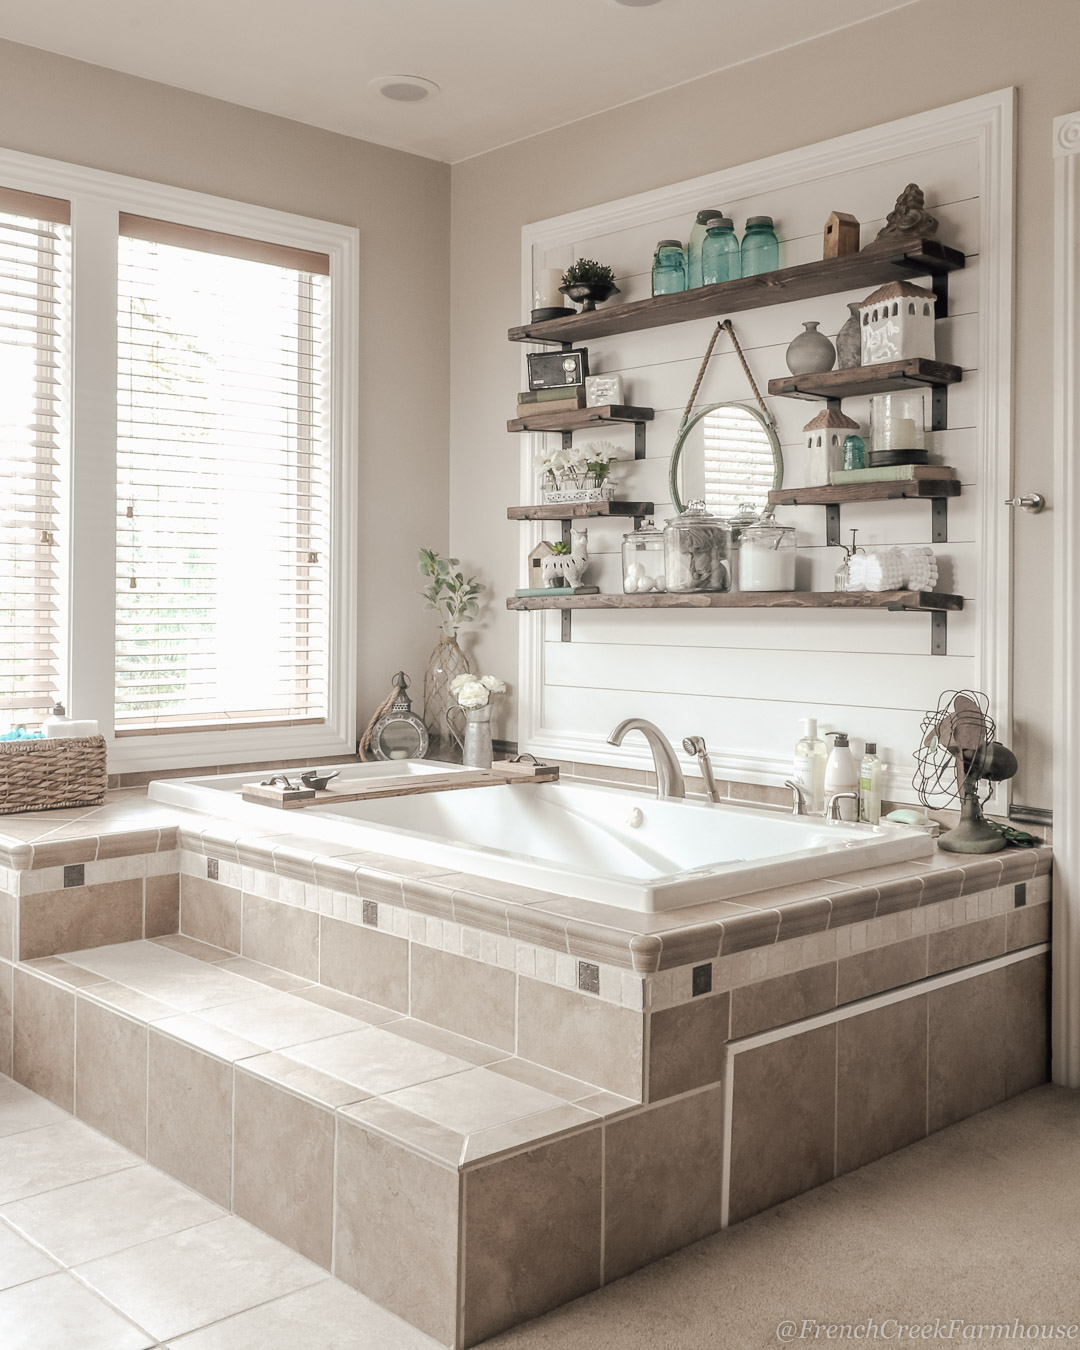
Over the years, I have played with virtually every type of shiplap known to DIYers. We added real shiplap, which I cut myself on my router table, to accent walls in both our master bedroom and bathroom. We added engineered shiplap to a wall in our shop space (watch the video of that project here). And I’ve even used peel-n-stick shiplap wallpaper on the back of a bookcase!
Ordinarily, I choose to use only true finishes around our home. That’s why I took the time to cut real shiplap when we’ve used it in the past. And, truly, cutting your own shiplap does take some time!

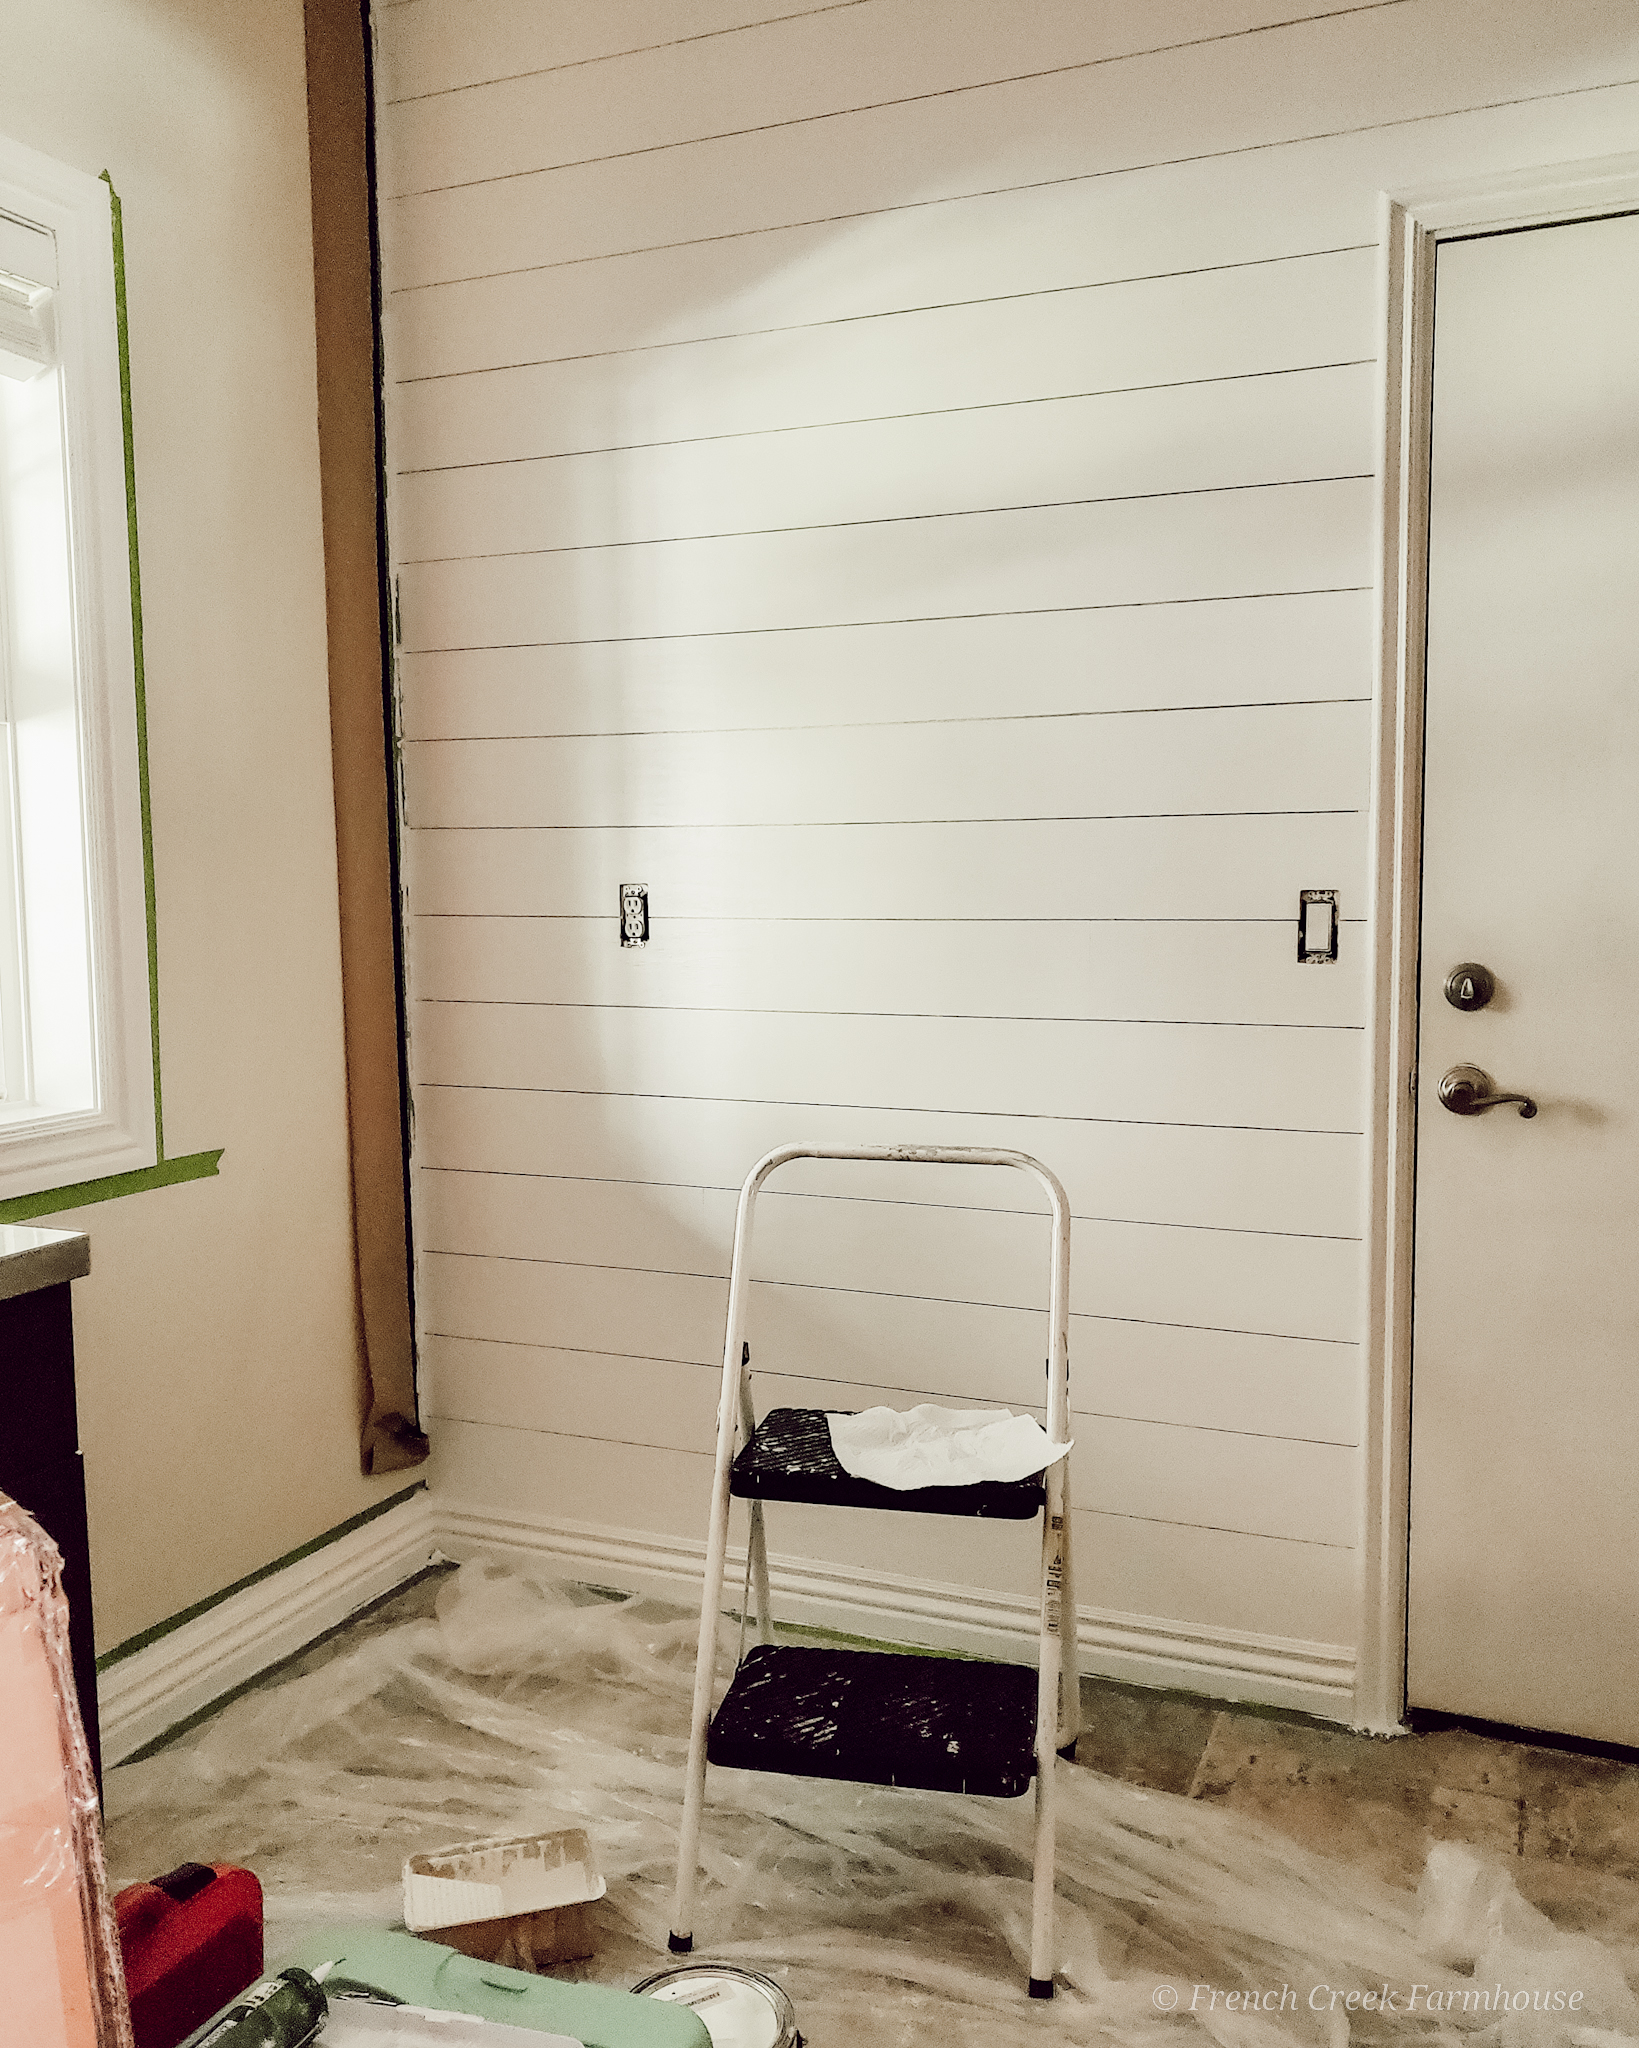
However, for this renovation, I’m doing something a little different and creating a faux wall treatment using 1/4″ plywood instead.
There were a few factors that went into this decision, but ultimately it came down to the fact that I haven’t decided whether this feature will remain permanent in our home. While I was creating the design for this space, I waffled between shiplap and brick–both being appropriate to the style of our home and the functionality of the space.
I settled on shiplap because it offers more versatility for decorating.
Making the decision to keep it faux, for now, came down to the fact that the cost of the plywood and investment of time would not hold me back from ripping it out later should I change my mind.
As we all know, lumber prices are soaring. Cutting my own shiplap again for this project would have been way out of our budget–if we could even have found the lumber to begin with!
Fortunately, I’d purchased all of the plywood we needed last year–before things got crazy. If I hadn’t, I probably would have been using either the same shiplap wallpaper I’ve used in the past, or the engineered peel & stick planks (which are also pretty cool, and I hope to try out in a future project!).
THIS WEEK’S PROGRESS
It was certainly a full week! Here’s a bit about what all went down…
If you caught my Week One post in the challenge, you know that we were originally signed up to participate in the Spring 2020 event. But then, literally on the first day we started work, our COVID symptoms showed up.
All I’d managed to do that first day was get the boards onto the wall…and then, I was sidelined due to our illness, and my subsequent struggle with “Longhauler’s Syndrome”. You can read more about how that’s been going, here.
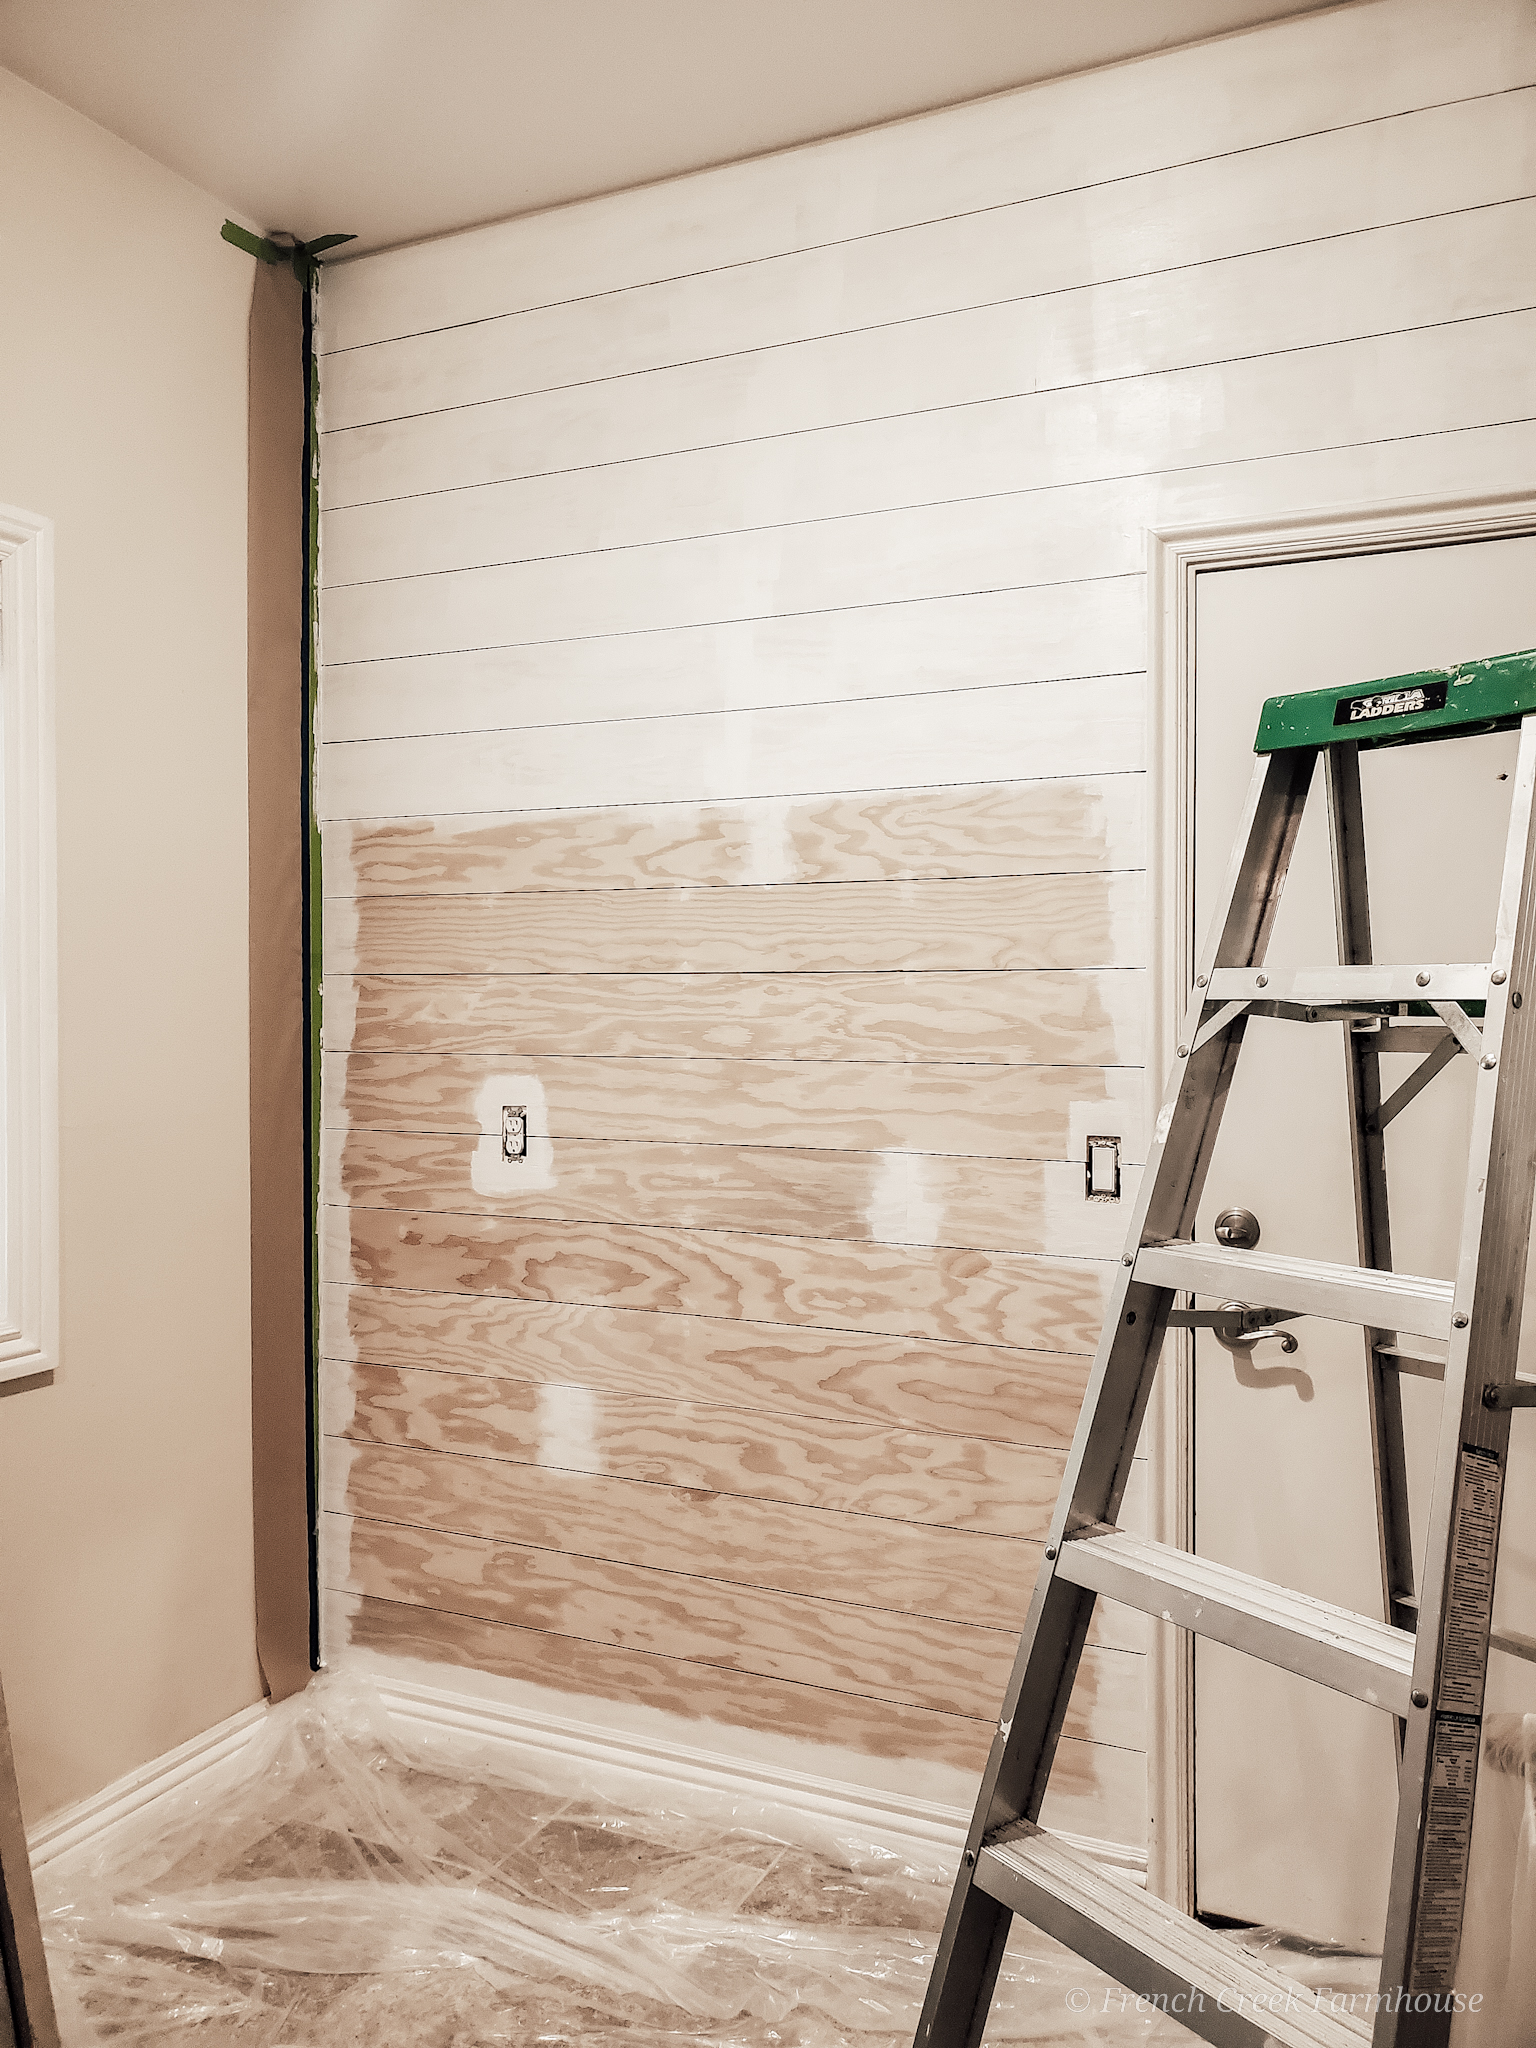
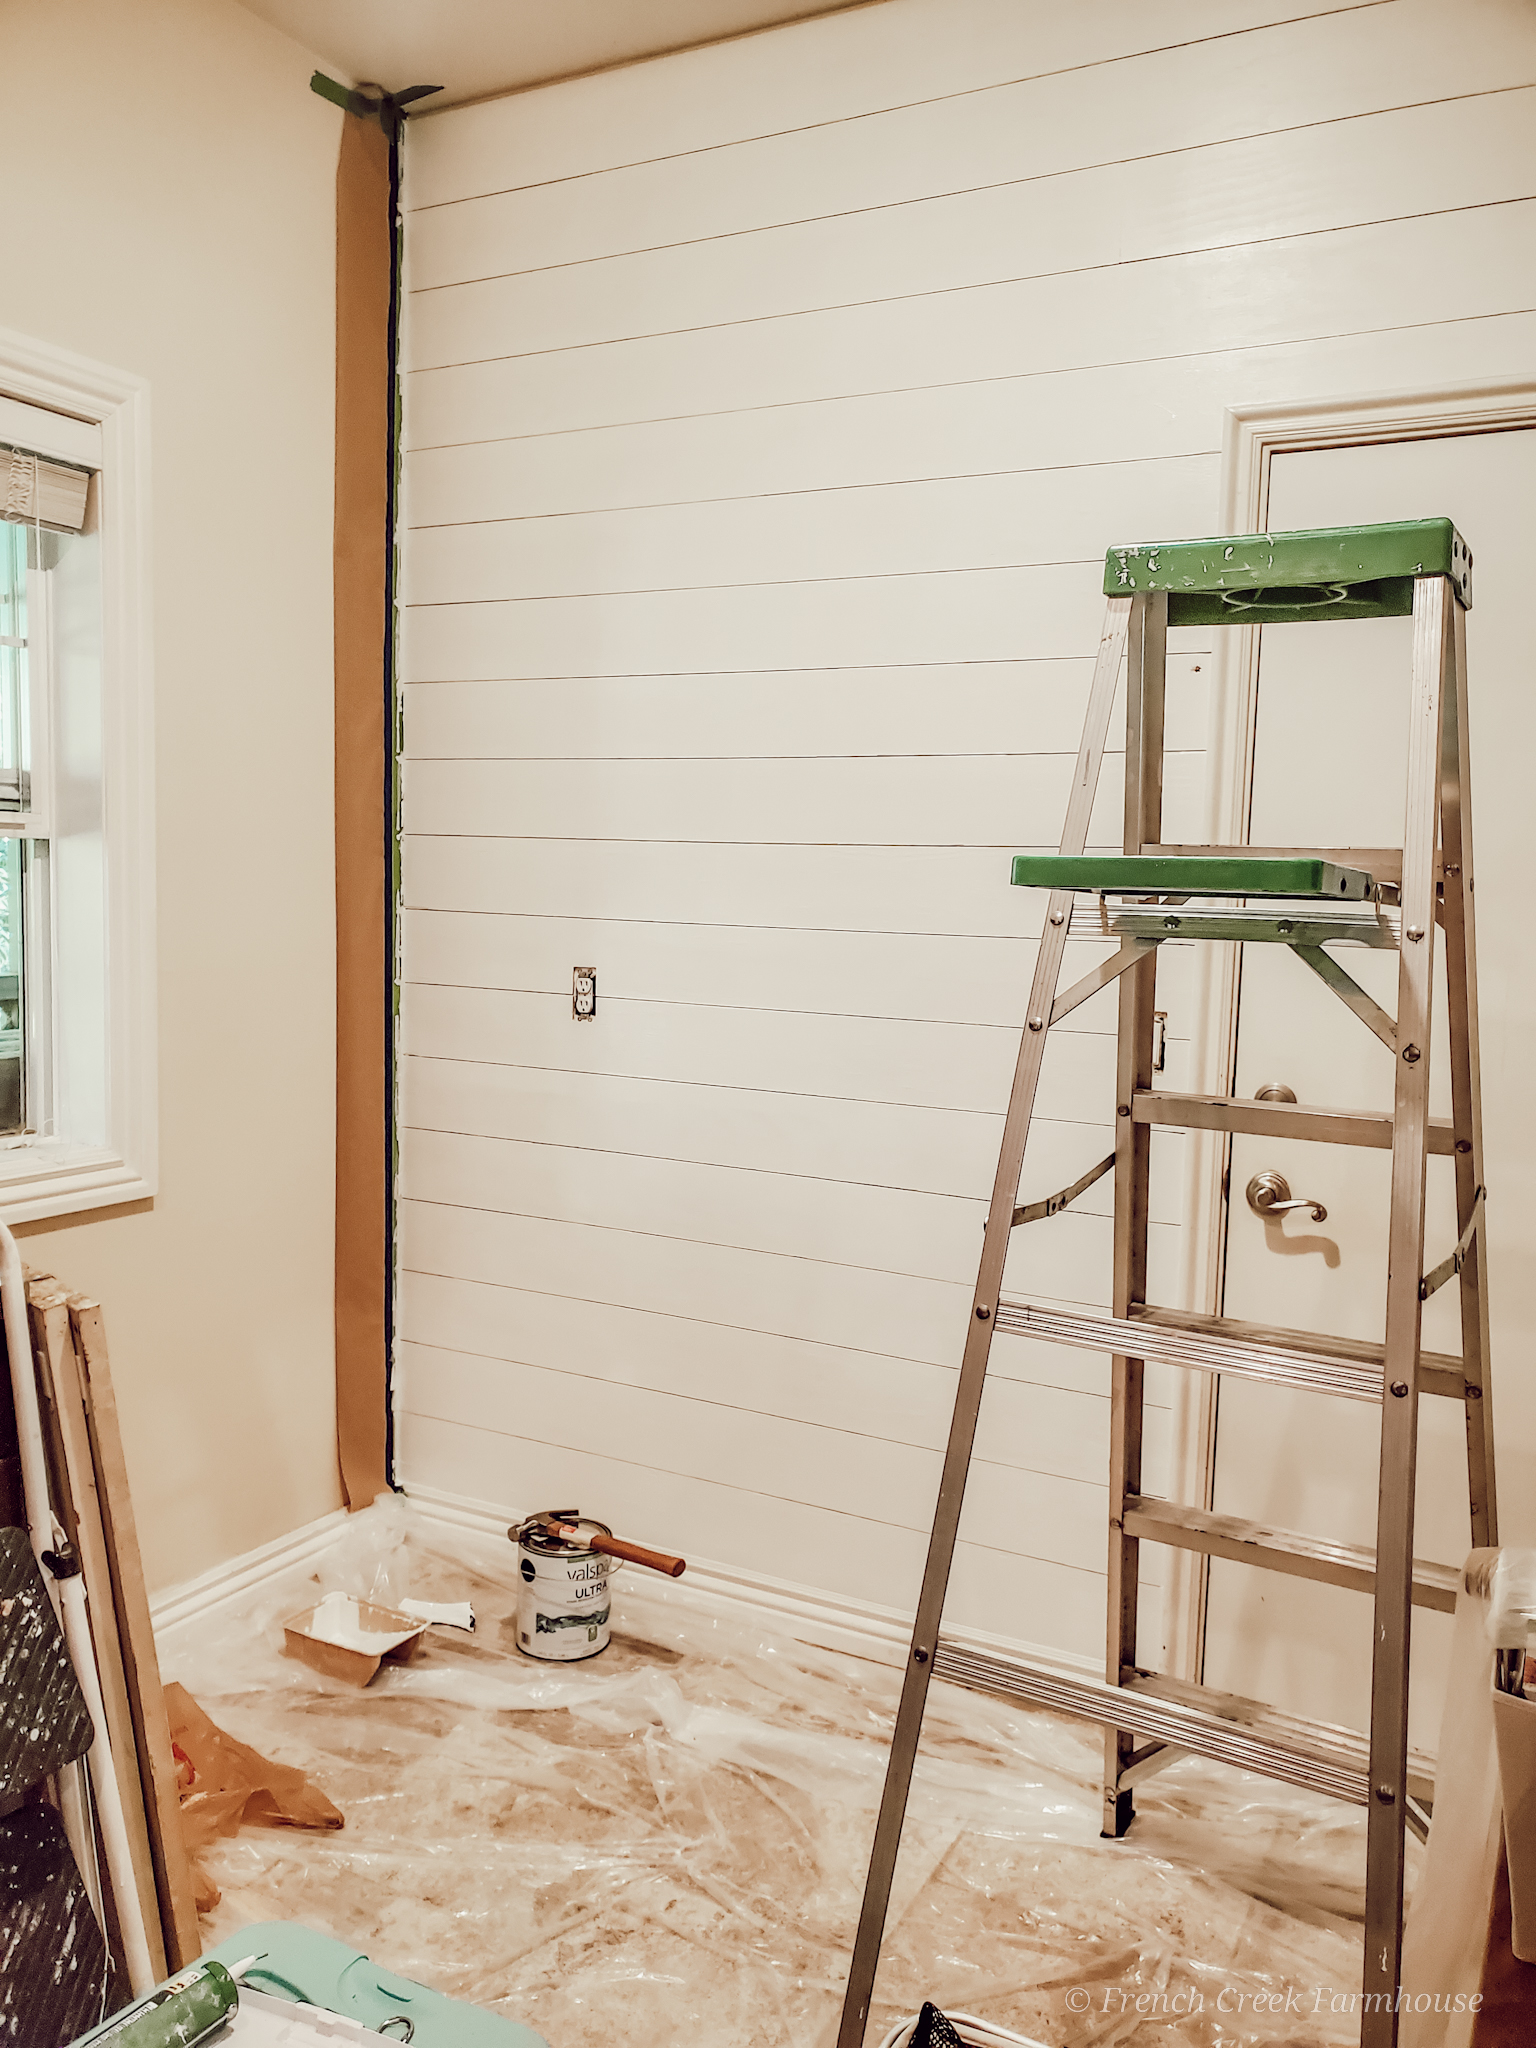
Fast forward to this past week, and we accomplished the following:
- Filled nail holes and sanded,
- Caulked all edges,
- Painted the shiplap, and,
- Painted the baseboards, window and door trim.
Here’s a short video with all of the highlights!
Throughout all of this, I had to be very careful about how I approached any of the work due to my health issues.
For starters, I leaned HEAVILY on my heart medication. It is the only way I would have been able to stay vertical long enough to do any work at all.
I also alternated project and rest days. My medication would give me about a 3-hour window where I could stand upright during the day, so I would do a little work during this time, and then stay in bed the next day to rest.
That said, I still had one bad incident, even while trying to be careful and taking more medication than I usually do. I had a fall while I was trying to remove the masking tape, and I’ve spent the past several days on bed rest, paying the price for pushing it a bit too hard.
ON A PERSONAL NOTE…
It’s so strange how this illness works…I can be standing up one moment, and then the next thing I know, I’m collapsed on the floor and trying to figure out what just happened.
Sigh.
But, you know what? Despite the additional challenges my body is adding to this project, being able to do a little–even at a much slower pace than I would like–still does something incredibly powerful for my soul. It’s amazing to feel even a little bit of empowerment after spending more than a year listening to doctors and experts telling me the odds for this incurable disorder.
No doubt, it was a hard week of work. I cried more than once over the past week…but there were happy tears in there, too. I can’t begin to describe the sense of fulfillment that comes from doing this work after the year our family has been through.
I think the moral of this week’s story is to not give up.
Whether it’s a chronic illness, or a disability, or literally any other hardship in life that’s sidelining you, I think that constantly being told how the odds are stacked against you can have a devastating impact on your quality of life. Eventually, you start to give up some of the things you love–the things that are the essence of who you are–because everyone tells you that you’re more likely to be the rule than the exception. And, in the process, you start to lose touch with who you are.
From someone who has been there (correction–someone who is currently there), please hear this: Don’t give those parts of yourself up.
Find a way. Even if you have to modify how much you can do, or how often you do it–keep doing it anyway. You may have to make some big compromises–sure–but don’t give away who you are in the process.
Even though I’ve been frustrated to be in bed the past several days, I’m finding this period of bed rest more tolerable than other ones I’ve had because I filled up my emotional reserves through the work I was able to accomplish during the past week. And, I’m optimistically looking forward to what I get to tackle next.
Maybe this is going to take me longer than I wanted, or maybe I’ll have to scale back on what I get to do, and maybe I’ll have to learn to accept help from Rob instead of doing it all myself…that’s all okay with me. As long as I’m not giving up on myself, it is all worthwhile.
Coming up in the One Room Challenge, I’ll be revealing the completed shiplap wall and giving you all the details! Stay tuned for more progress!









Looks amazing so far. Can't wait to see it completed.