Hanging Antique Windows on a Wall
Last fall, I noticed that my design taste was starting to change. Or maybe, not quite “change”, but instead, become more mindfully intentional. I started to become more particular about the pieces I was selecting–focusing less on what was popular, and more on what inspired me.
As the months rolled on, it just became more and more true. I was less drawn to trends, and more moved by a return to historical fidelity. I wanted to incorporate more timeless, antique treasures into our home rather than fill it with “stuff”.
One of the things that I have always done (and that confuses my sweet husband to no end) is to purchase items that speak to me, even if I have no idea what I’ll do with them.
That was the case with this pair of leaded glass cabinet doors, too.
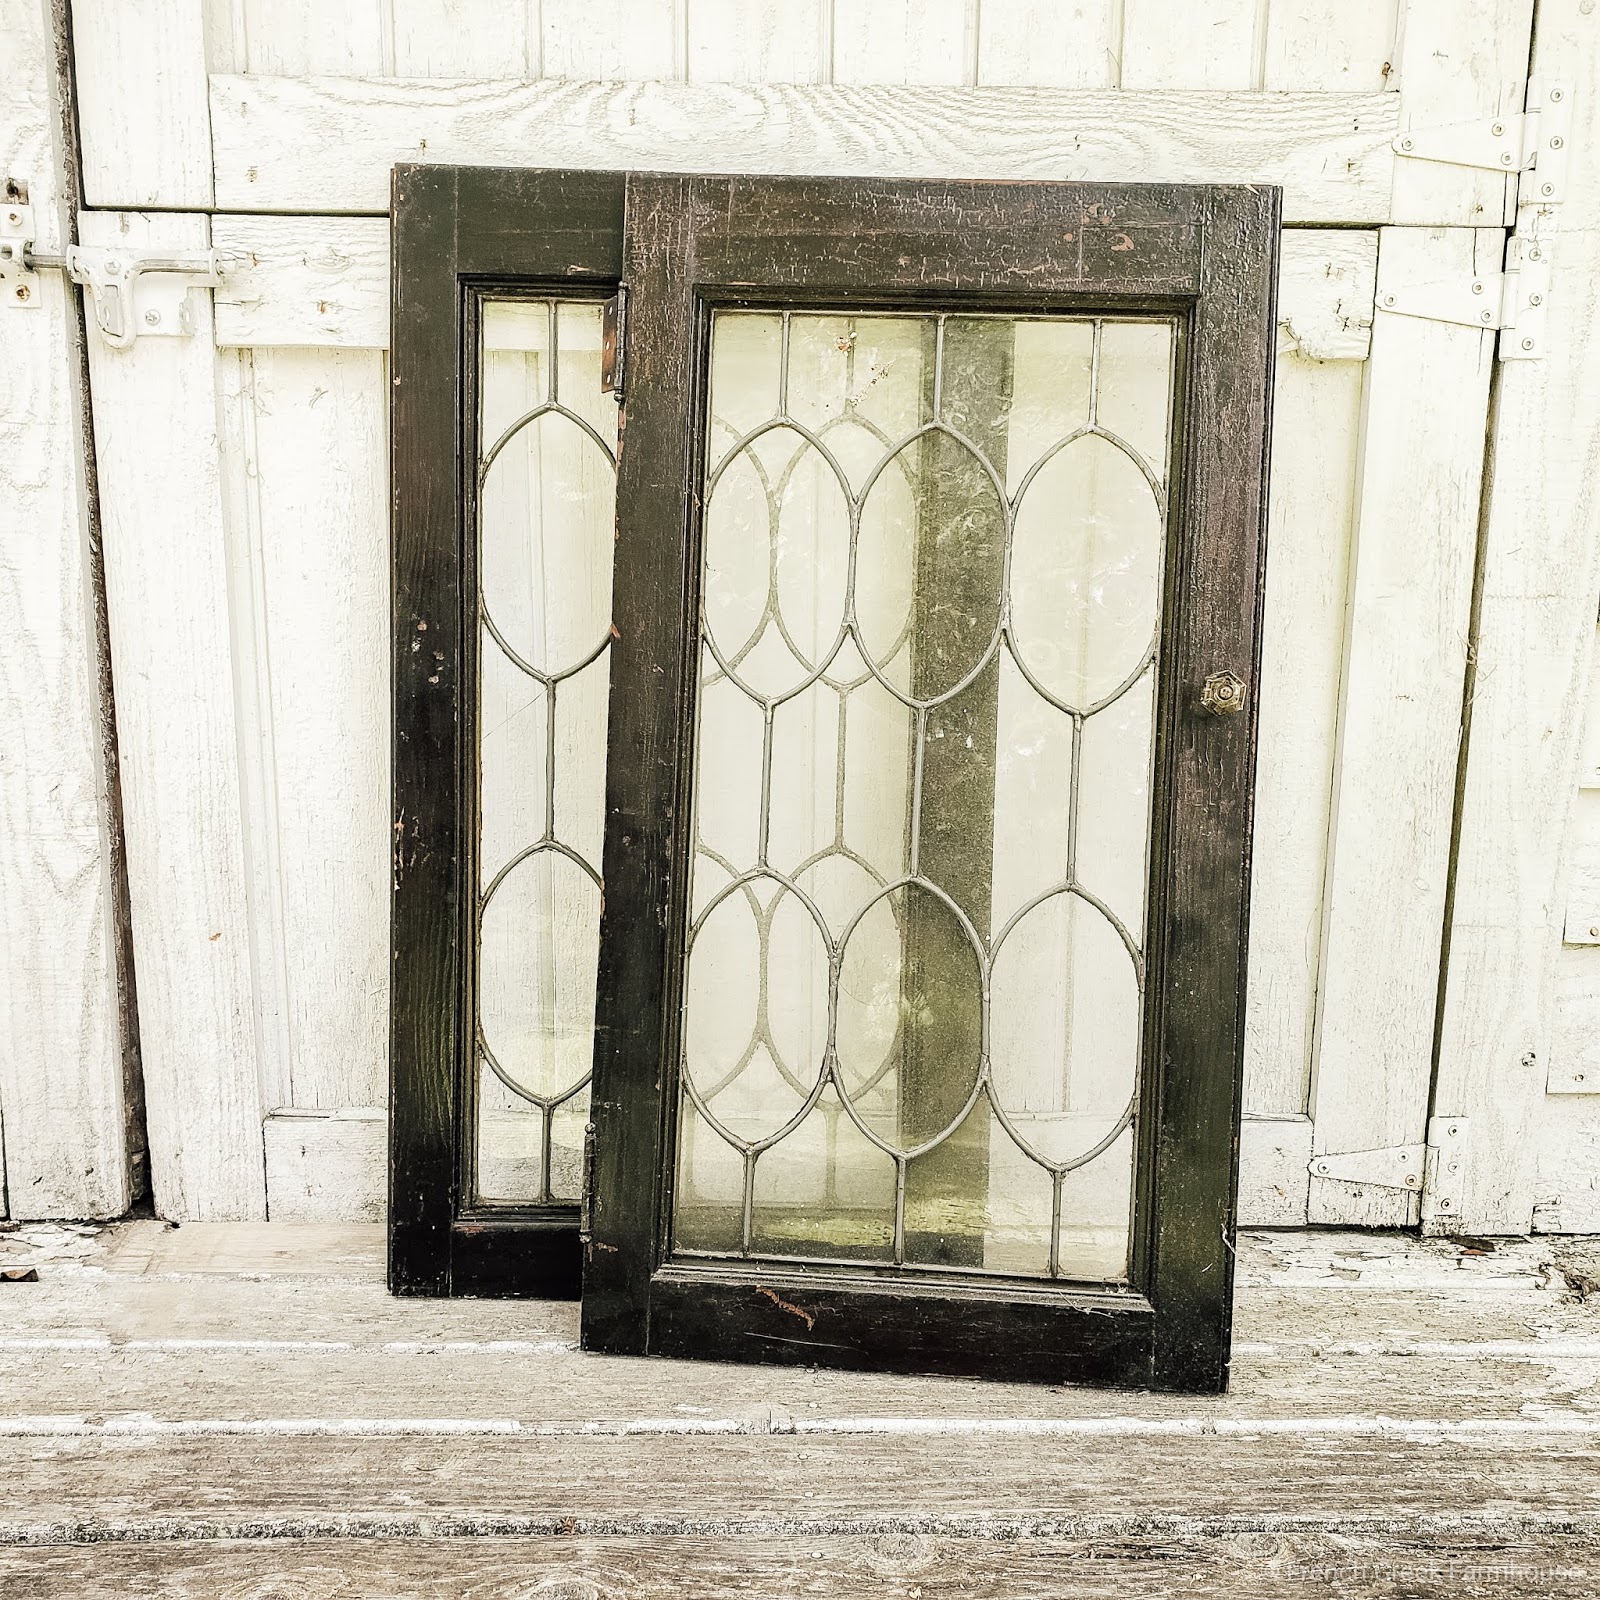
They had been sitting in our bunkhouse gathering dust for quite a long time after I brought them home, but I just knew that I would eventually find the right place for them.
{Related: My Top 9 Places for Scoring Authentic Farmhouse Finds}
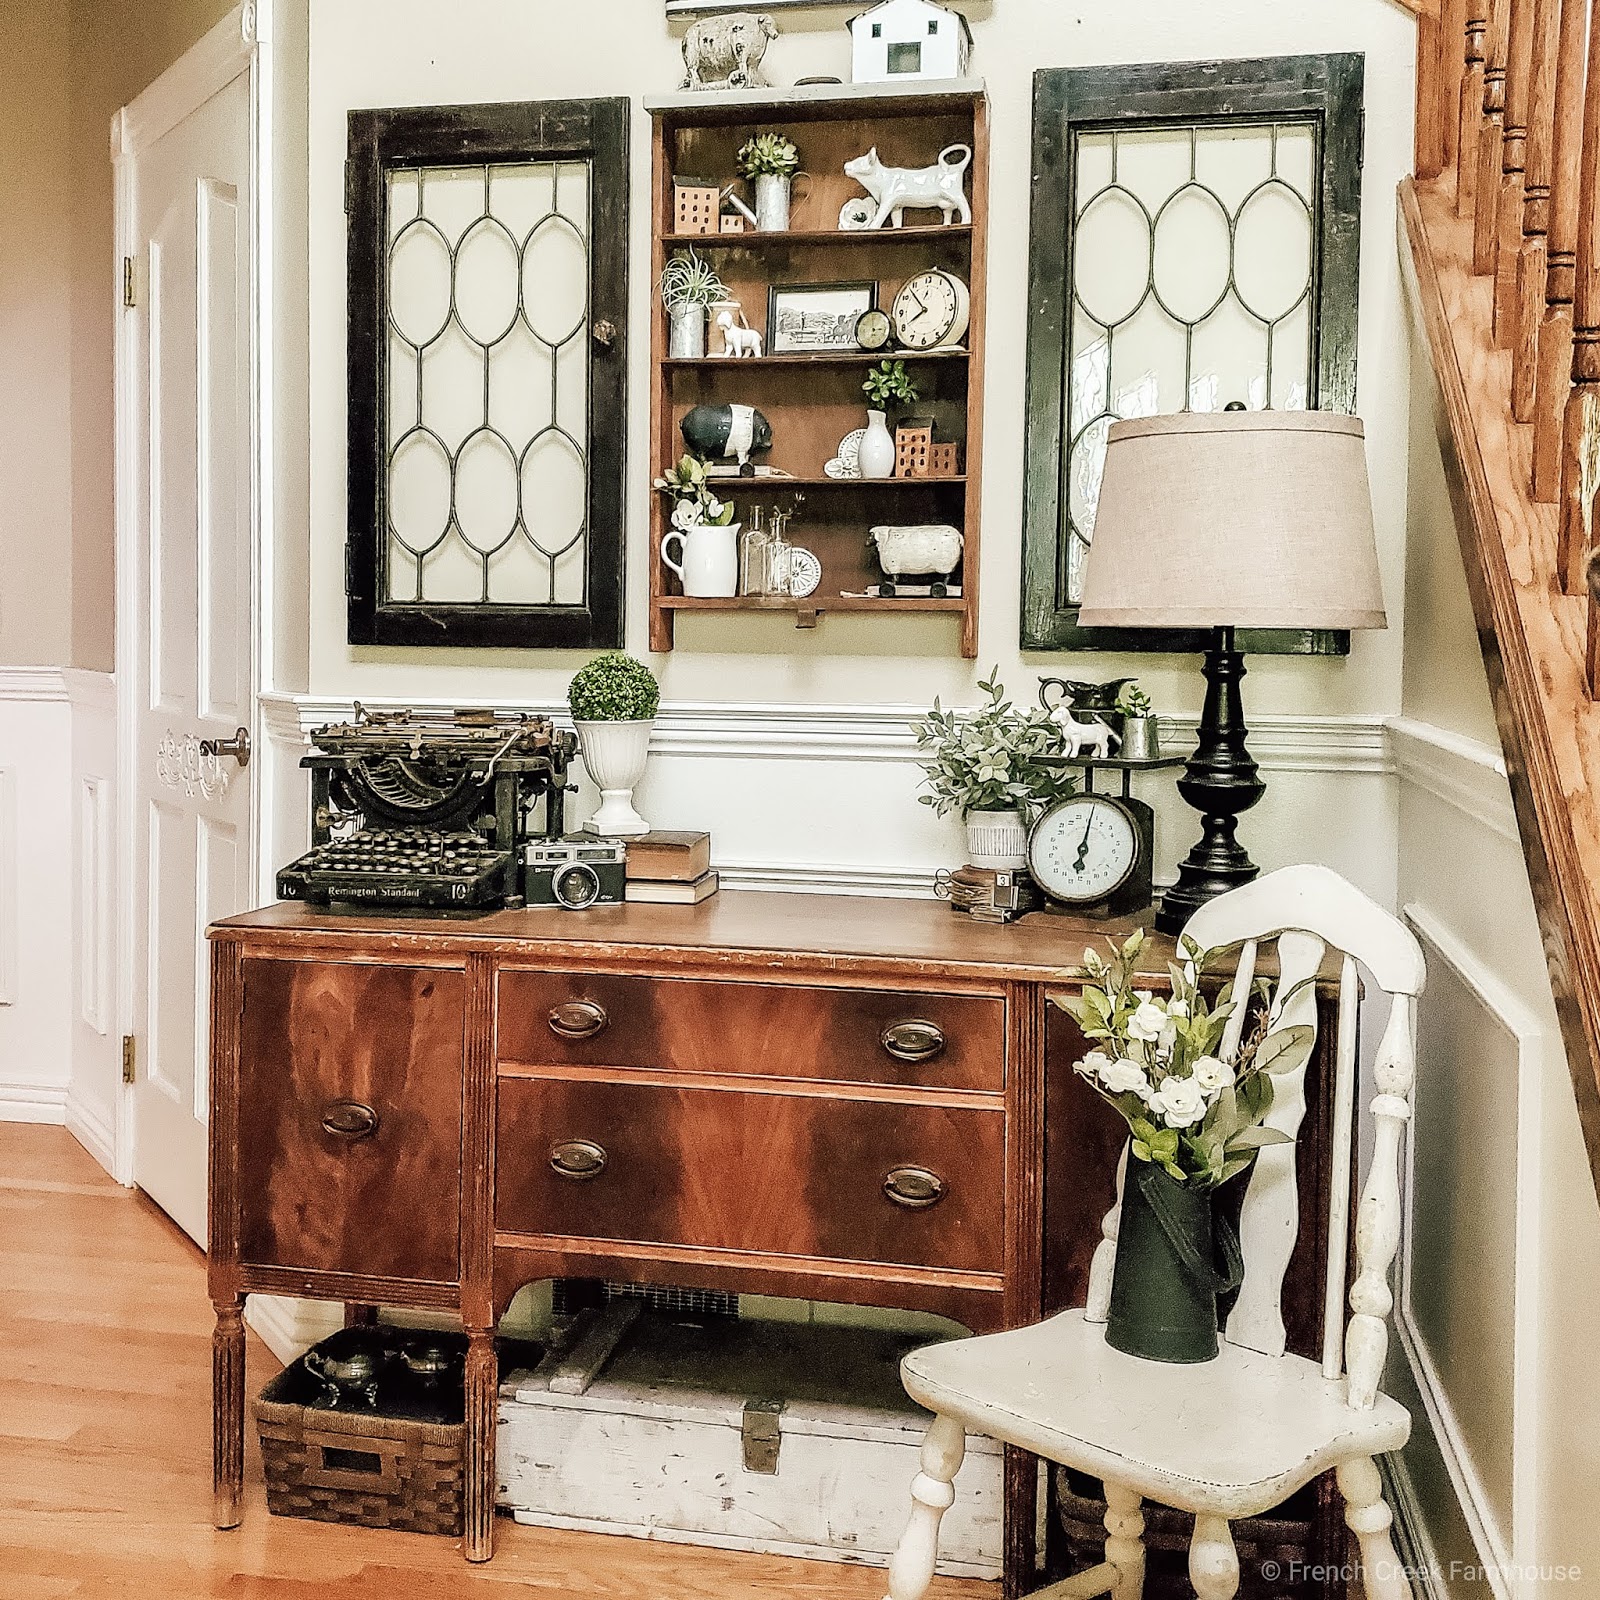
Then, around the time when I started to re-evaluate my design choices, it occurred to me that these doors were the perfect size to fit on our foyer wall above the Federal style buffet that I scored from……..wait for it……..a thrift store (can you believe that?!).
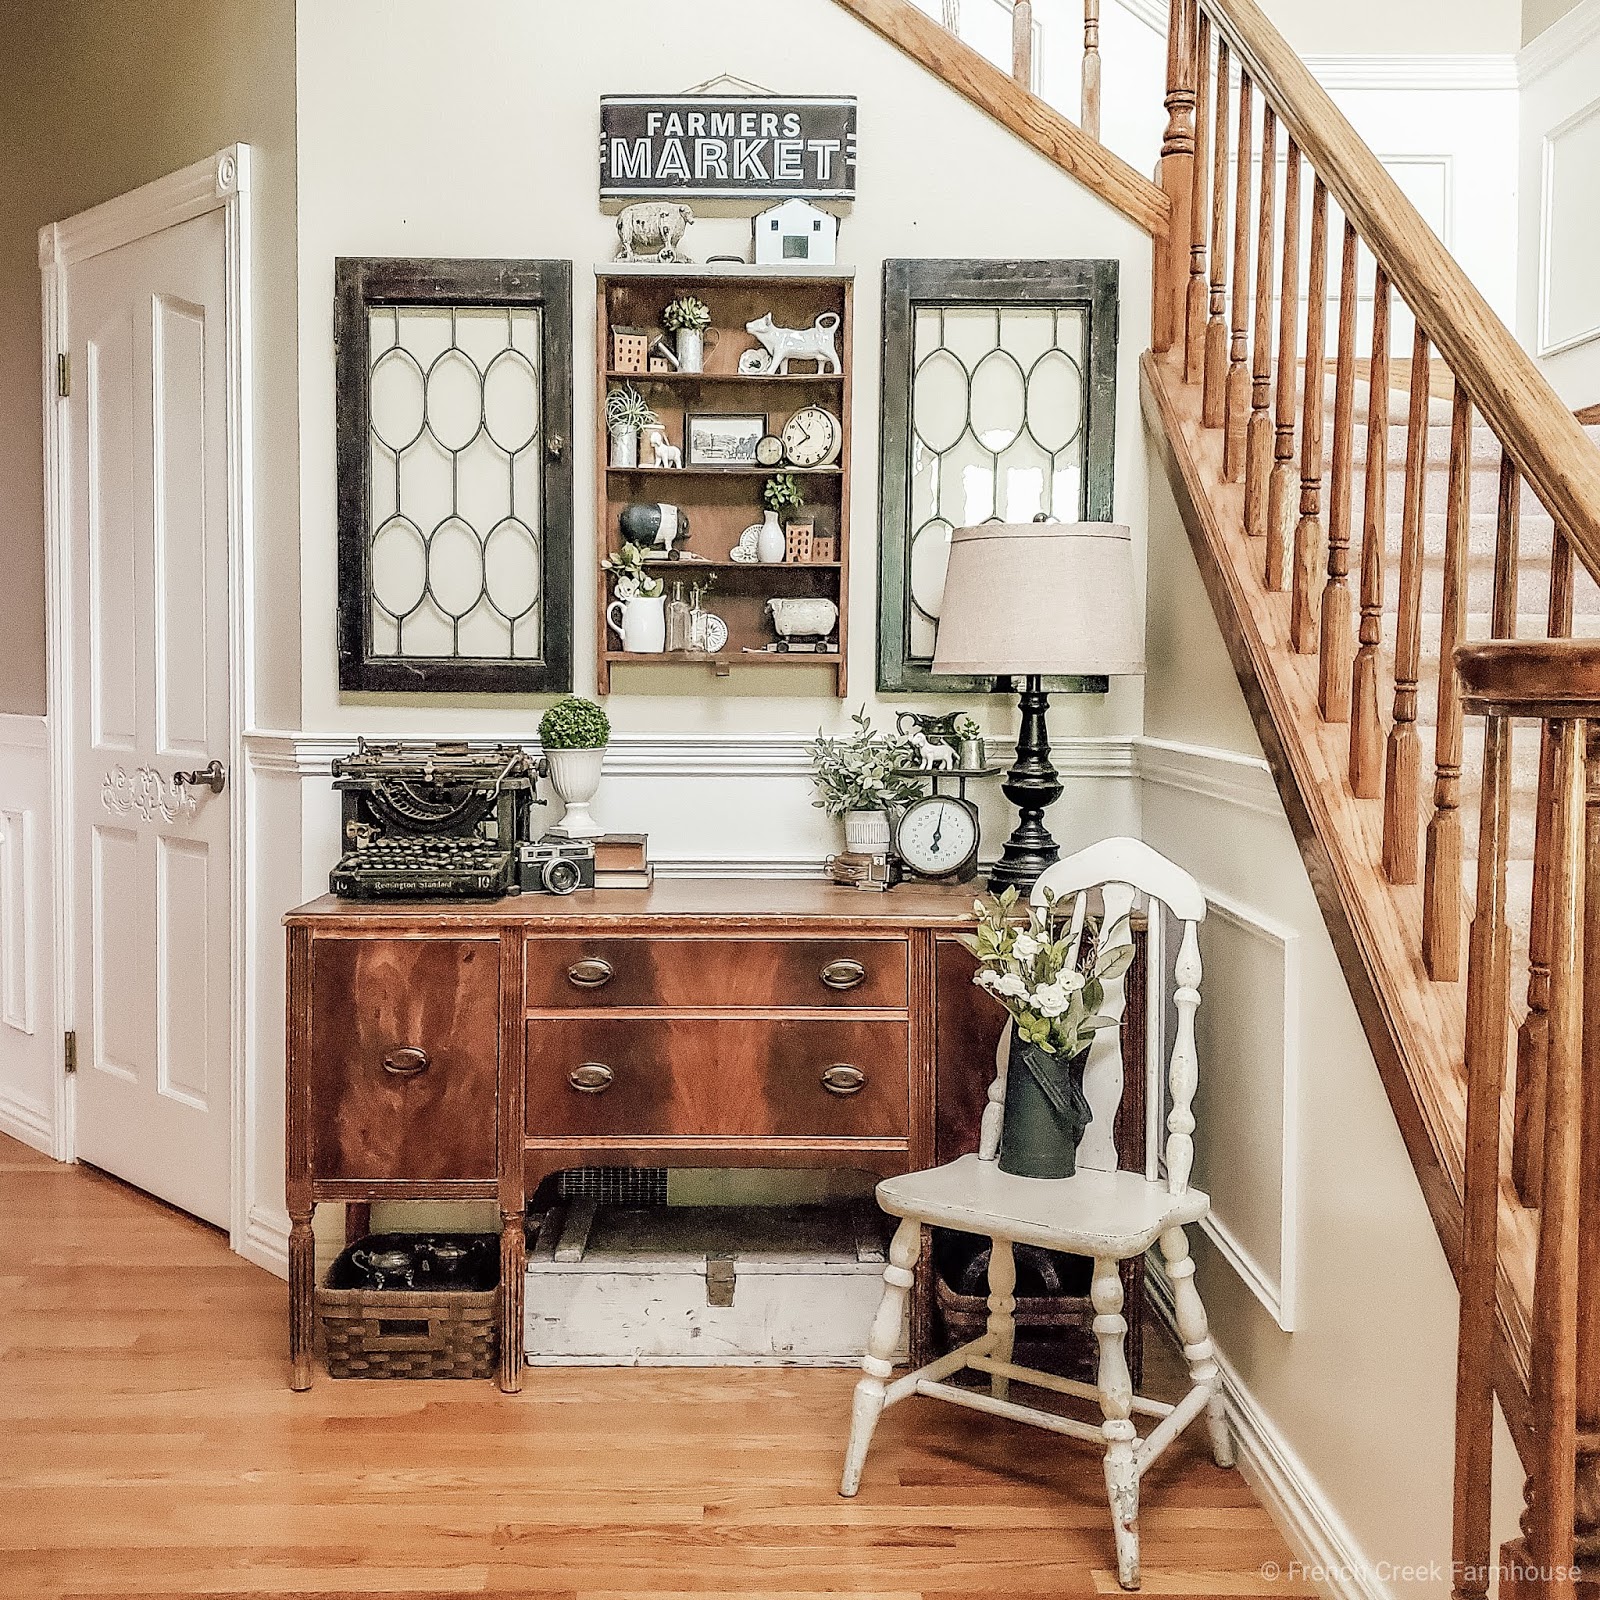
As you may know from several previous posts, I have a genuine affinity for old windows. They are such a beautiful representation of the craftsmanship that existed in historic homes. Unlike the mass-produced vinyl windows that are common today, the original, wood-framed windows of older homes were meticulously hand-crafted during a time when resources were much more difficult to come by. Someone invested their time and care into making each and every one of them!
{Related: Hanging an Old Window in our Kitchen Pass-Through}
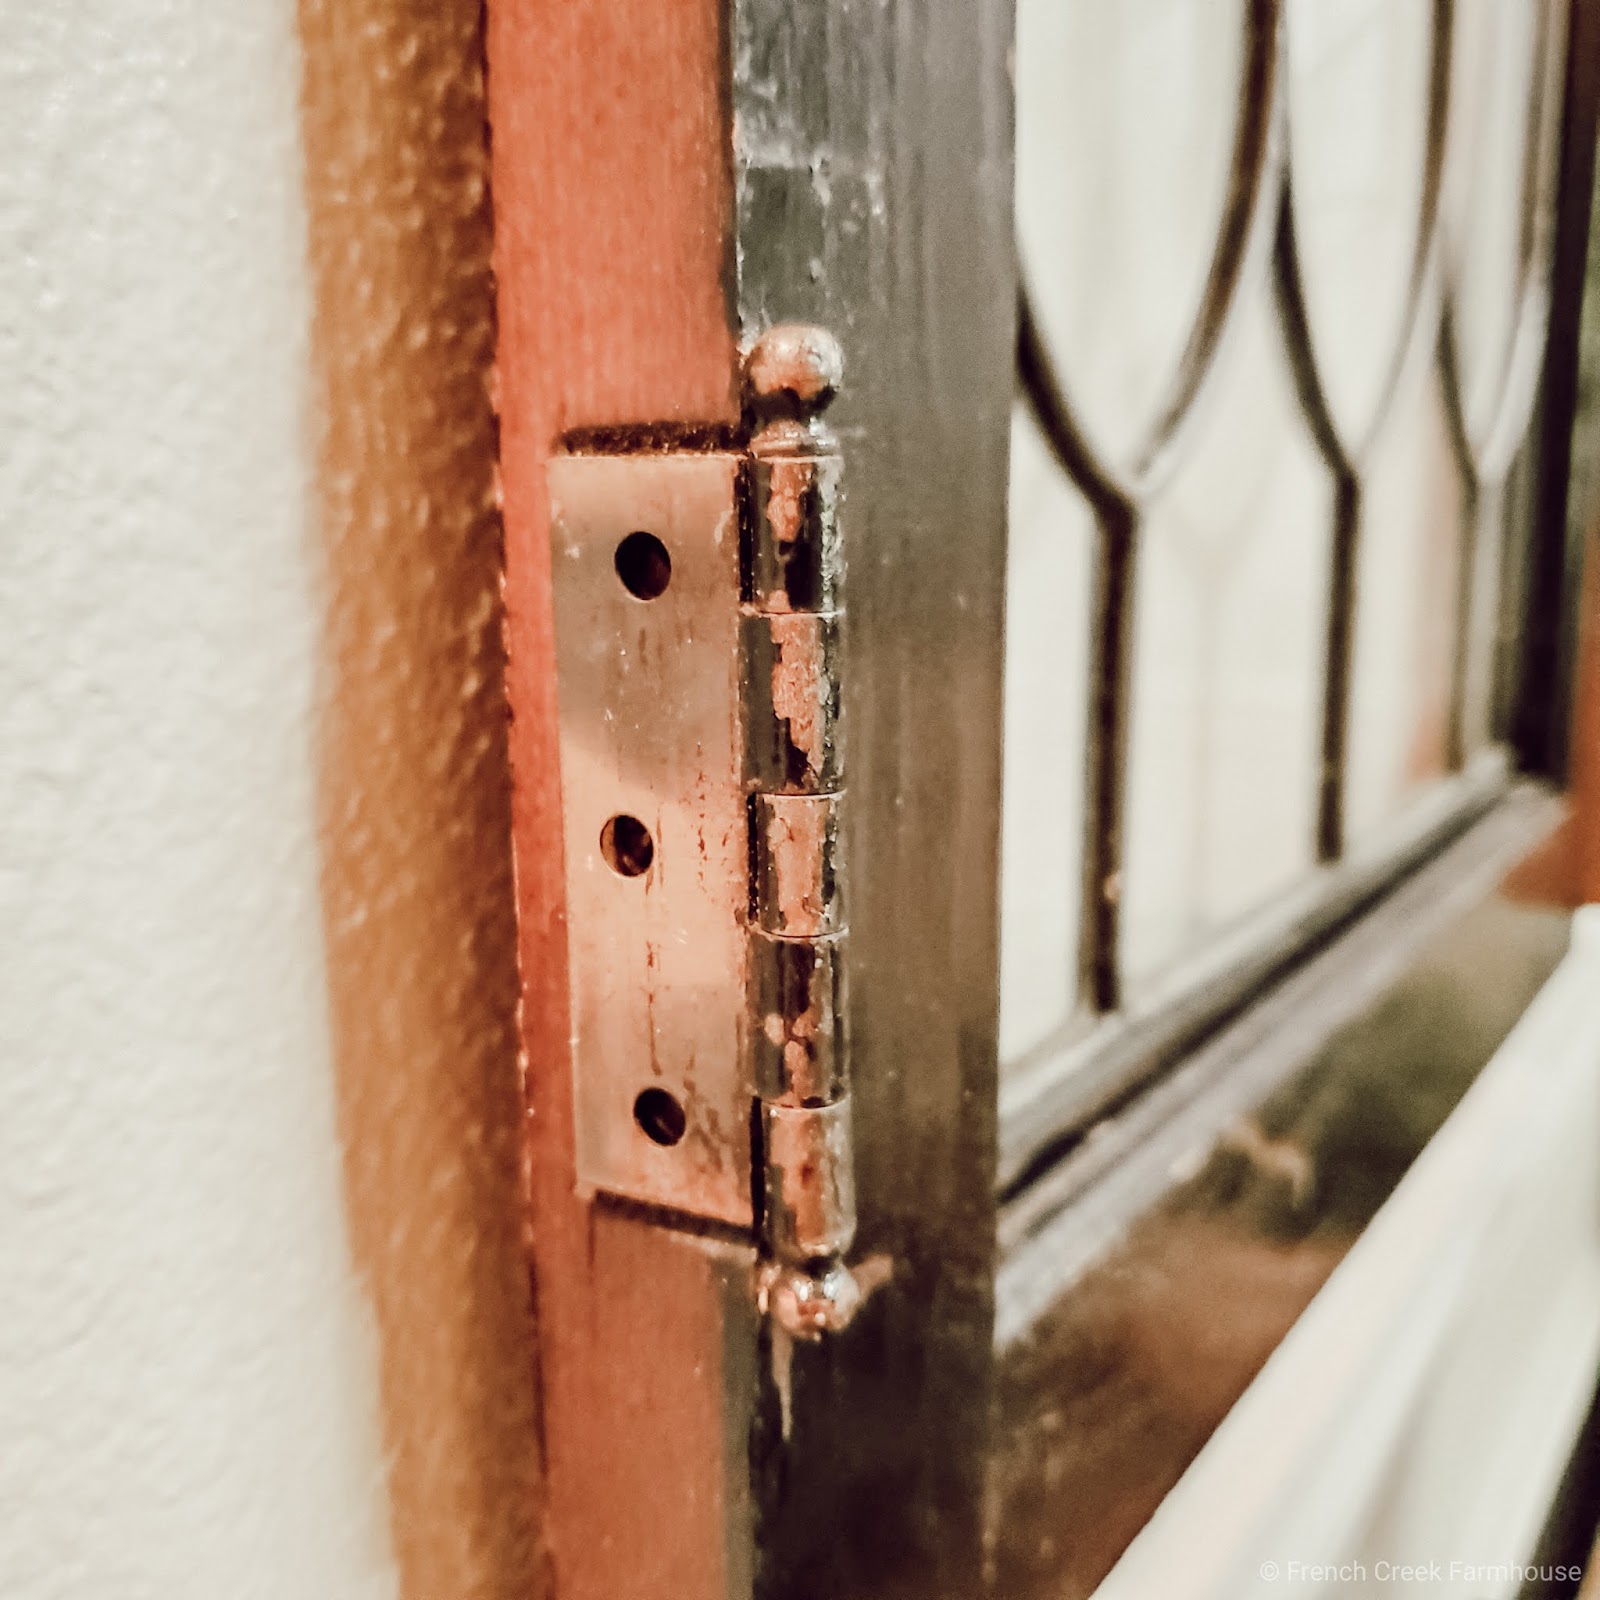
Although not truly windows, these cabinet doors are no exception. They feature hand-cut glass and hand-chiseled dovetail joints. All of the hardware was still attached, including the original copper hinges, which might just be my favorite part even though it’s not the first thing your eye will notice. Those hinges are almost like a treat for anyone who cares to look more closely!
Clearly, with a beloved treasure like these antique glass doors, hanging them properly was my top priority. There is no way I would ever want to risk them falling off the wall! After all, we do live in an area prone to earthquakes, so I take great care whenever I hang anything on our walls–especially heavy and antique items.
{Related: How to Safely Hang Heavy Items on the Wall}
In past posts, I’ve shared several of the methods we’ve used to hang items around our home, but for this project, I was excited to try out a new piece of hardware, and I’m absolutely thrilled with the result!

Disclosure: Disclosure: This project was sponsored by Hangman Products, however all opinions are my own. Some links within this blog may be affiliate links, and I might earn a commission if you make a purchase through that link. This usually amounts to cents, not dollars, and helps to support the projects featured on this blog. I only recommend products from companies that I have found to be trustworthy. Read my full disclosure here.
For several years, we have been very loyal to the French cleat hardware made by Hangman Products. Without exception, it’s a product that has been reliable and has never failed us, caused damage to our walls, or left us wishing for an improvement. It is–hands down–my “go to” hardware.
Before we get into the project…a little behind the scenes of how this came about. We’ve all read “sponsored” posts where someone you know is paid by a brand to promote a product. I want to say right up front, that although this project was sponsored by Hangman, that is not the case here.
We have purchased Hangman’s products for years because, quite simply, they have the best product we’ve found at a fair price. They are a multi-generational family-run business that manufactures products within the United States, and supporting small businesses matters to us.
Rather than Hangman asking me to talk about their products, I started writing about their hardware on my own without their knowledge, because I believe in it, and I wanted others to know where to find and how to use their French cleats.
Then, I found out that Hangman had created a brand new line of products, and I was so excited to test them out. Instead of being asked to review a product, I volunteered! Knowing how great all their products have been in the past, I was anxious to see how this new line would work for us.
And here’s why…
NO STUD TECHNOLOGY
The new line of Hangman products features “no stud” technology. Although, if you use them, you’re totally a stud in my book. (Bad humor, but still true!)
When you use a traditional French cleat to hang a heavy item, you should always try to secure the cleat to at least one wall stud if you want to make sure it stays firmly attached and supports the weight of the item. This means that you need to use a screw that’s long enough to go through the sheetrock and also into the wood of the wall stud.
Alternatively, depending on how heavy the item is, you might be able to use a wall anchor or molly bolt in lieu of a wall stud. The downside, however, is that those will leave large holes in your sheetrock.
Hangman’s No-Stud Technology line of products will support a surprising amount of weight without the need for anchoring or wall studs, and will leave only pin hole marks if you later decide to remove the item!
This line of products is ideal for a variety of decorating needs, whether:
- There isn’t a wall stud located where you want to hang your item, or,
- Your decor is seasonal or otherwise not intended to be permanent, or,
- You rent your home or live in a dorm and need to avoid damaging walls, or,
- You aren’t sure you’re going to like the item in the spot where you put it and might want to change it later.
That last one is a BIG factor for me!
For too many years, I was afraid to decorate my walls because I wasn’t sure I was going to want the art, etc in that spot forever. I worried that if I changed my mind later or made a mistake, I would be stuck with it because I had already made a bunch of holes in the wall.
If this product line had been around back then, I would have been thrilled–just like I am today! So, let me show you how the Hangman No-Stud Technology works in action.
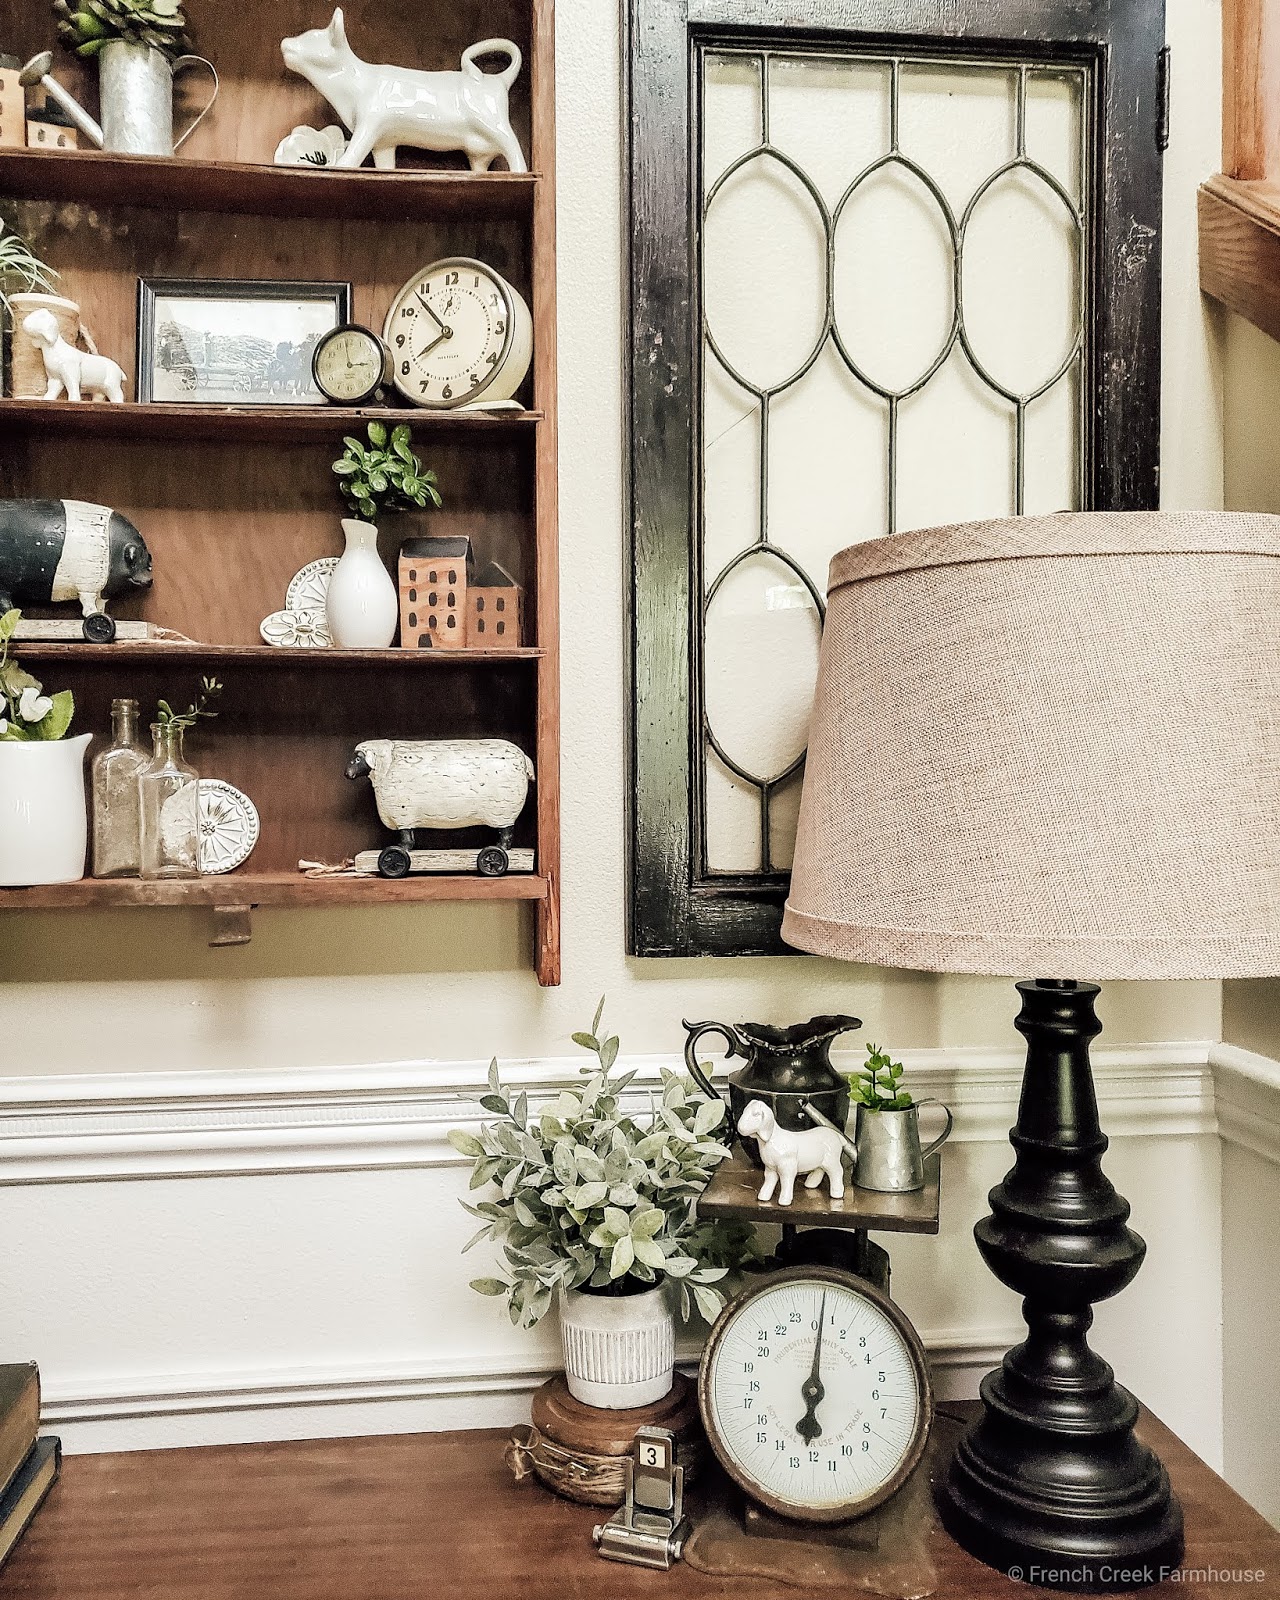
HANGING ANTIQUE WINDOWS ON THE WALL
I started by cleaning all of the glass panes using just a sponge and very hot water. It took quite a long time because the glass was very fragile in these antique doors. I had to scrub very lightly to make sure I didn’t pop any of the glass out of the lead came. A few pieces were especially precarious because of the age of these doors.
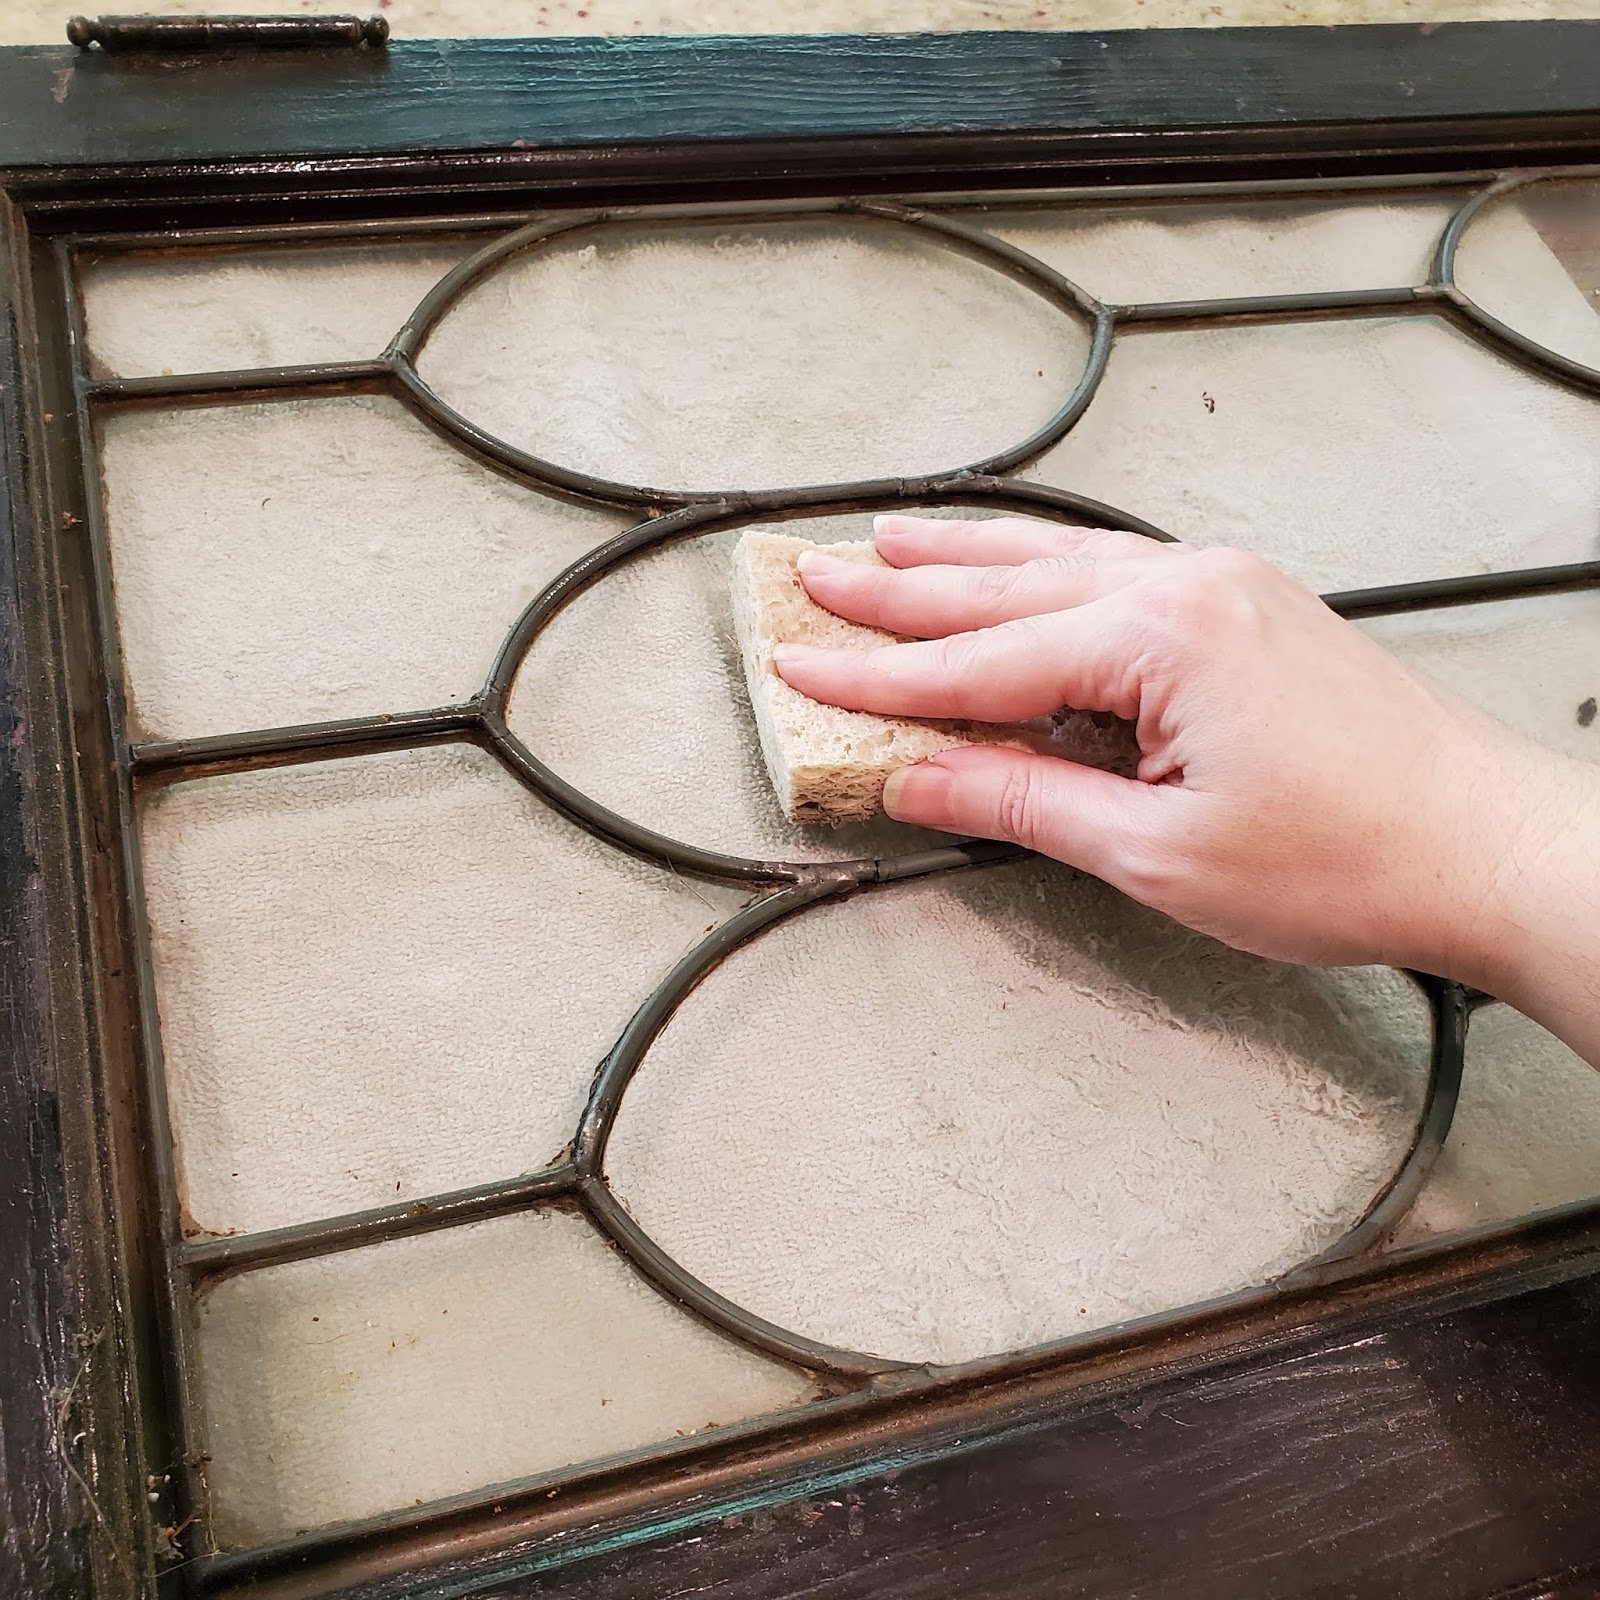
I didn’t want to use harsh solvents that might further deteriorate the came or discolor the wood, so good ol’ hot water and patience did the trick!
Antique Hunter’s Tip: “Came” is the material that’s used for joining pieces of glass together and can be made from lead, or other metals. Lead came, if done properly, should last 75 to 150 years before deteriorating.
Once the doors were clean, it was time to get to work hanging them!
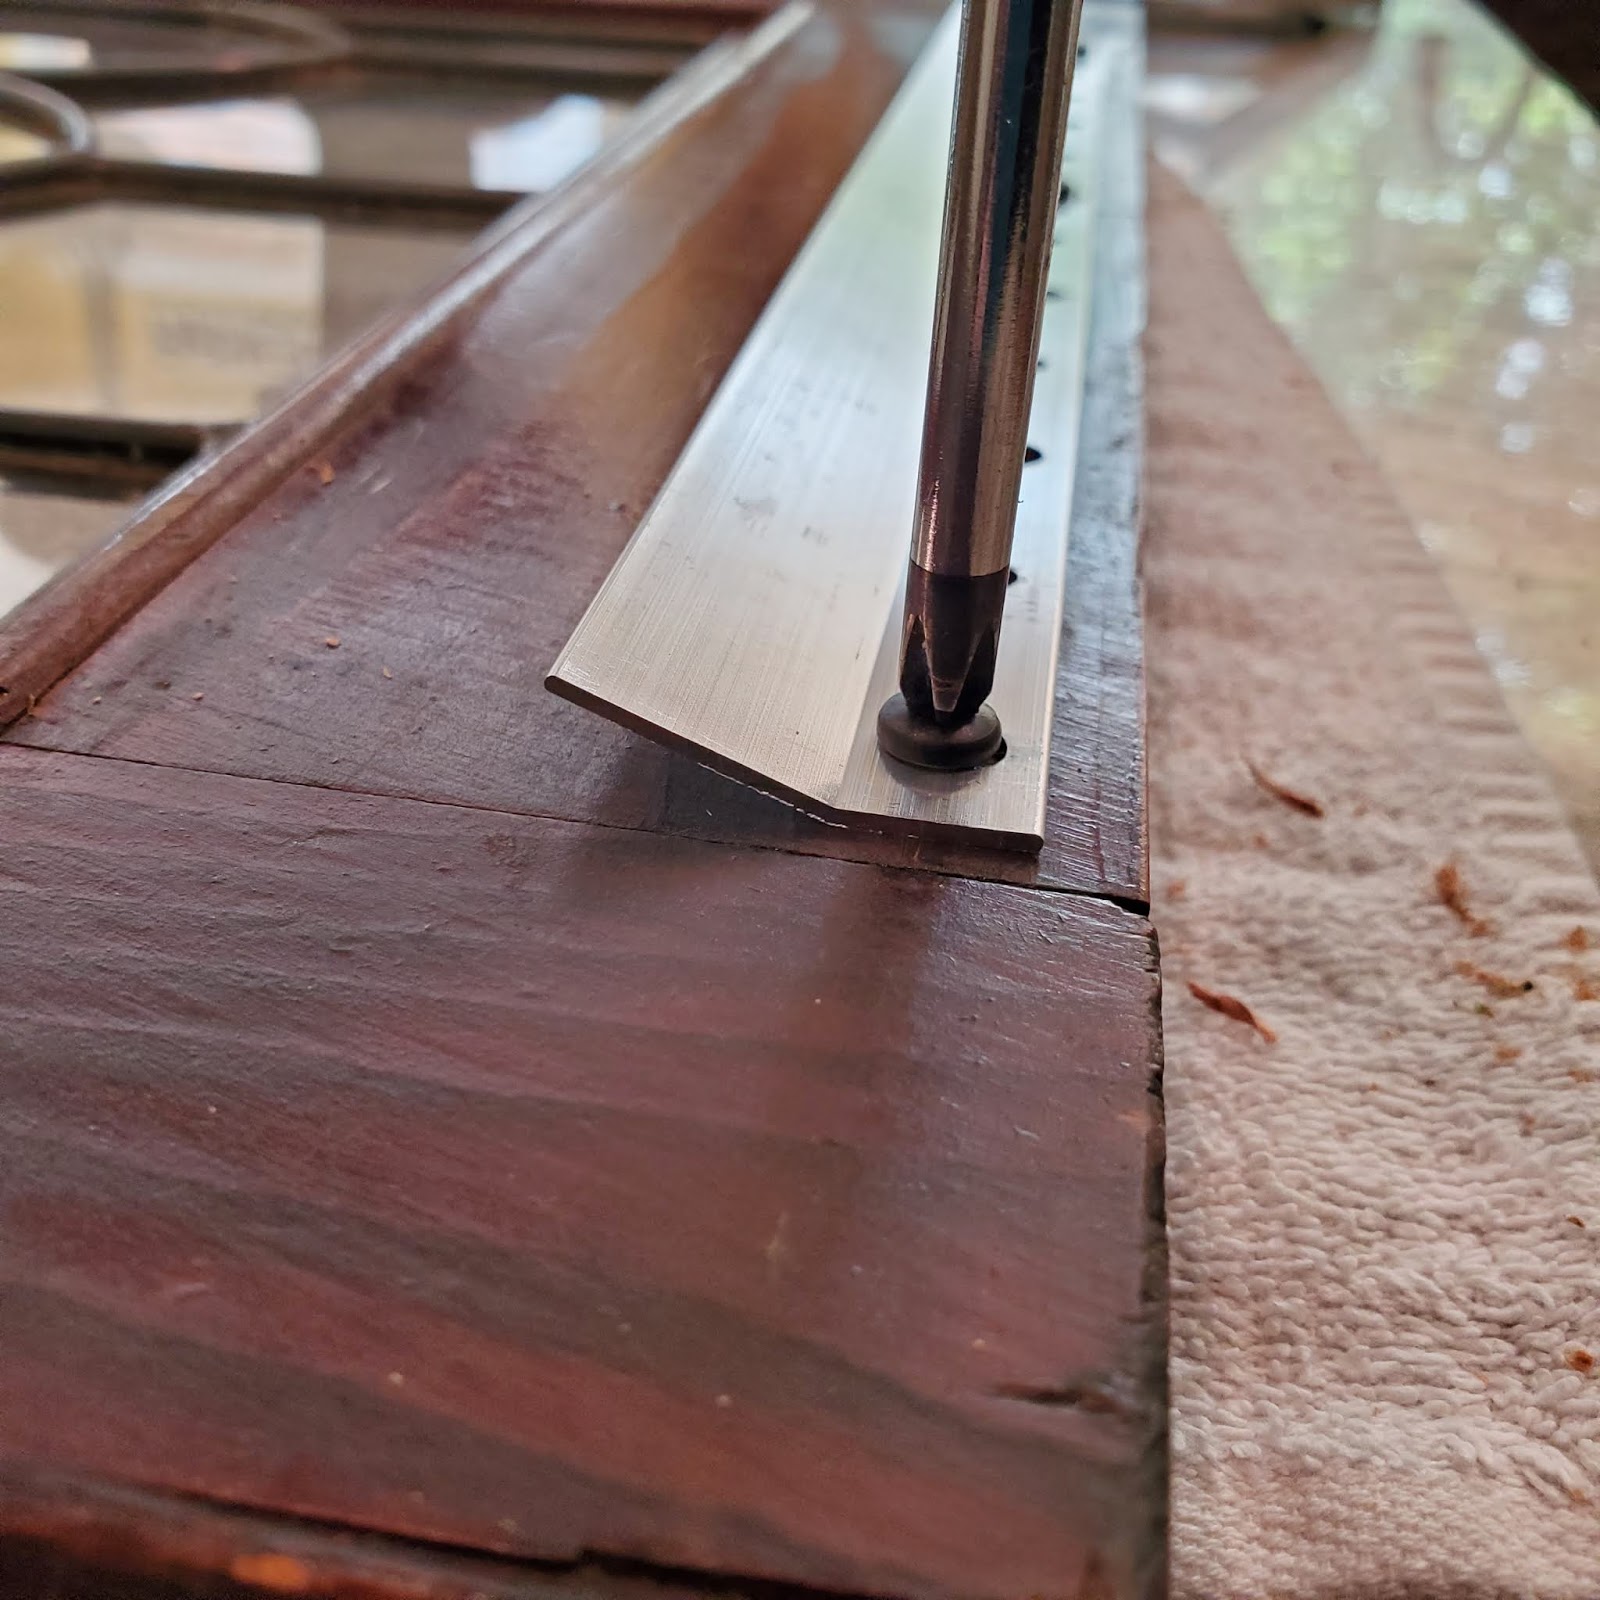
Step One: Attach the Bracket to the Item You Want to Hang
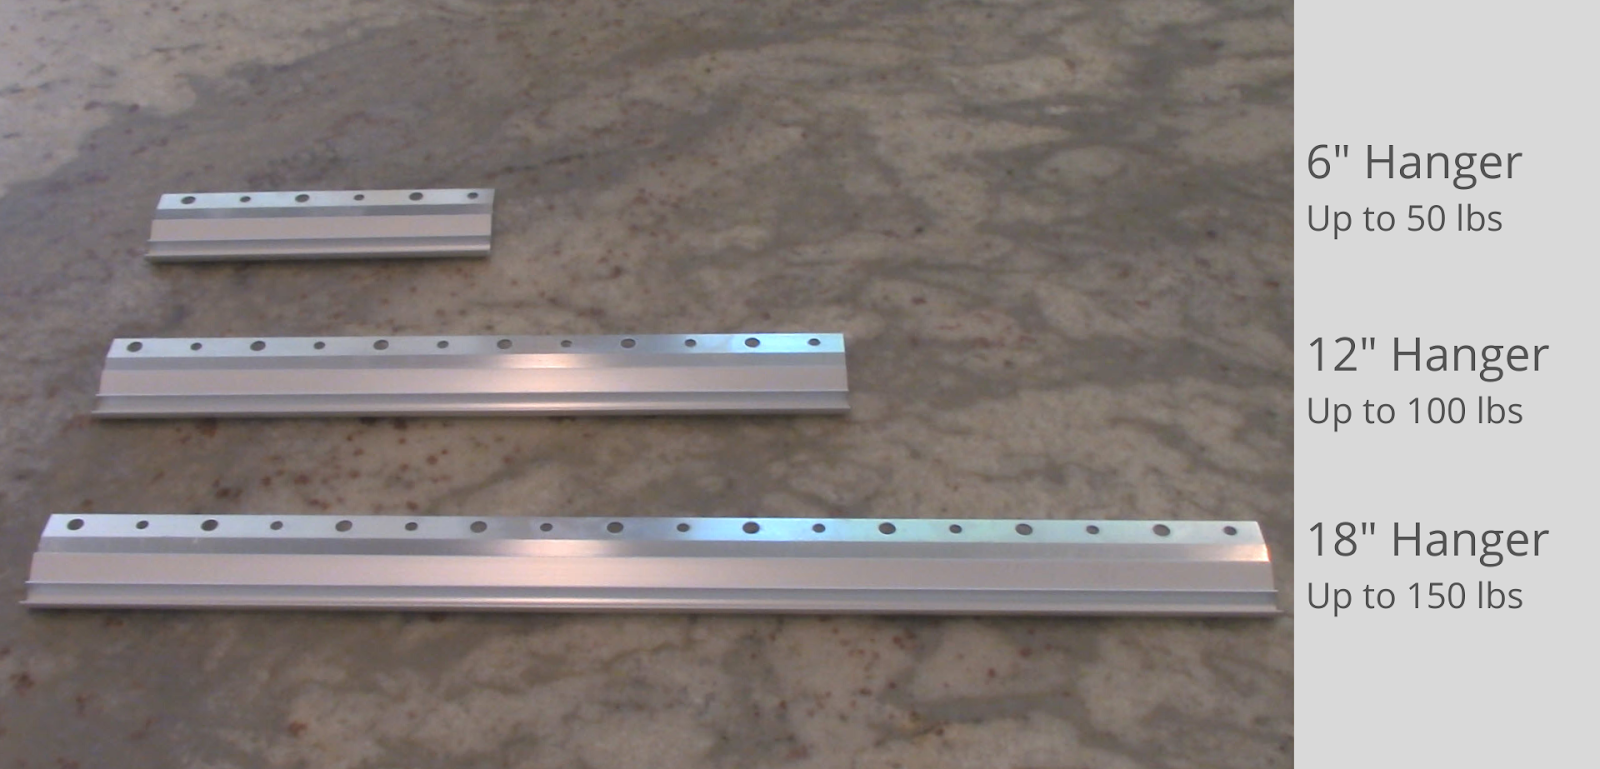
For this project, I used the 12″ Mirror and Picture Hanger brackets, although that was really over-kill. The 12″ bracket will support up to 120 pounds–far heavier than my glass doors. The 6″ bracket will support up to 50 pounds, and that would have been plenty. However, I liked the added stability of having the bracket span more completely across the back of the frame.
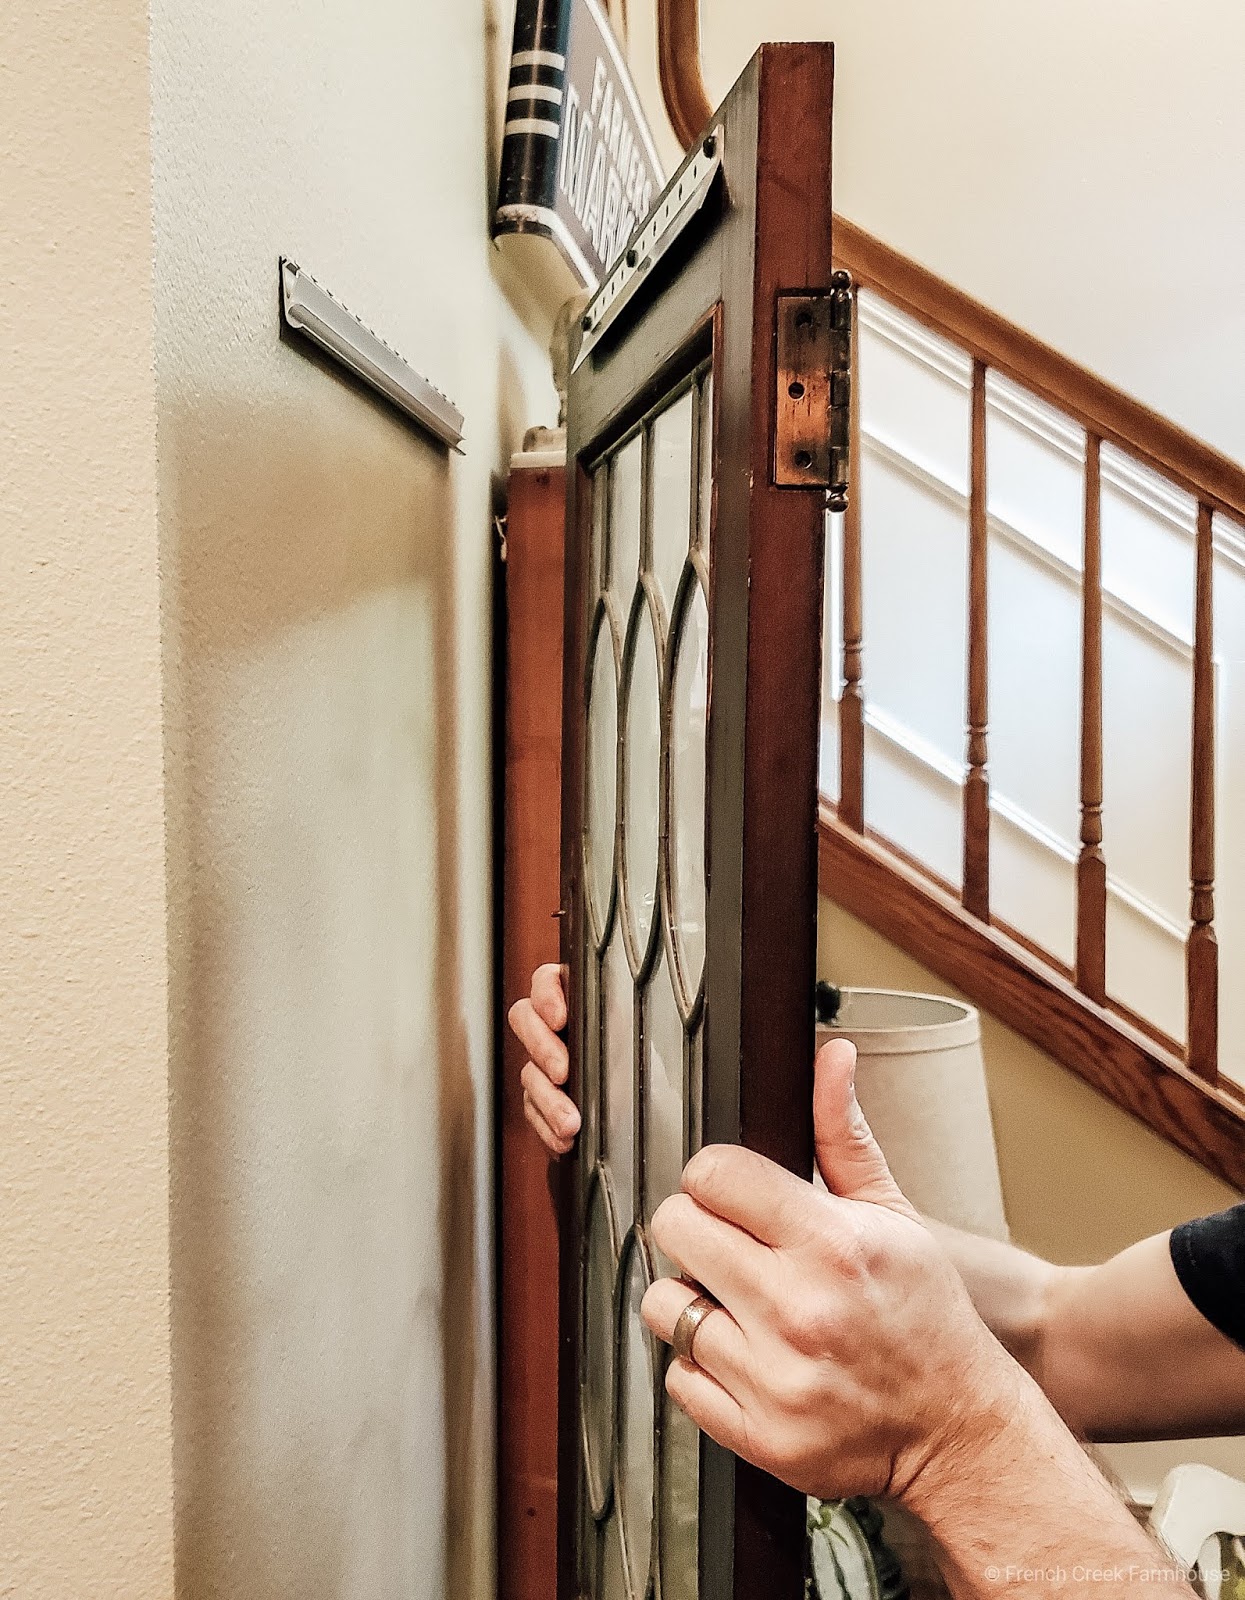
The Hangman No-Stud hangers are a two-piece system. Half is attached to your decor item, and the other half is attached to the wall.
The two pieces are easy to identify. The wall bracket has a bunch of tiny holes all along the top edge, as well as a foam backing that protects your wall from scuffs. The bracket’s mate that attaches to the item you want to hang has larger holes to accommodate the included screws.
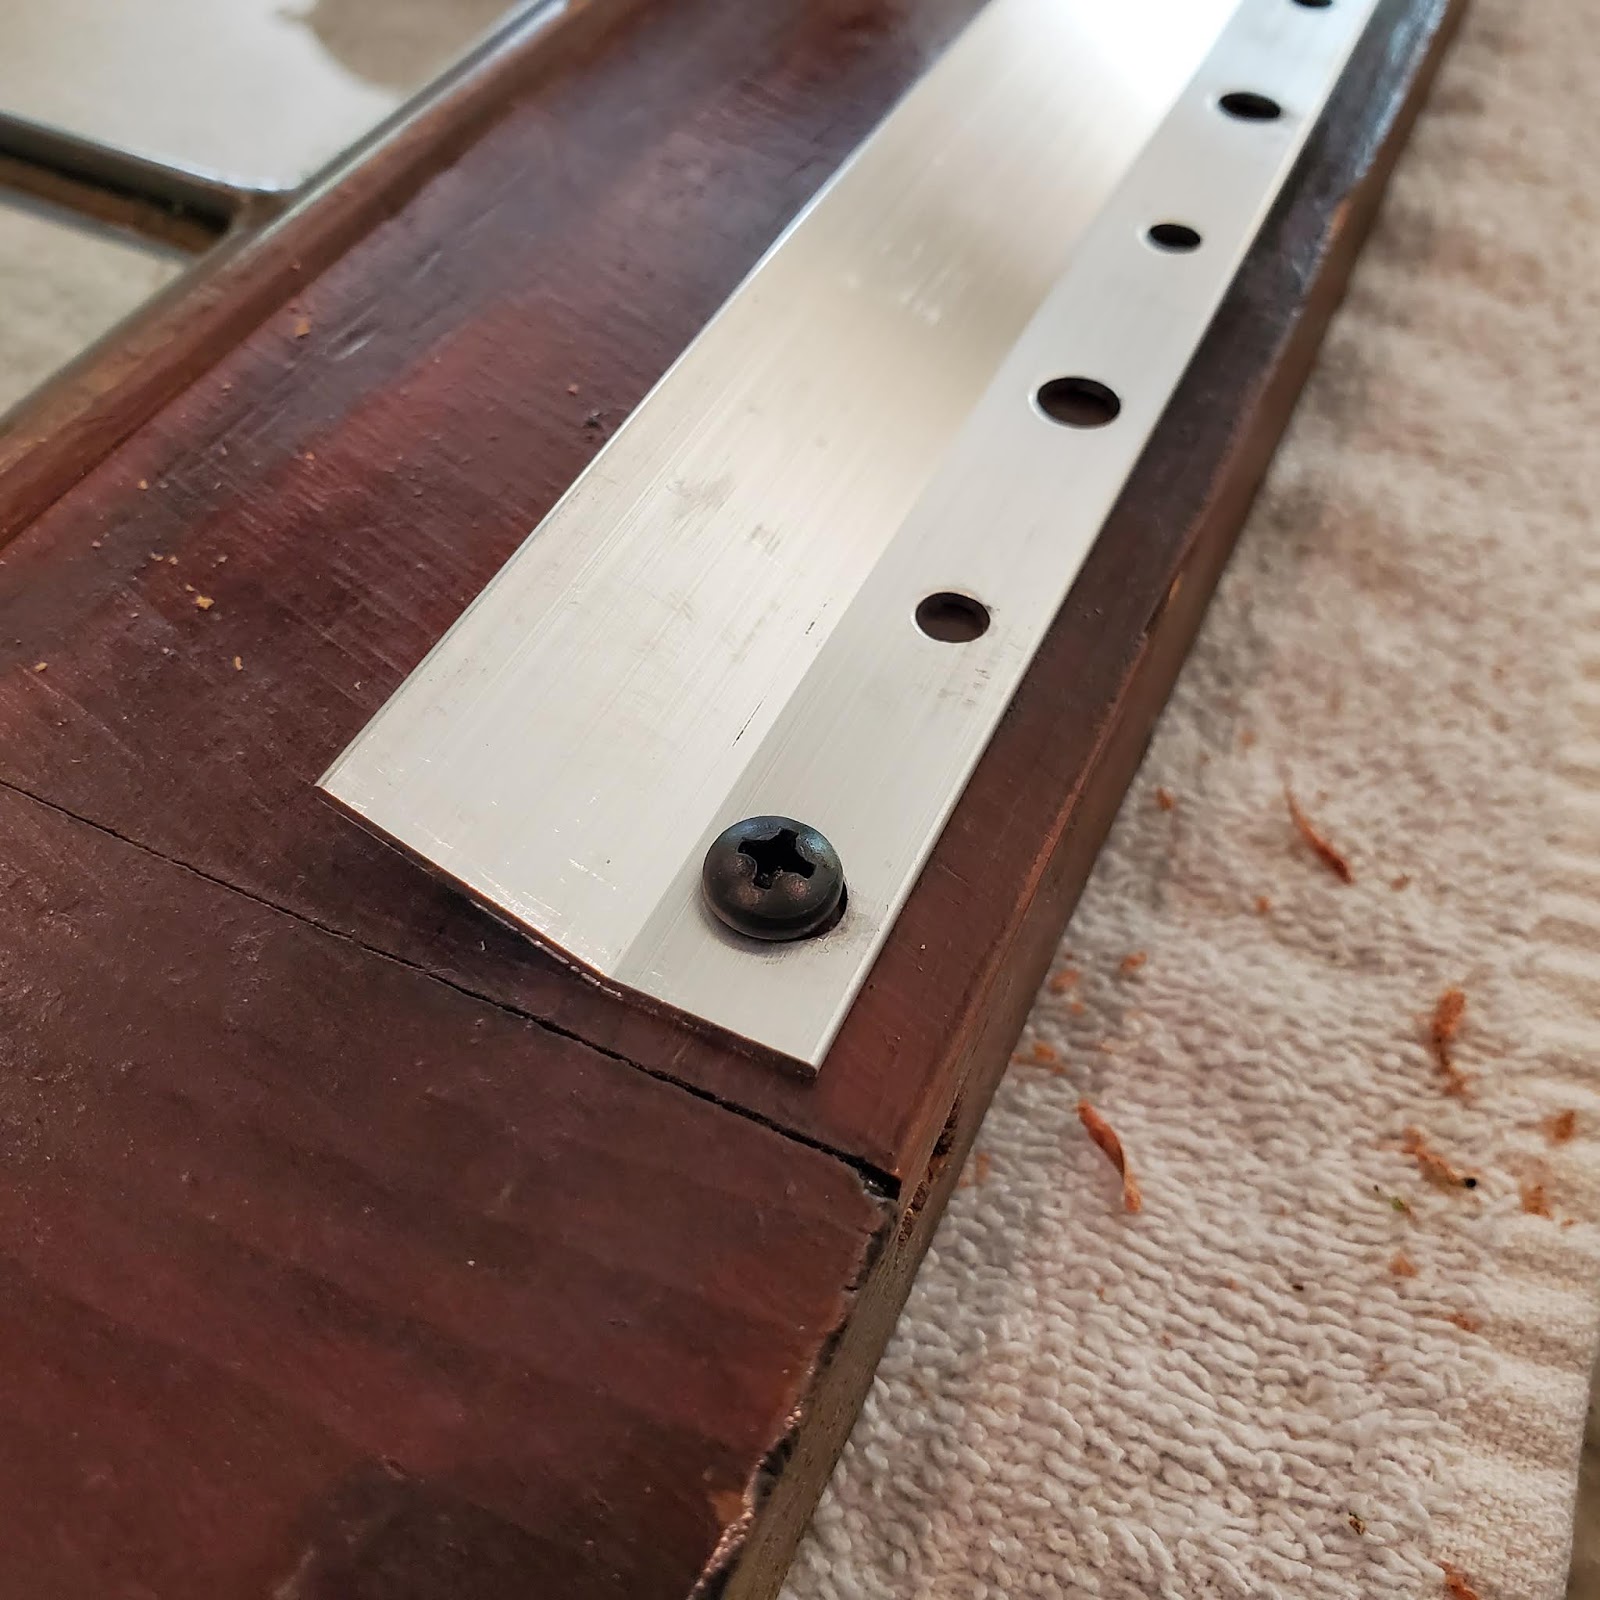
The process of attaching the hardware doesn’t require the use of any power tools. You can attach the bracket to the item you want to hang using just a screw driver, and all of the hanging hardware is included.
That said, because I was working with antique pieces, I took a couple of extra precautions.
First, rather than aligning the bracket with the top edge of the frame, I moved it in about 1/4″. I also drilled small pilot holes for each screw.
Neither of these steps are required to use these brackets, but I didn’t want to take the risk of splintering the antique wood of the frames when attaching the hardware. Had I been hanging a piece made of young, hydrated wood, I wouldn’t have worried about this at all.
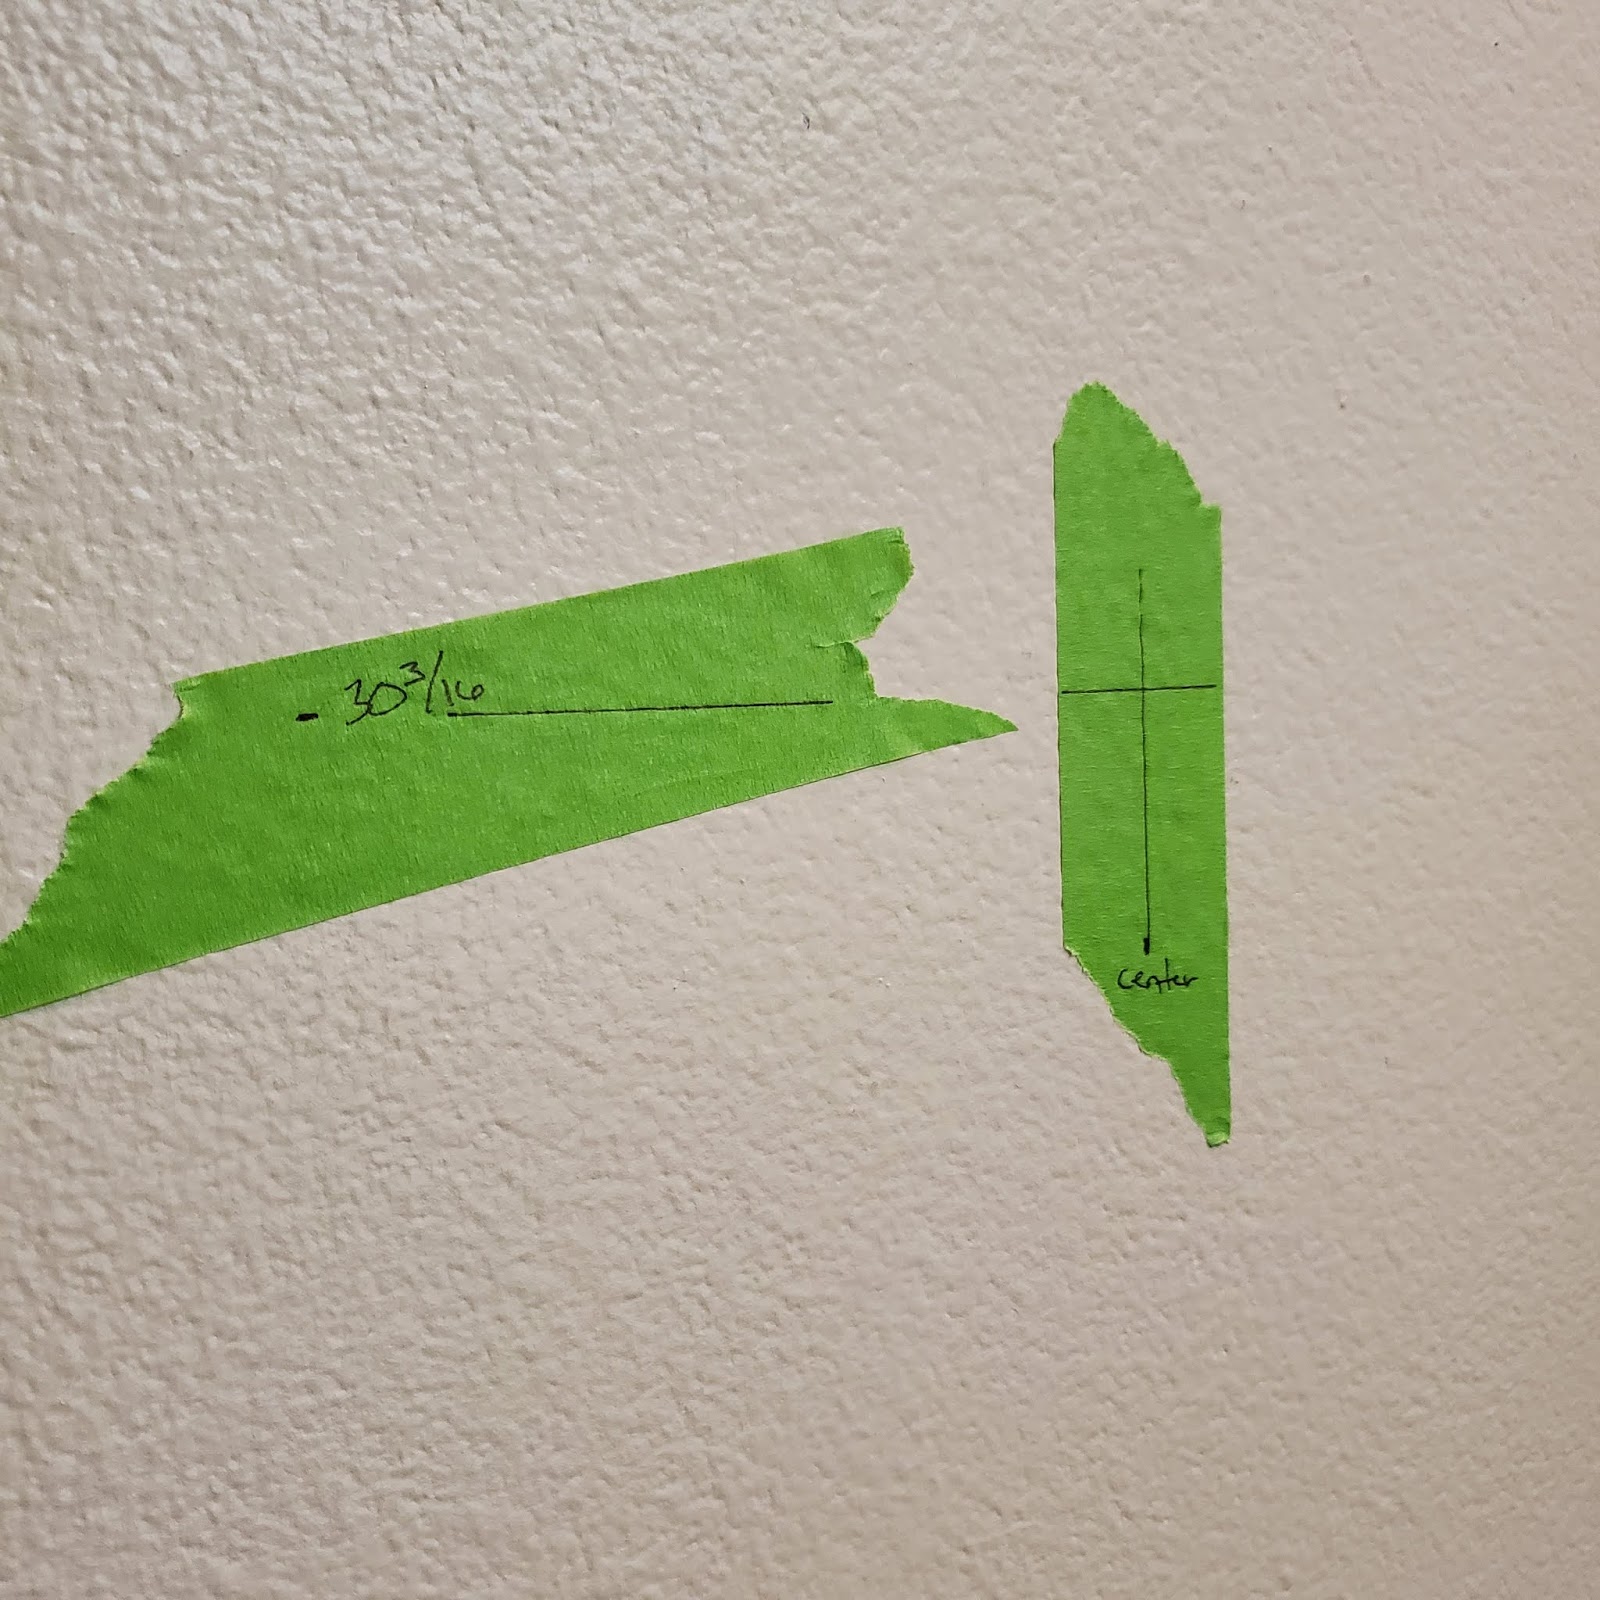
Step Two: Measure, Measure, Measure!
After the brackets were attached to the frame, I measured from the bottom of the frame to the bracket so that I knew where the wall bracket would need to be placed. Then, I figured out where that spot was on my wall.
I also measured to find the center of my wall space so that it would be properly aligned. After many years of doing DIY projects, my tip for measuring on your walls is to make your marks on painters tape (this is what I used) rather than directly onto the wall. Don’t ask me how I know. (wink)
And finally, I checked the measurement of the bracket–and that proved to be a good extra step! The 12″ brackets that I used were actually about 1/8″ shorter than 12″.
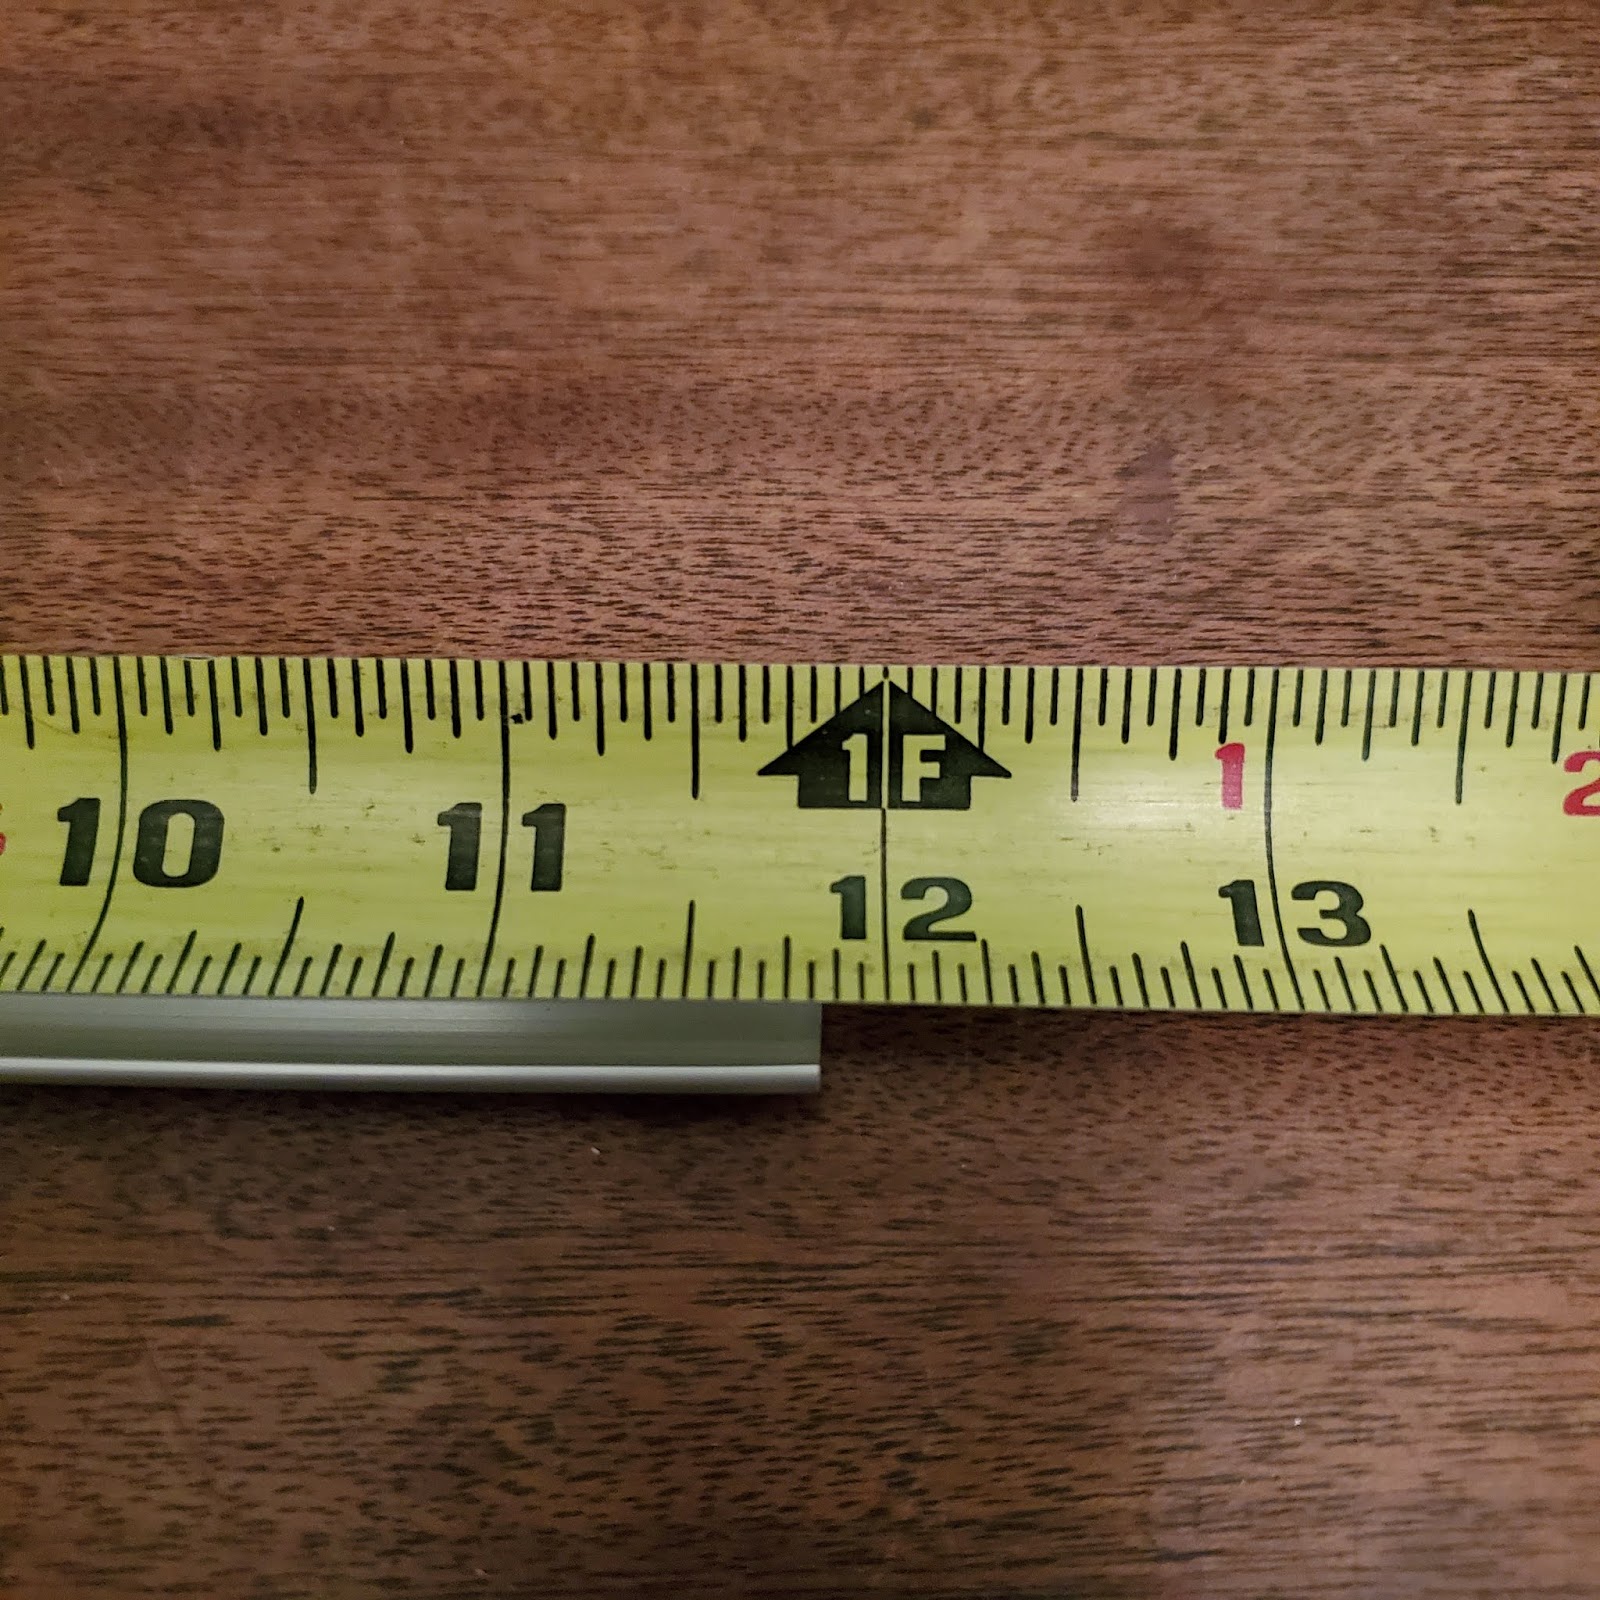
That meant I needed to adjust where the “center” of the bracket was, and I did that by marking it with a Sharpie.
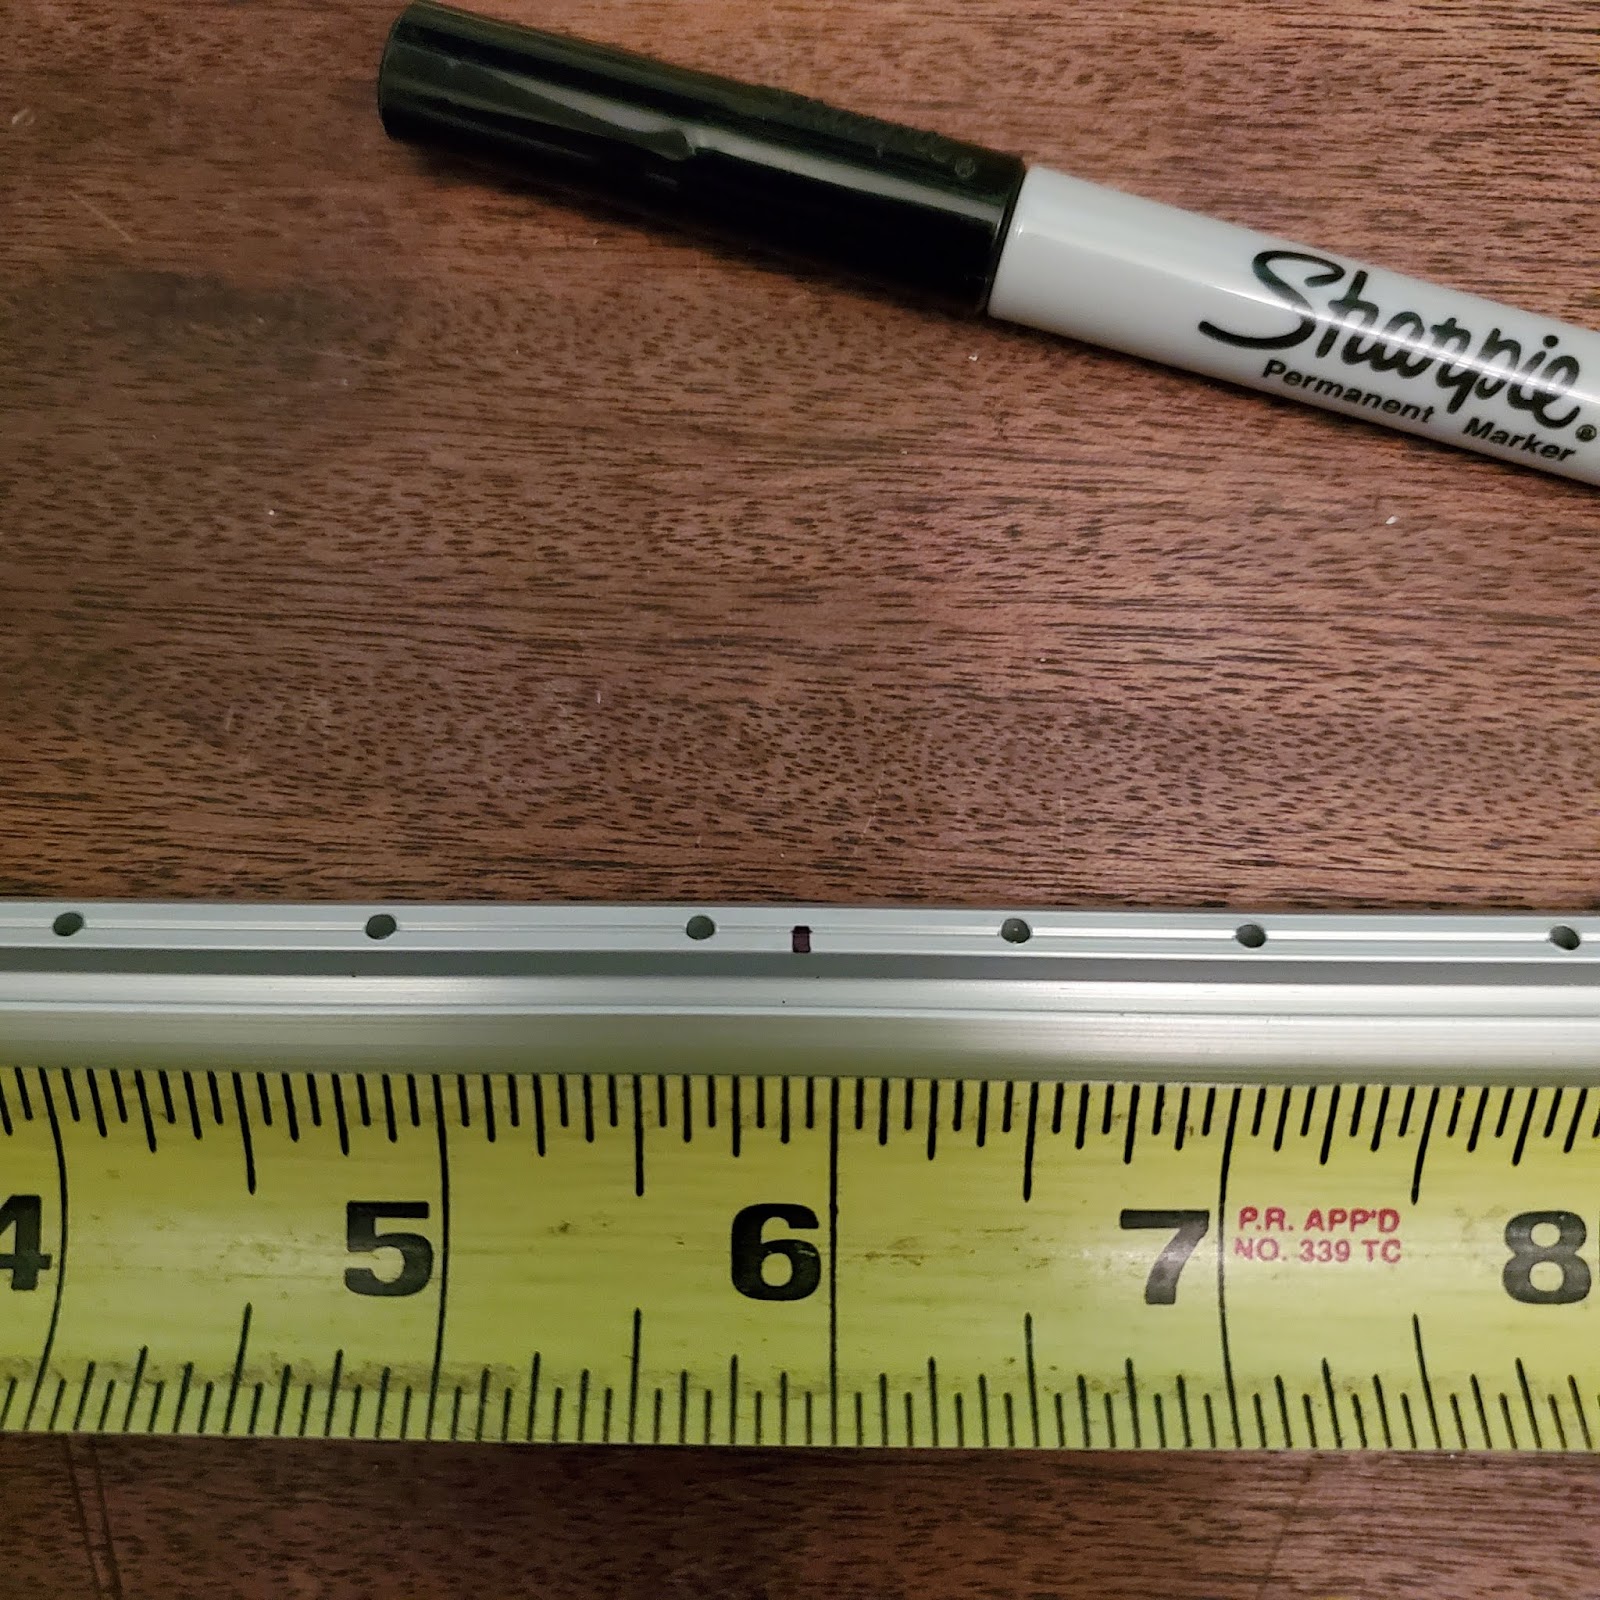
Step Three: Attach the Wall Bracket
This might be the coolest part of Hangman’s products!
First, nail through one of the bracket’s holes that’s near the center (you can choose any hole that’s in the middle part of the bracket).
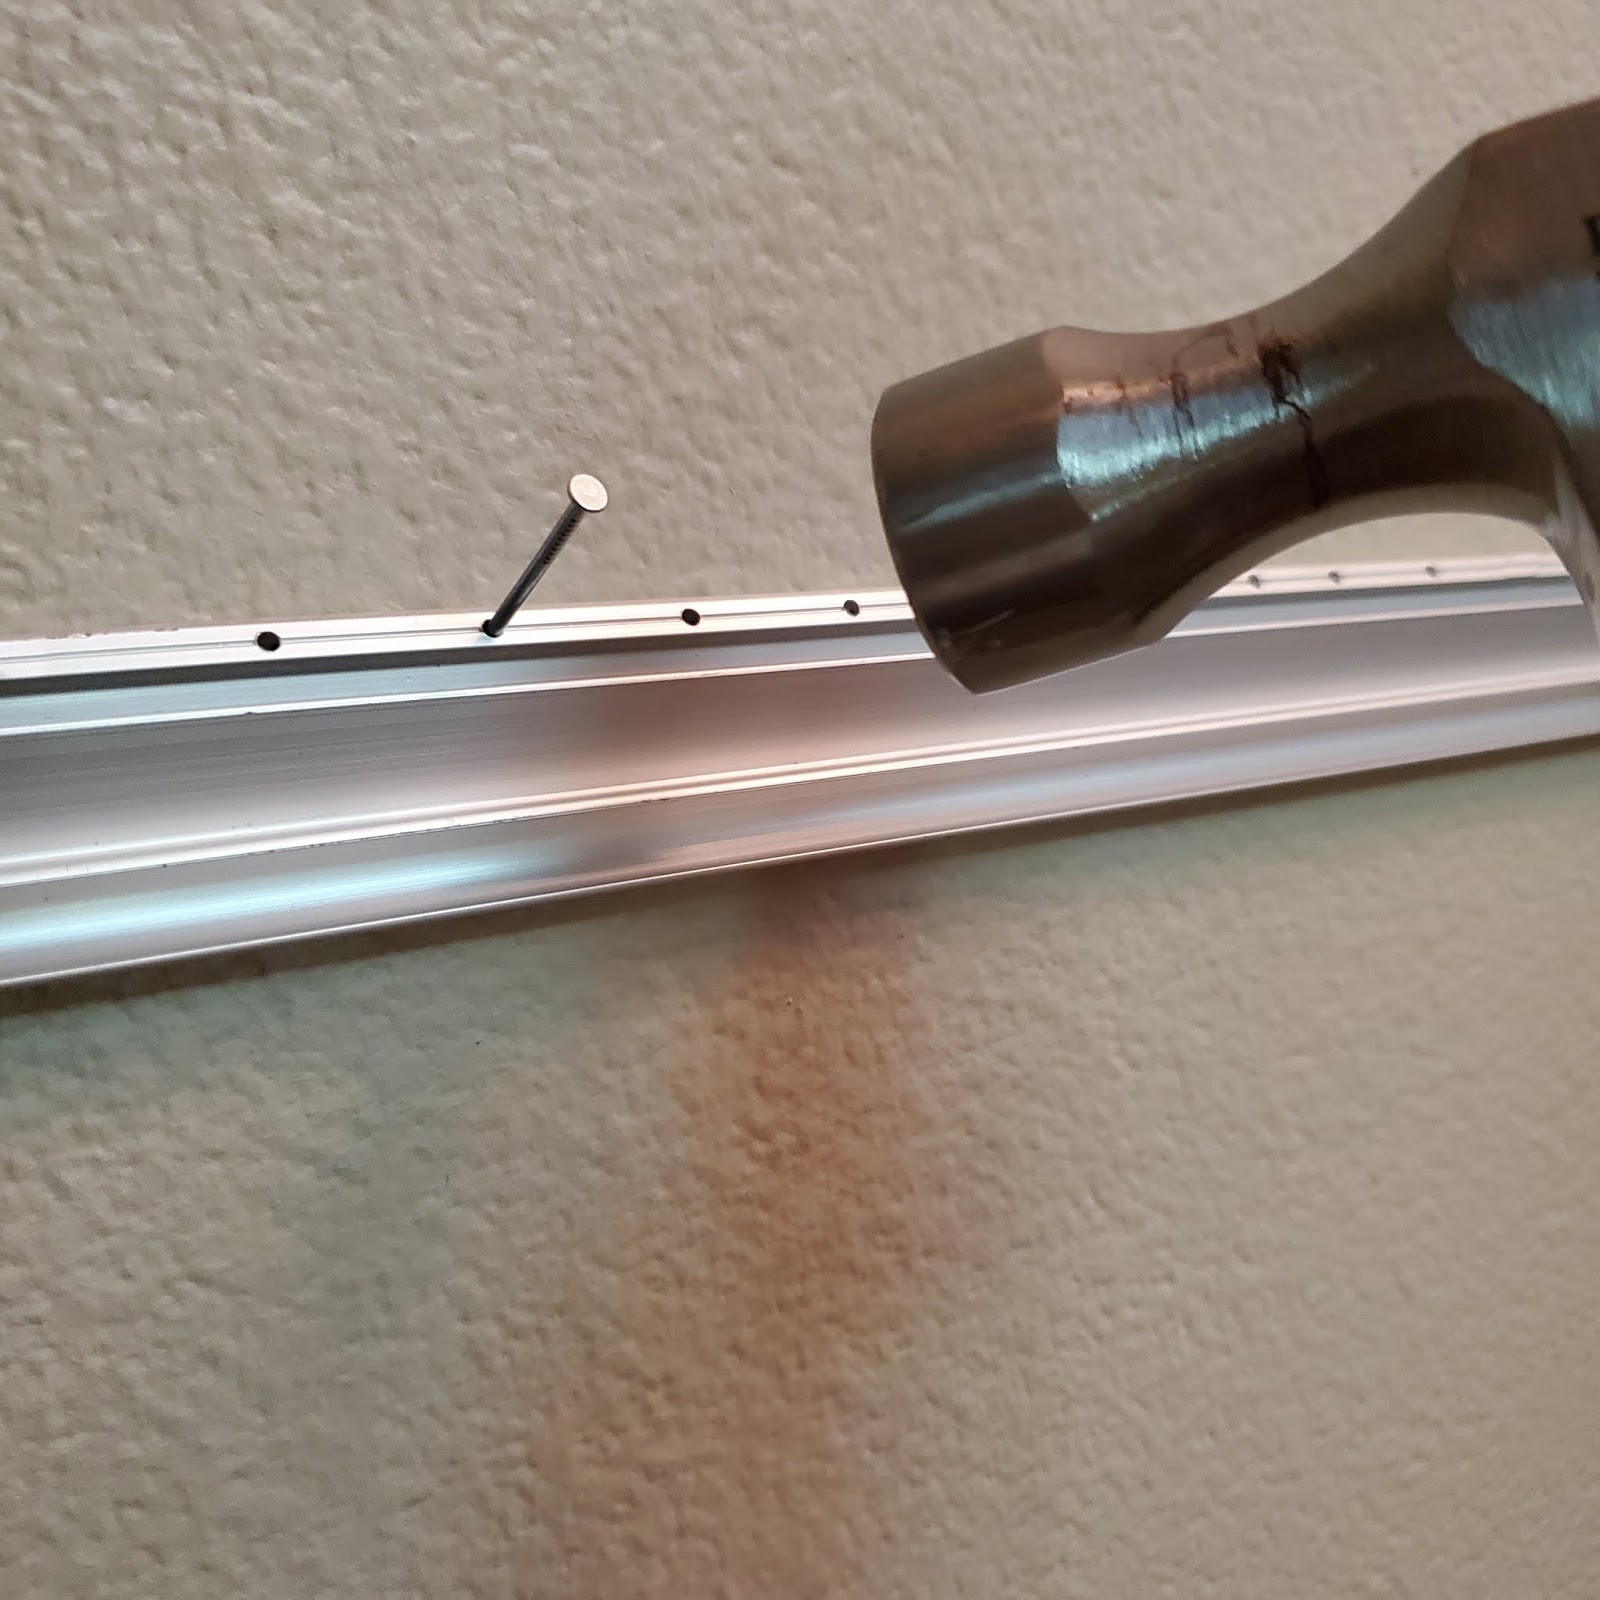
Next, slide the included level into the track, and hold the bracket at level. Then, nail one of the end points. Now the bracket is perfectly level! You can finish adding all the nails.
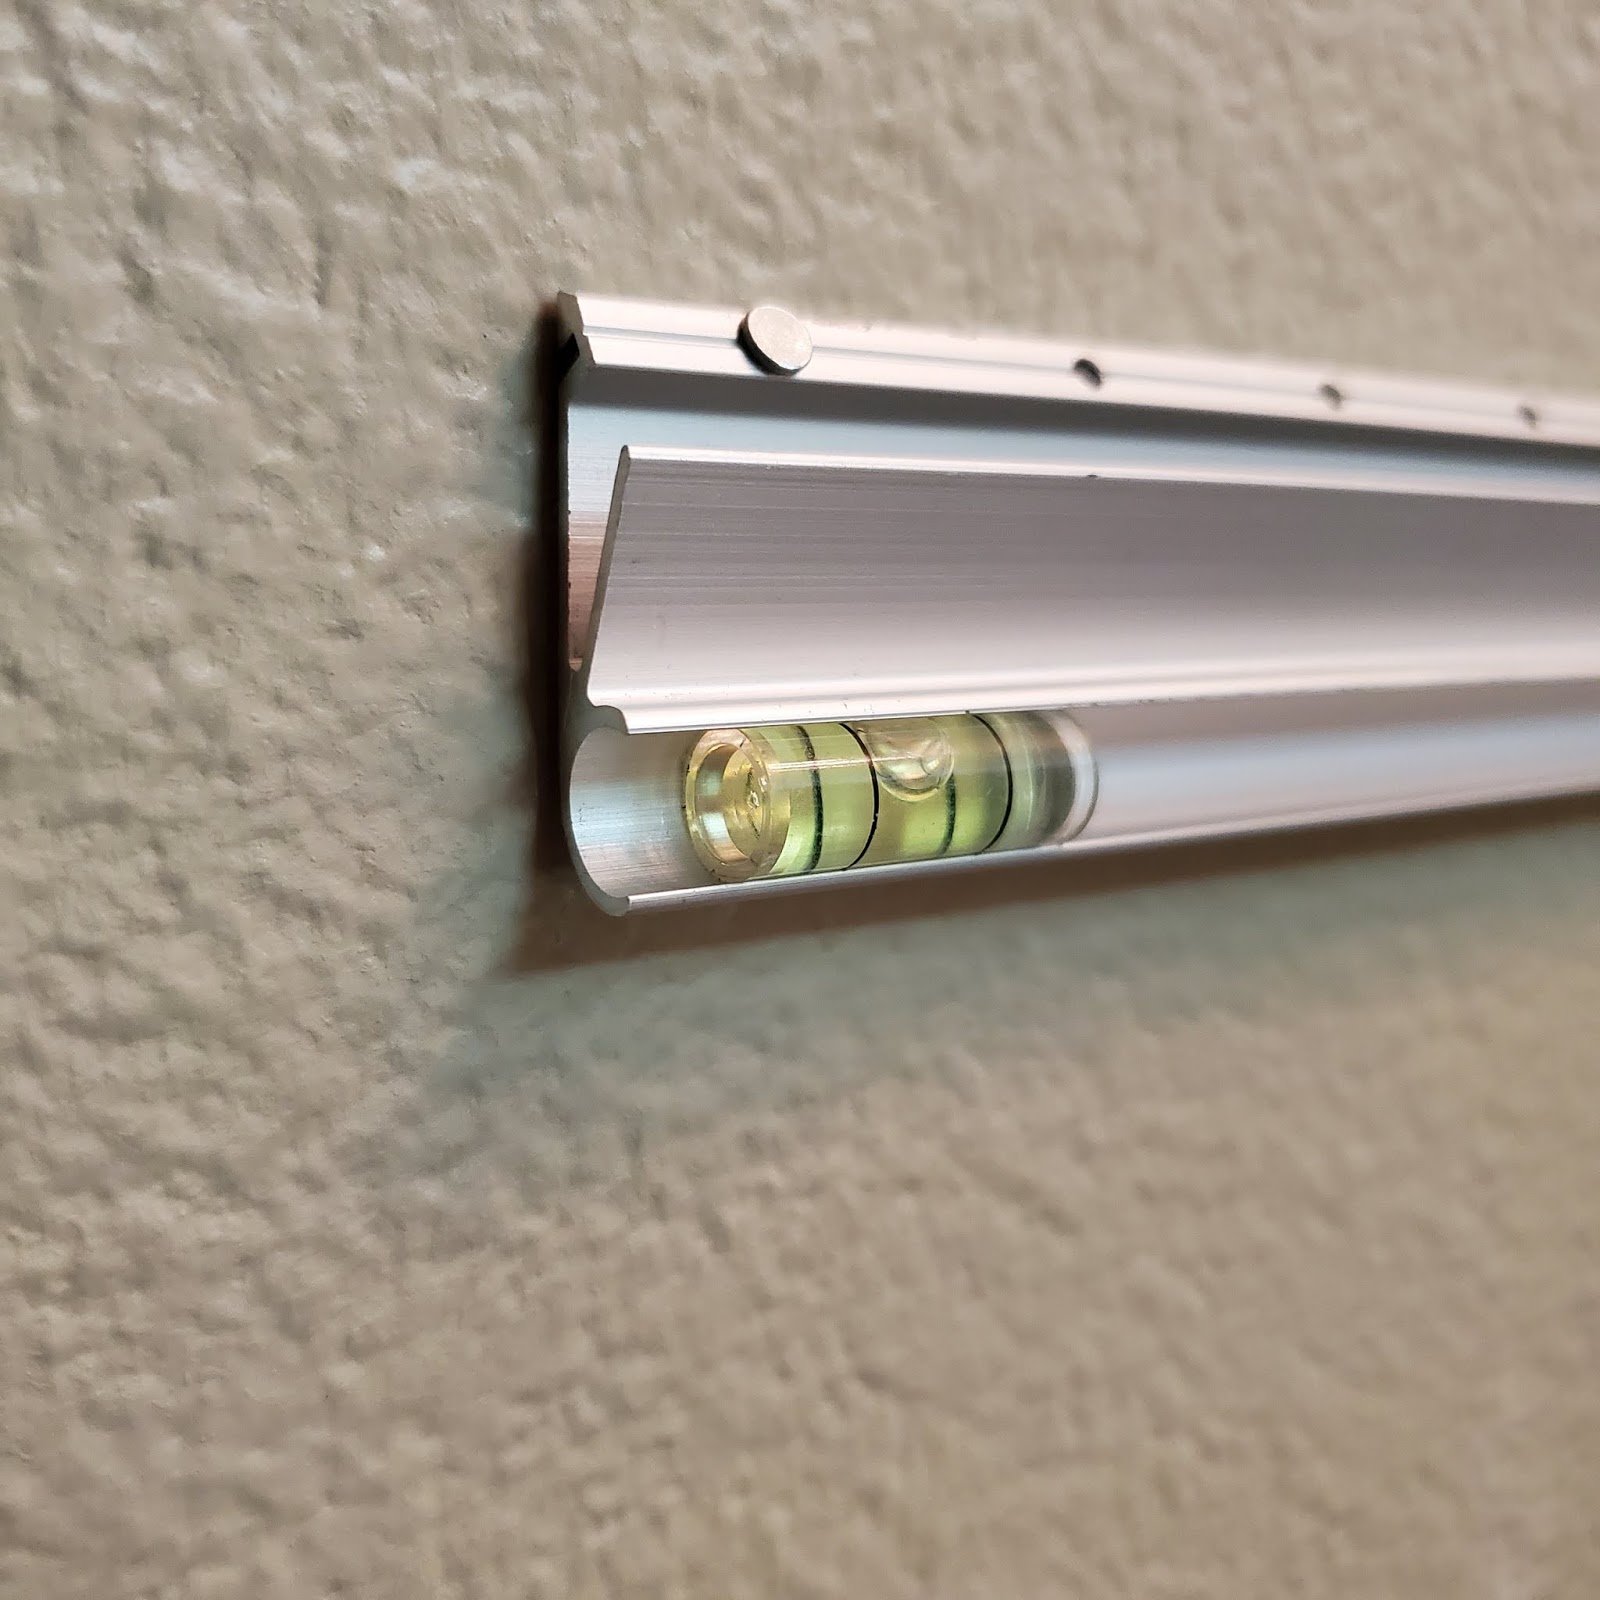
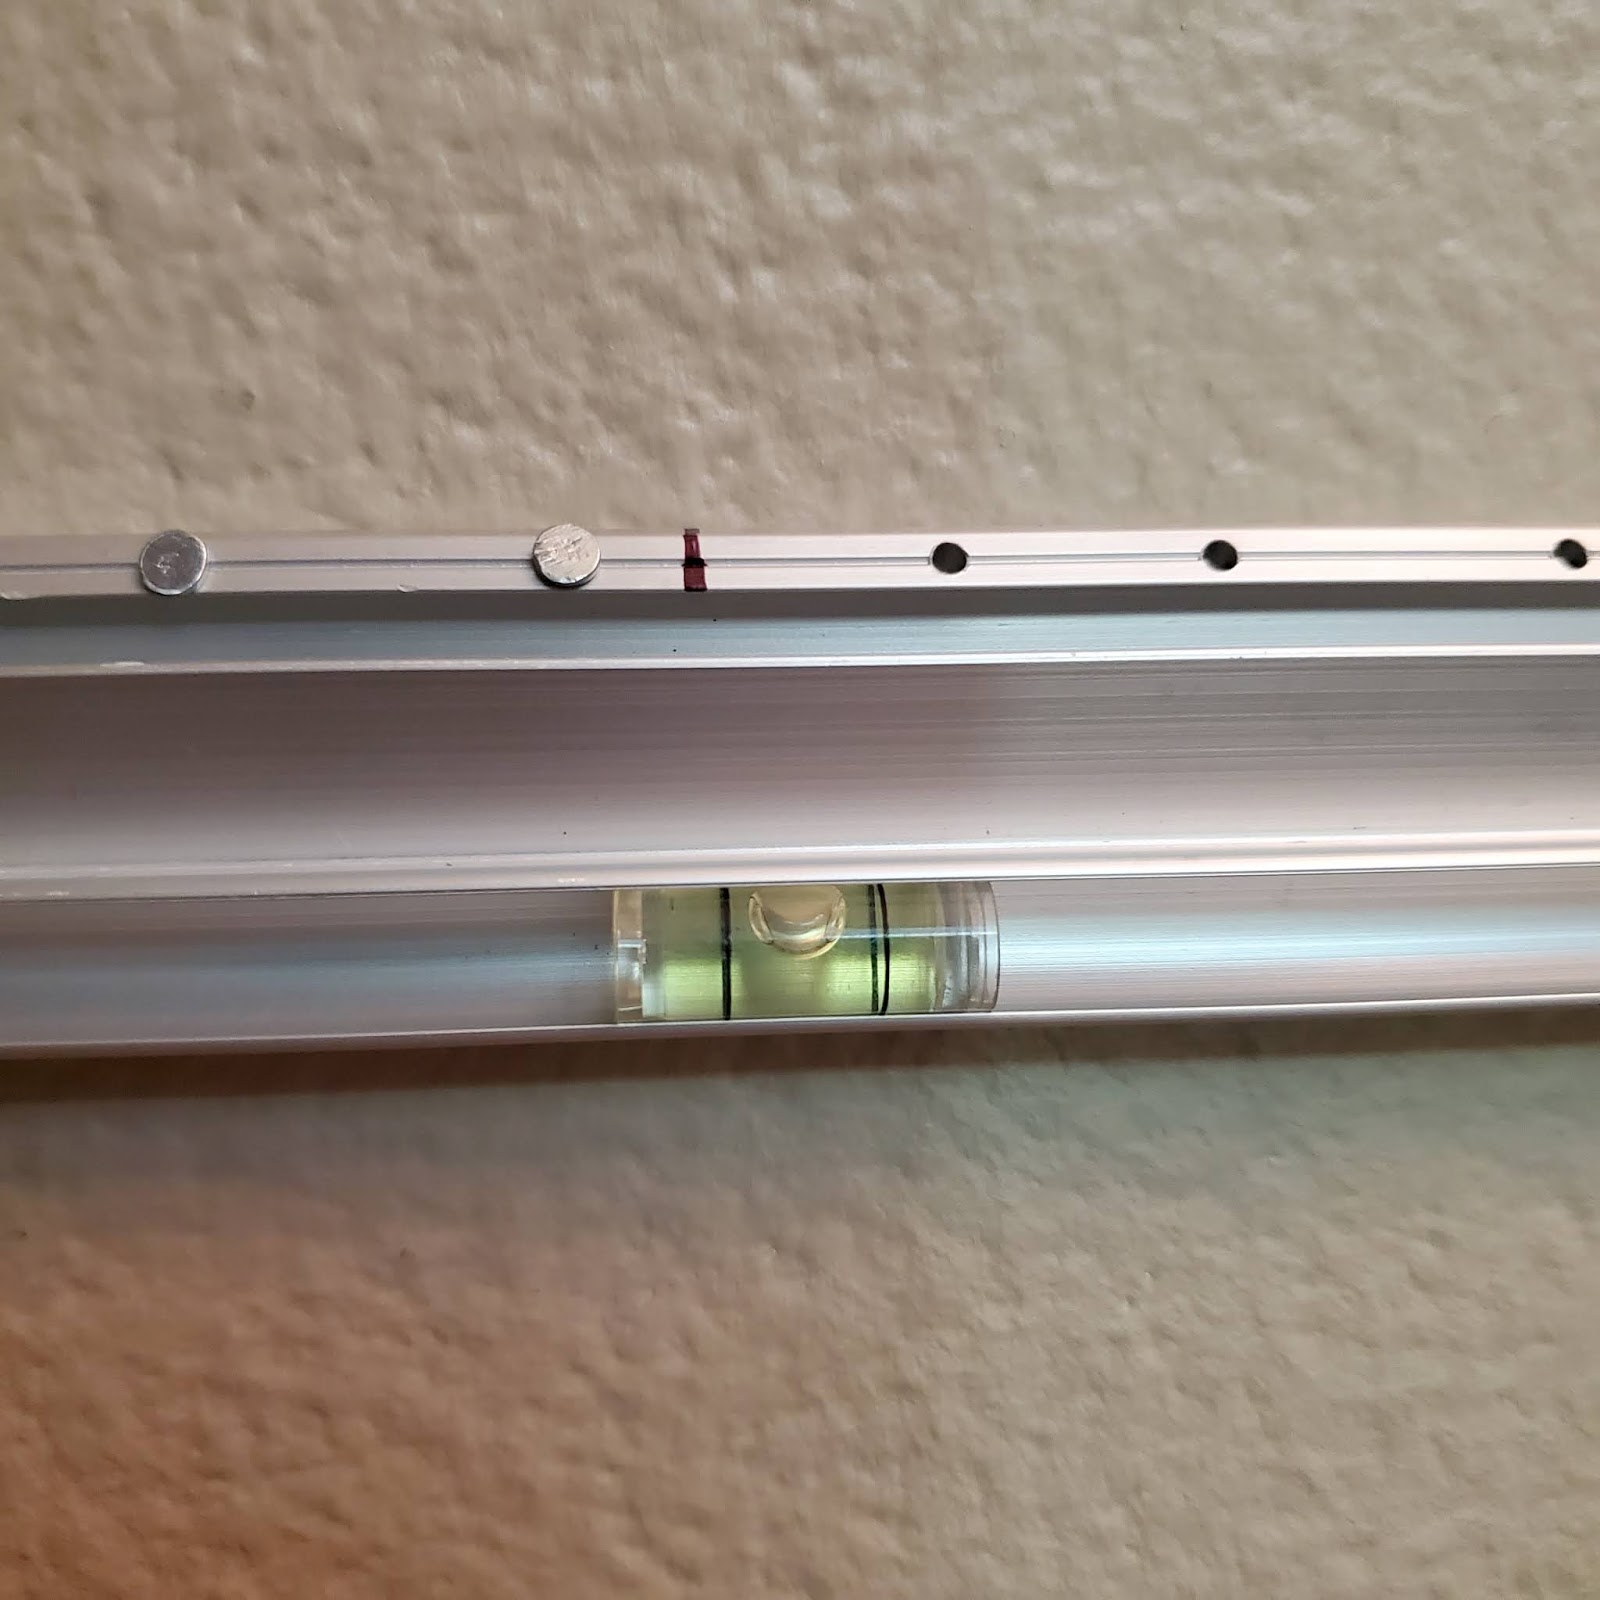
Pro Tip: Hold the bracket very securely with one hand while nailing. As the nails are pushing through the protective foam backing, they want to move the bracket, but having a firm grip is all you need to prevent this. I completed this project entirely on my own with no problems at all.
Step Four: Hang Your Window
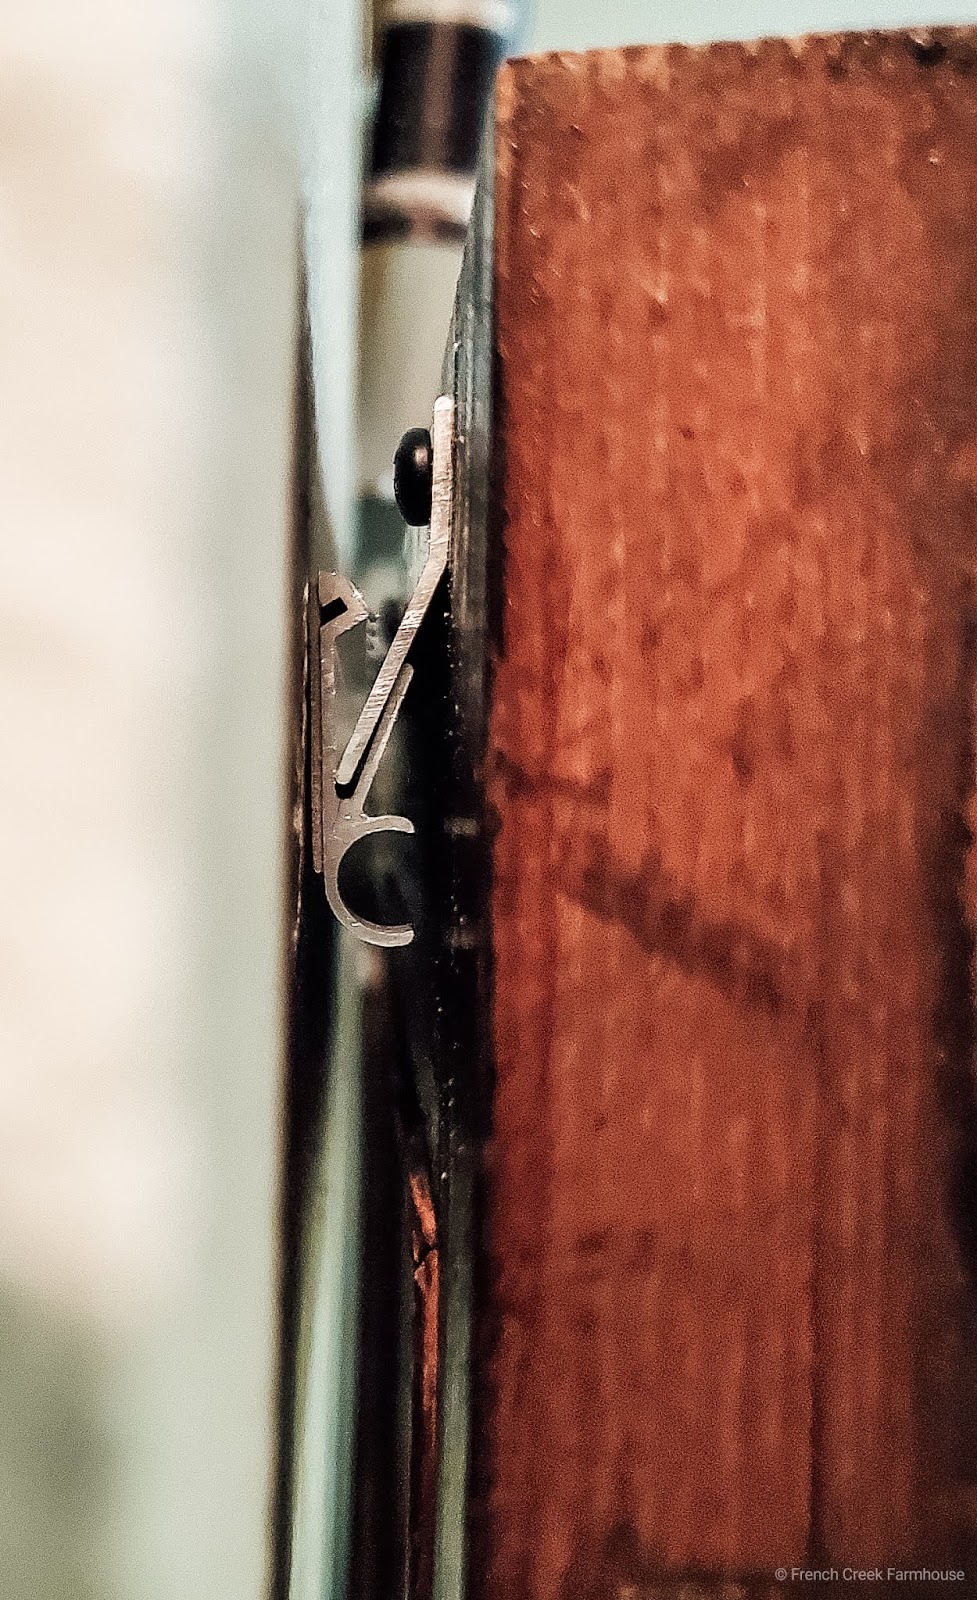
The two pieces of the hardware interlock easily! I do recommend watching from the side to make sure the bracket is interlocking at the correct points. On my first attempt, I overshot it just a bit while trying to hang the window “by feel”.
Once the bracket is seated, you can still slide your window from side to side to adjust for center, so don’t worry about your alignment being perfect–just get the brackets connected, and then adjust horizontally as needed.
If you ever want to remove the brackets from the wall, just slide a flat edge beneath the bracket and gently pry toward yourself. I would recommend using something like this or this instead of a screwdriver that might gouge your wall. You’ll be left with tiny pin holes that are no problem to fill, unlike large screw holes with other hardware.
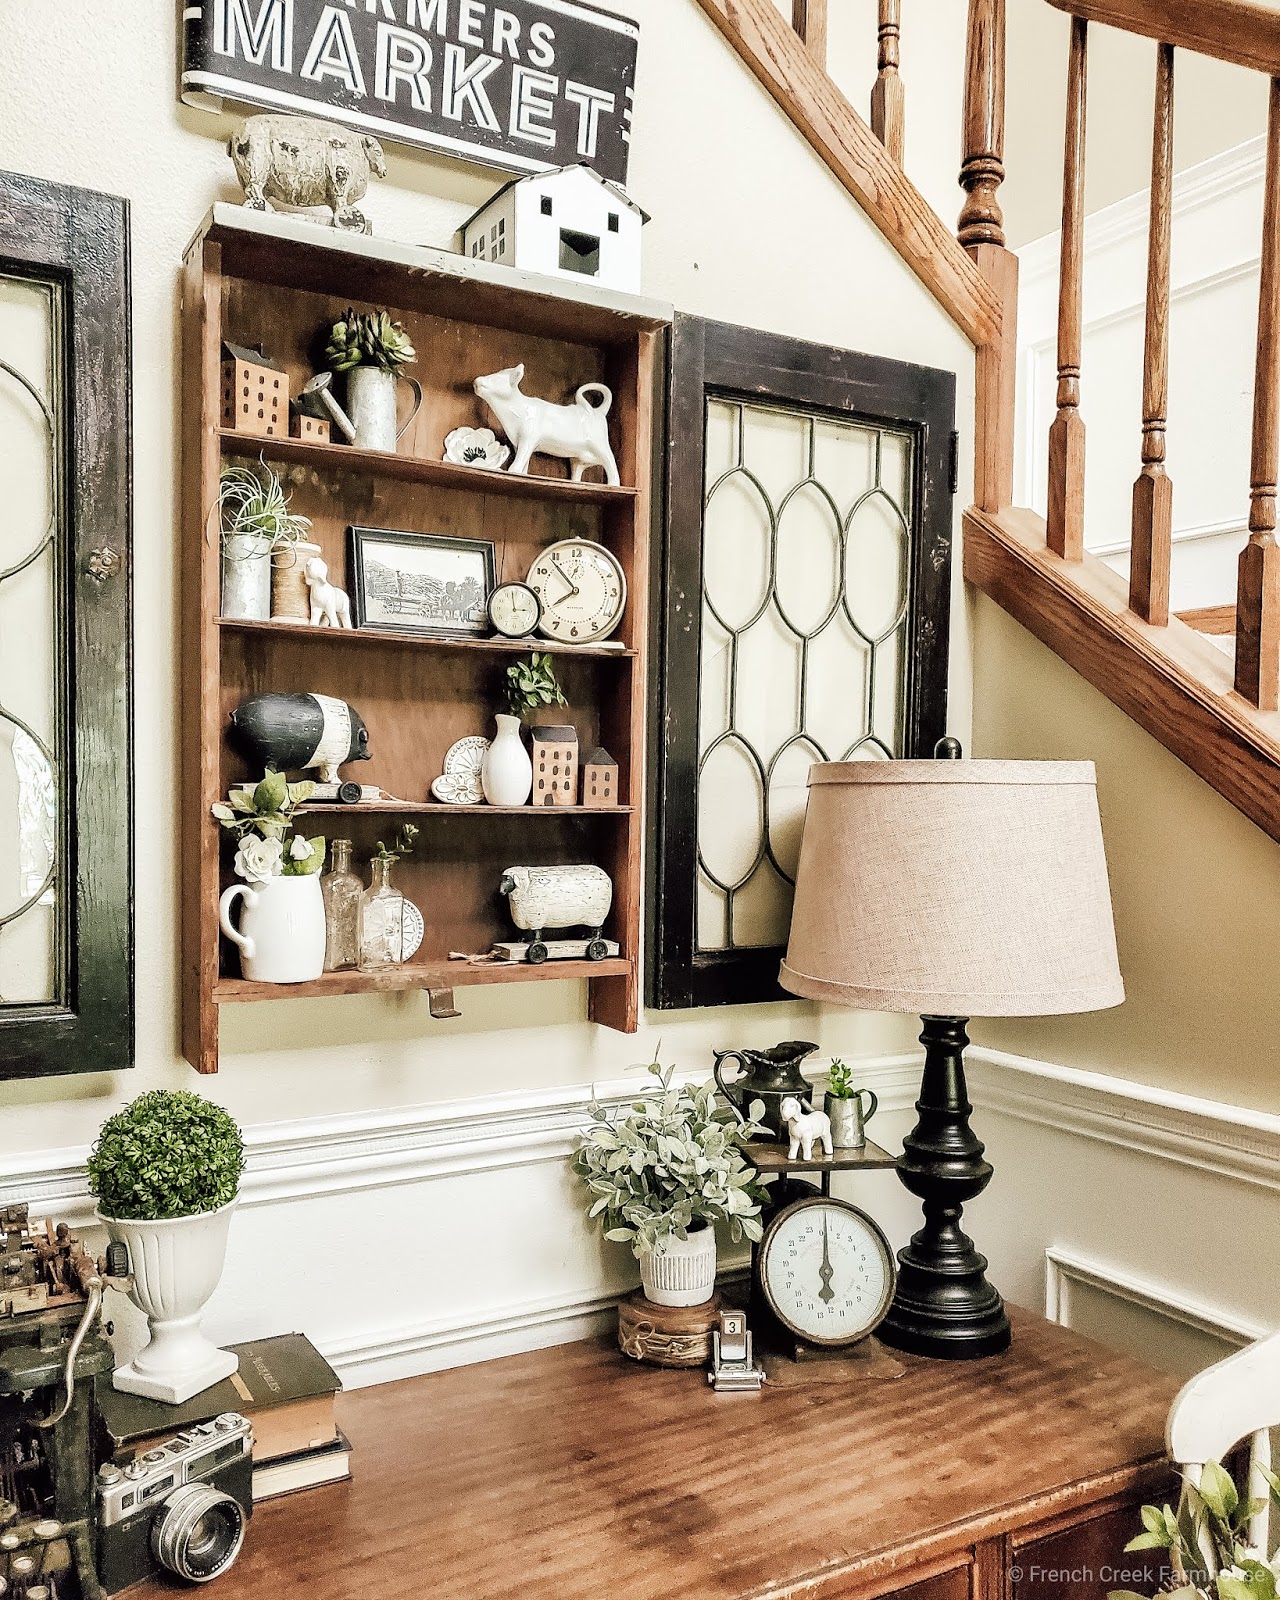
I’m so happy that these gorgeous antique glass doors have finally found a spot within our home, and seeing my vision for this space becoming more of what I’ve dreamed brings me so much joy. I know that I’ll continue to make changes as my tastes develop, and having the right hardware to accommodate my design and decorating challenges makes a huge difference!

PROJECT SUPPLY LIST





I'm featuring you on my blog, facebook, instagram, twitter and pinterest when the next party starts – Thanks so much for sharing with us at the To Gradma's house we go link party!
Oh, wow, Tarahlynn! What an honor–thank you so much for featuring our home! xo
That turned out lovely. I love antiques and old family items to put on display. My cabin is too small to really decorate except that my functional furniture and shelve are attractive in their own way. – Margy
Thank you, Margy! If I only have a small space to decorate, one idea is to put together a themed tiered tray. I've shared a few posts on that in the past if you need any ideas. I love to be able to sneak a little creativity even into small spaces! xo
The windows look wonderful hanging over your foyer table! They add a lot of design interest.
Thank, Allyson! We are absolutely loving them in this space! xo
The old cabinet doors are lovely and I would have bought them too without any idea of what I was going to do with them either. You definitely spoke to my love language with that. Thanks so much for sharing this week at #HomeMattersParty. It is good to see you linking up again.
Hi Donna! Thanks for stopping by! I'm very ready to start sharing more projects as my body will allow me…more soon, I promise! xo
Kristi, what an easy and great hanging system for heavier items!! I'll have to check out their products as I'm always hanging mirrors that weigh a ton. I have one that is a piece of glass 1/2" thick and it weighs a good 40-50 pounds. I bought it in England at a thriftshop and love it, but it's a beast to hang without two people! 😉 Totally LOVE your windows and I'm happy to feature your post tonight at Share Your Style #270, thank you!! <3
Happy last few weeks of summer,
Barb 🙂
Those type of brackets are new to me, but look so sturdy! I'd love for you to share over at our weekly Creative Linky Party https://creativelybeth.com/creative-crafts-linky-party-4-join-in-the-fun/
Have a great weekend!
Creatively, Beth
I have old farmhouse windows each has two columns of eight panes that I am adding pictures to, does using just one of these brackets at the top work for really long like 3ft long heavy items? I plan on hanging them over a fireplace so up pretty high, could you add an additional bracket at the bottom to add extra security and keep the bottom secured against the wall?
The 18" hanger will support up to 150 pounds. You certainly would not need more than one per window–they are very secure. The way the bracket is angled, the bottom part of the item you're hanging will naturally rest against the wall. Watch our video (up above) to get a better idea of how they work. Happy DIYing!
Can you share the link for these hangers again? It keeps taking to the hangman tv mounts on Amazon. Thank you
Hi Danaray, The link takes you to the list of all of the different types of hangers I mentioned in this post. You just need to scroll down the page to see more of them (the tv mounts are the first ones on the page, but there are many more). Hope that helps!
Nice to find this website. I’ll get the idea of this one about hanging antique windows on wall. Worth reading.
Love this hanging system, and you’ve given great directions for ease of installing it!
QUESTION…. how would you suggest to hang a “floating” antique window? I want it to appear as tho it’s suspended out in front of the wall approx 4″, but not hung by chains.
THANK YOU! Mary