Save Your Budget With Painted Hardware
When you buy a fixer-upper farmhouse, you know you’re signing up for a lot of blood, sweat, tears…and money! Hardware is an expense that’s usually forgotten when calculating project costs, but it sure can add up quickly. Today, I’m sharing how I save money with painted hardware.
Disclosure: This is not a sponsored post, and I have received no compensation for sharing anything in this post. Some links to products that follow may be affiliate links, and I might earn a commission if you make a purchase through that link. This usually amounts to cents, not dollars, and helps to support the projects featured on this blog. I only recommend products from companies that I have found to be trustworthy. Read my full disclosure here.
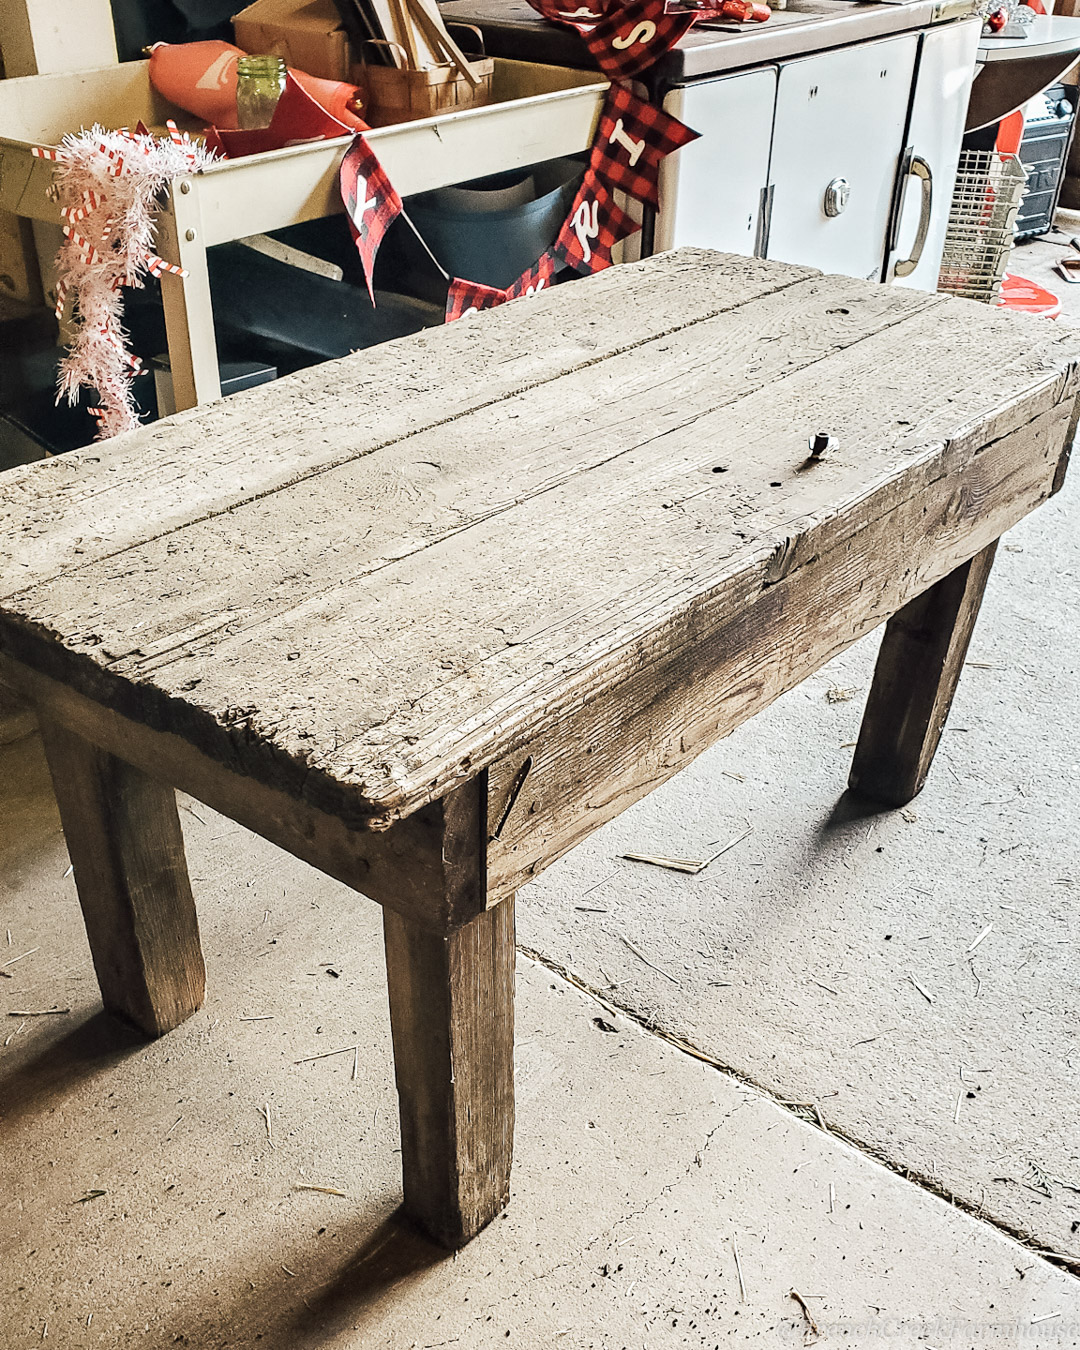
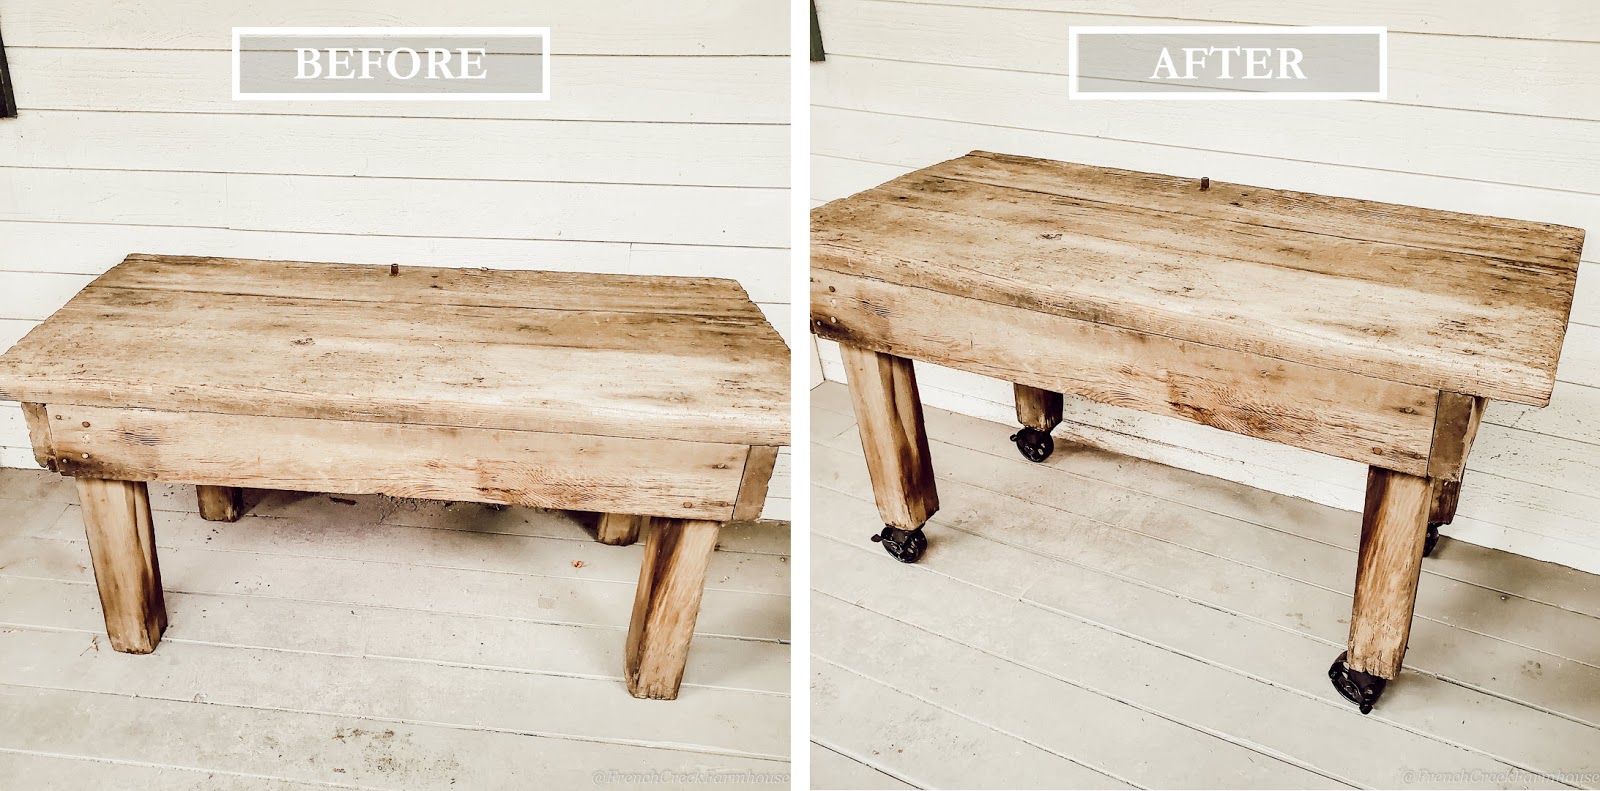
Back in November, I scored this amazing old potting table. It literally came from within a barn, and those are always my most favorite finds.
I loved the character of this table so much, but it was a bit short for what I had planned. An average table is approximately 30″ tall, but this table was shy of only 25″ tall.
{Related: Cozy Winter Potting Bench}
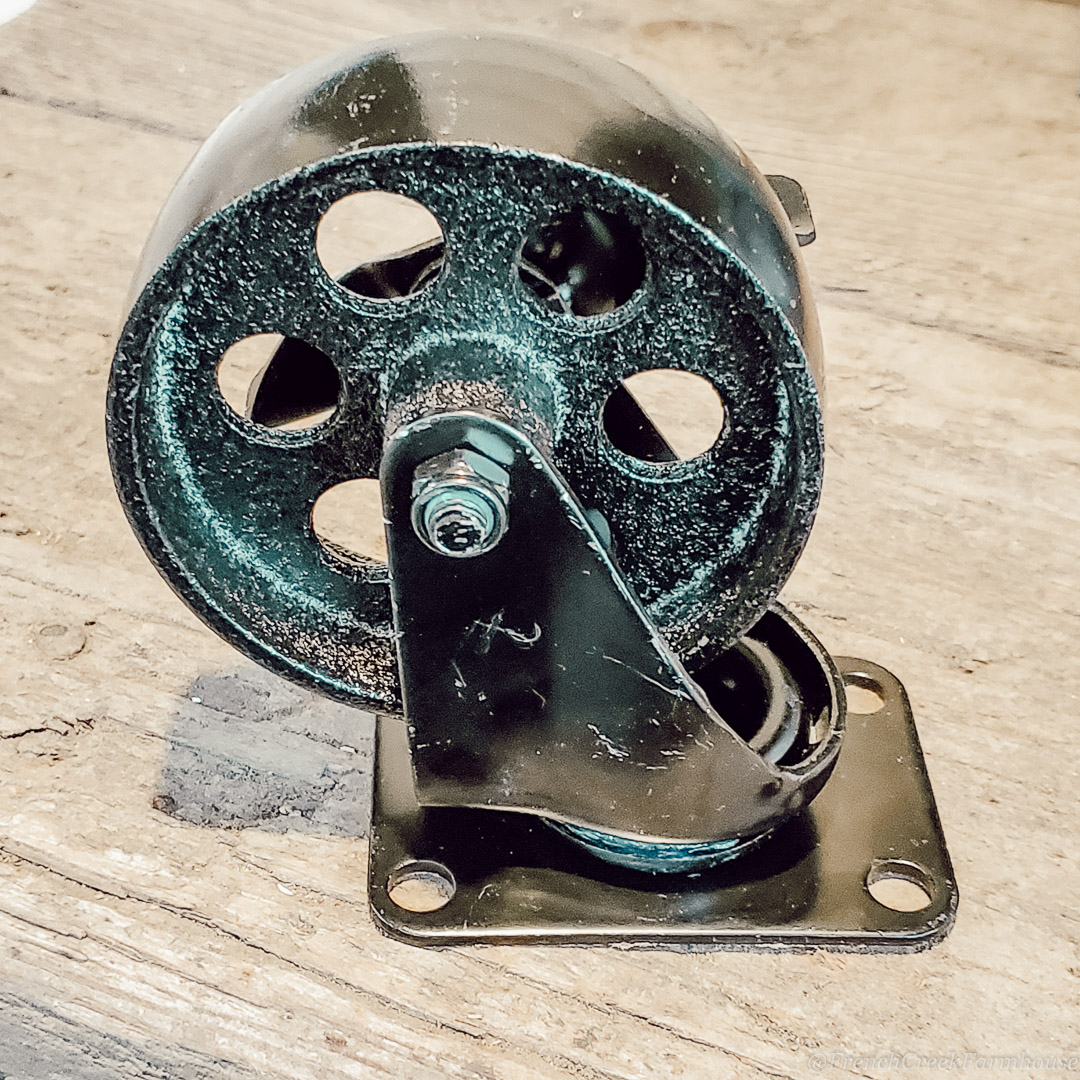
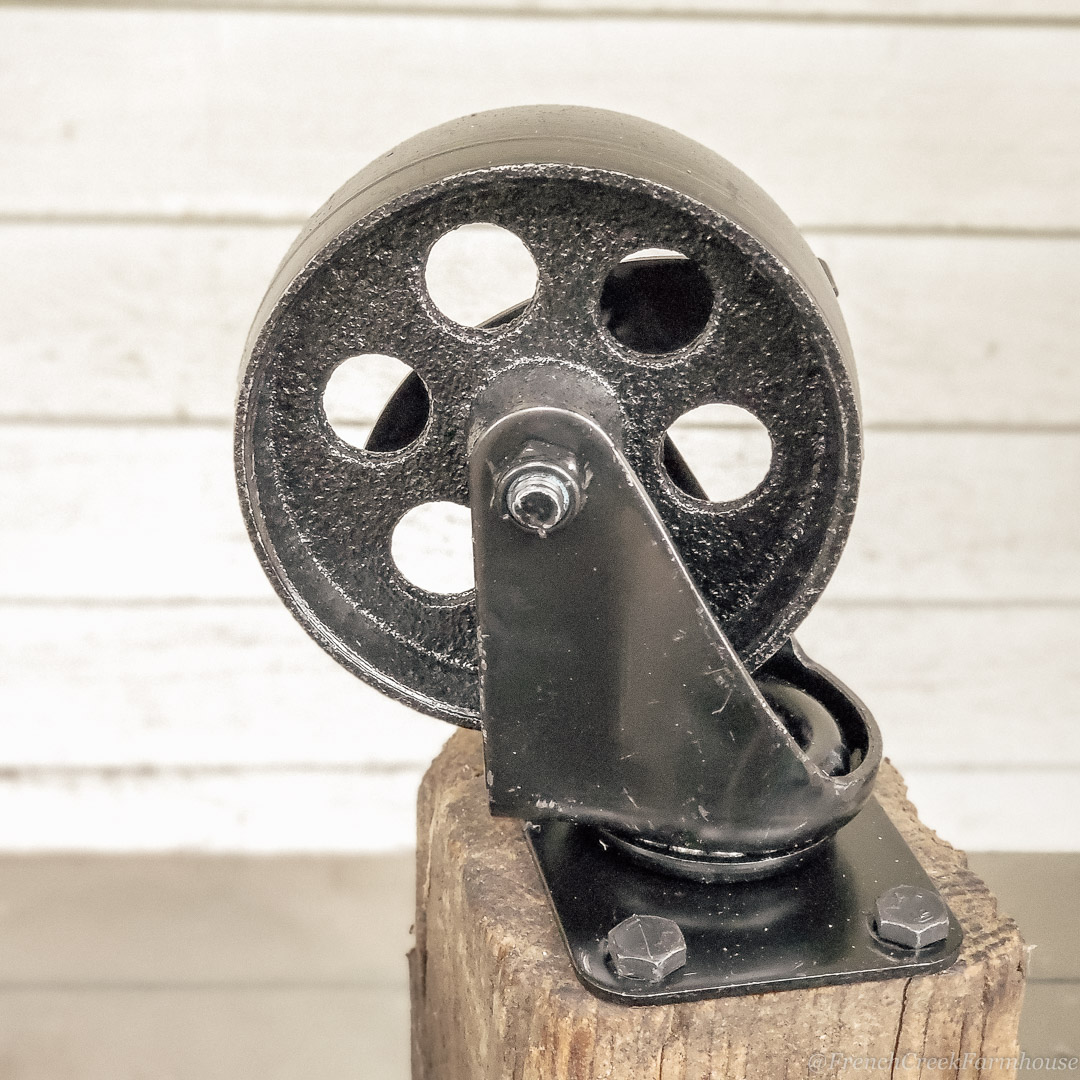
Determined to bring this beauty home, I came up with a plan to add these chunky, industrial caster wheels to the bottom. These wheels are no joke. They’re about 5″ tall, seriously heavy duty, and they just plain look cool, too. I’m very smitten with them.
But because they’re industrial wheels, I needed industrial sized hardware for their addition to my table. Off to the hardware store…

I decided to use lag screws to make sure that the wheels were very strongly secured and could support the substantial weight of the table. The black lag screws were $0.68 each. But the bright silver ones? Only $0.26 each. What?!
Listen. I’m a thrifty kind of gal, so I just could not justify spending almost three times the cost for the black screws! But I also couldn’t stand the thought of using fresh-looking silver on this rustic, old table. It simply wouldn’t work.
Instead, I did what I do a good deal of the time, and I decided to paint my hardware.
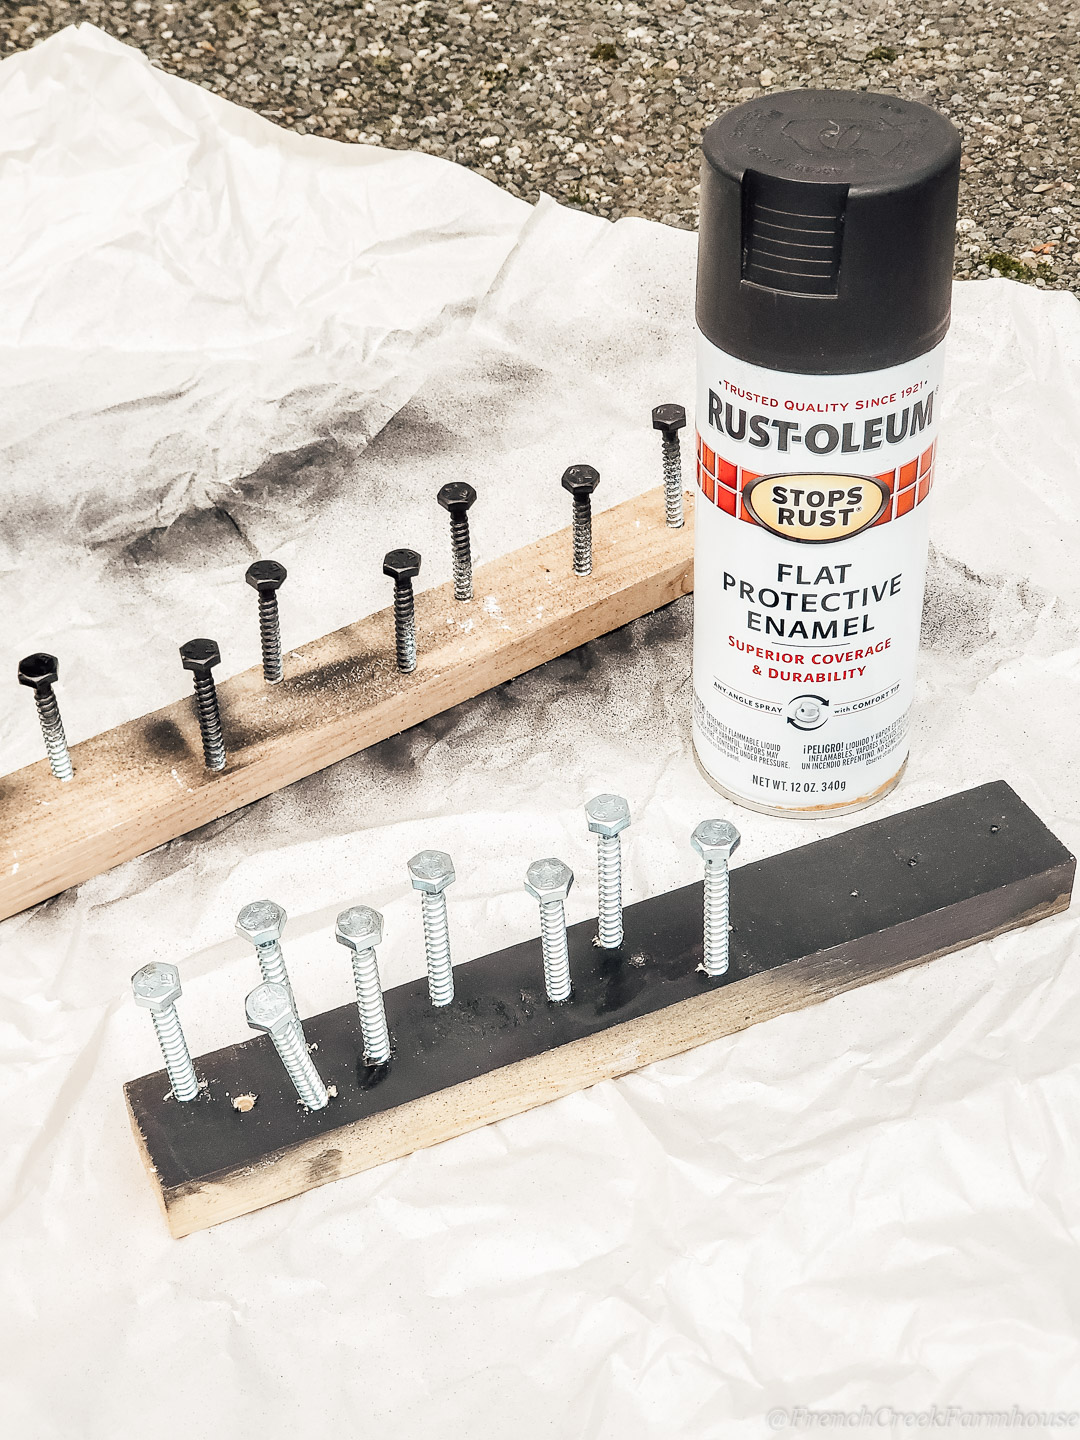
This is such an easy fix to make sure that your hardware doesn’t stick out like a sore thumb.
For threaded hardware, I have a 1″x2″ board with several 1/4″ holes drilled through it. Whenever I need to paint a screw head, I just pop them in and give them a few quick shots with spray paint to match my project (this is my favorite paint for durability).
Here’s a tip, too: Leave one end of the board free so you have a place to hold onto it and avoid painting your hand.
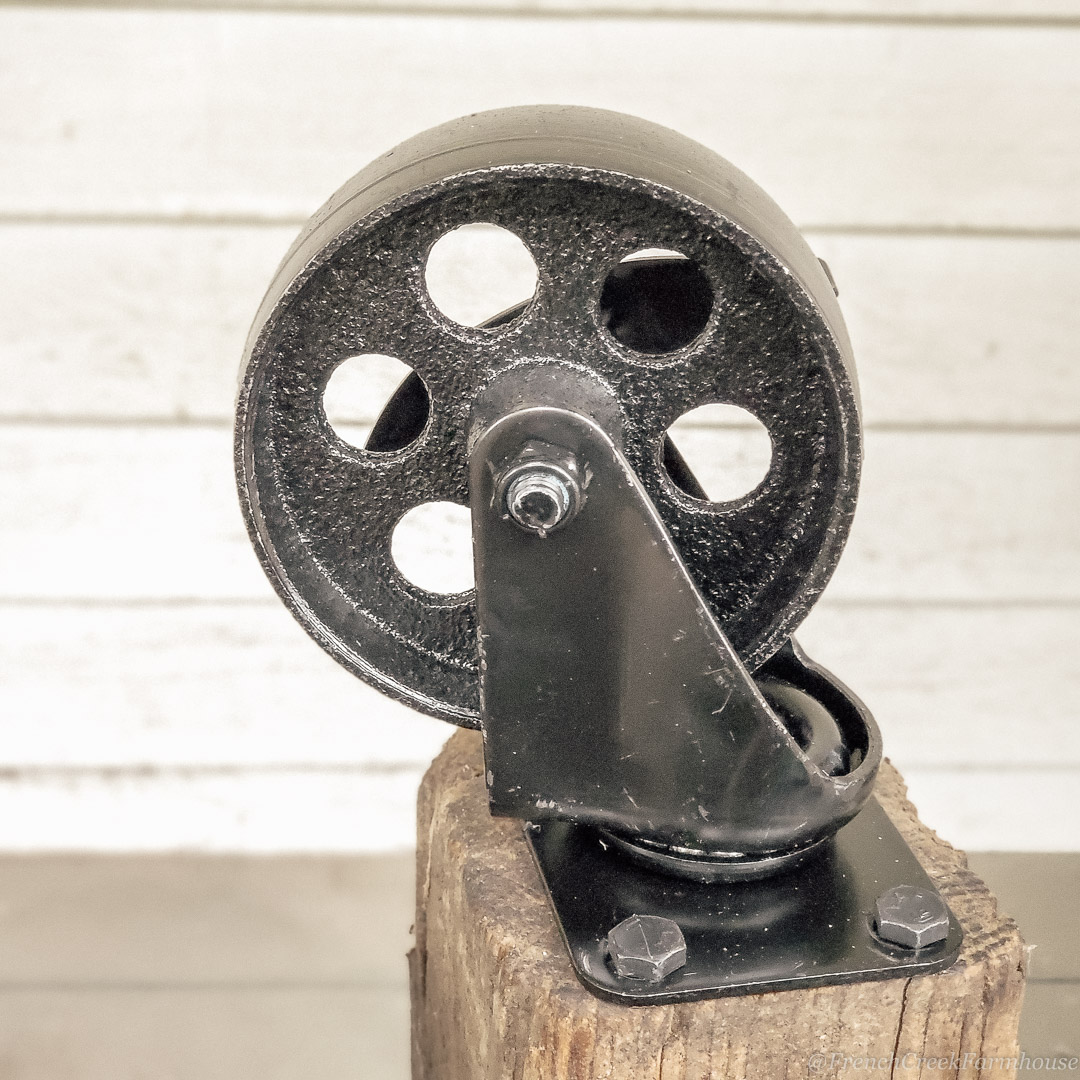
Don’t these screws look so much better on my industrial wheels? And, I saved $6.72 by completing this one simple task. That may not sound like much, but as my grandfather always said, “Watch the pennies and nickles, and the dollars will take care of themselves.”
To attach the wheels to my table was very easy too.
First, I marked where the holes needed to be onto the bottom of the table legs with a Sharpie pen. I just held the mounting plate in place with one hand while I marked the holes with the other.
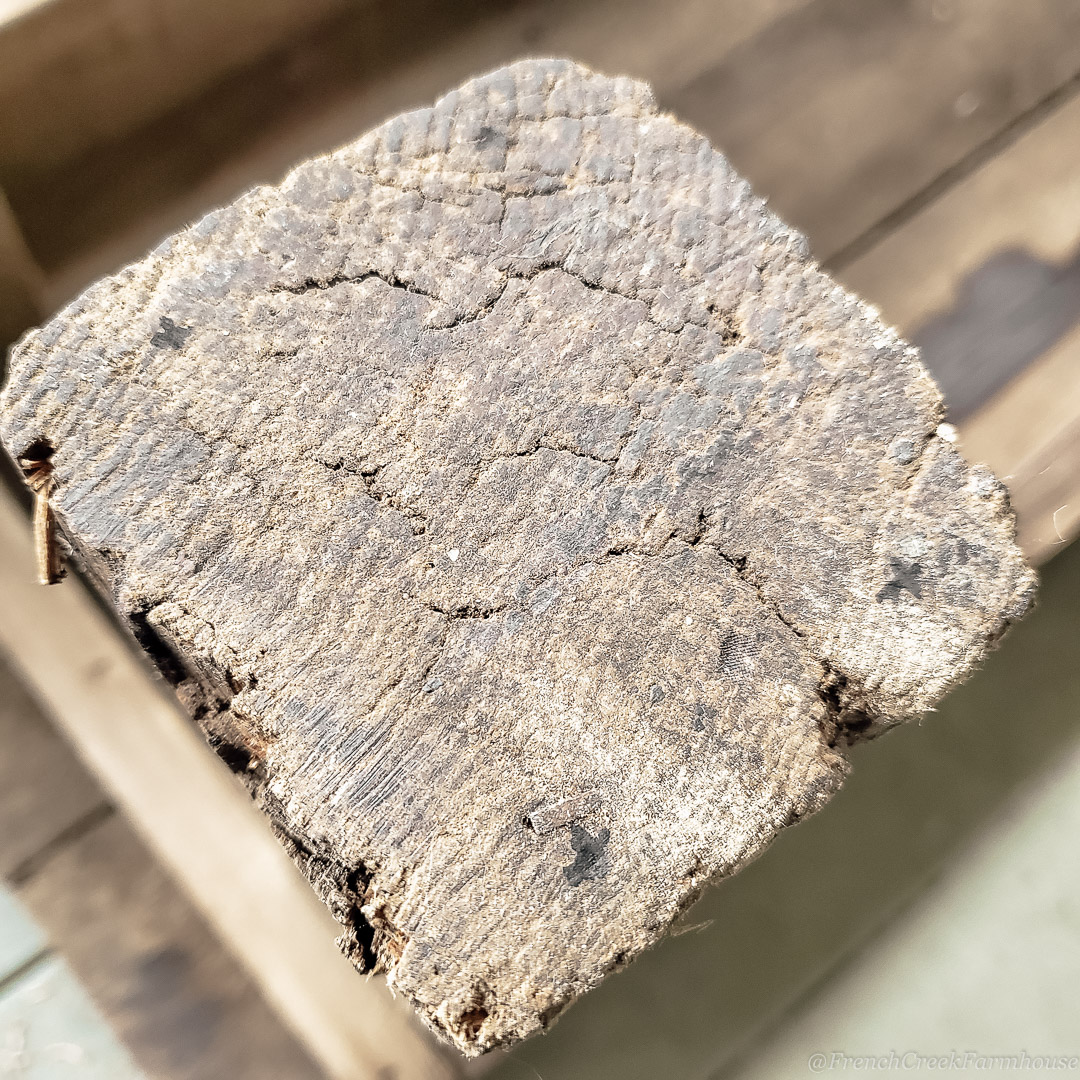
Next, I pre-drilled pilot holes where I’d made my marks. Pilot holes are just plain good insurance on any project. They make sure that a screw follows a predetermined path and also lessen the load on your drill/driver.
To make a pilot hole, you’ll want to use a drill bit that’s slightly smaller in diameter than the screw you’ll be using for final installation. The threads of the screw still need to grip something, so make sure you don’t drill a hole that’s too large.
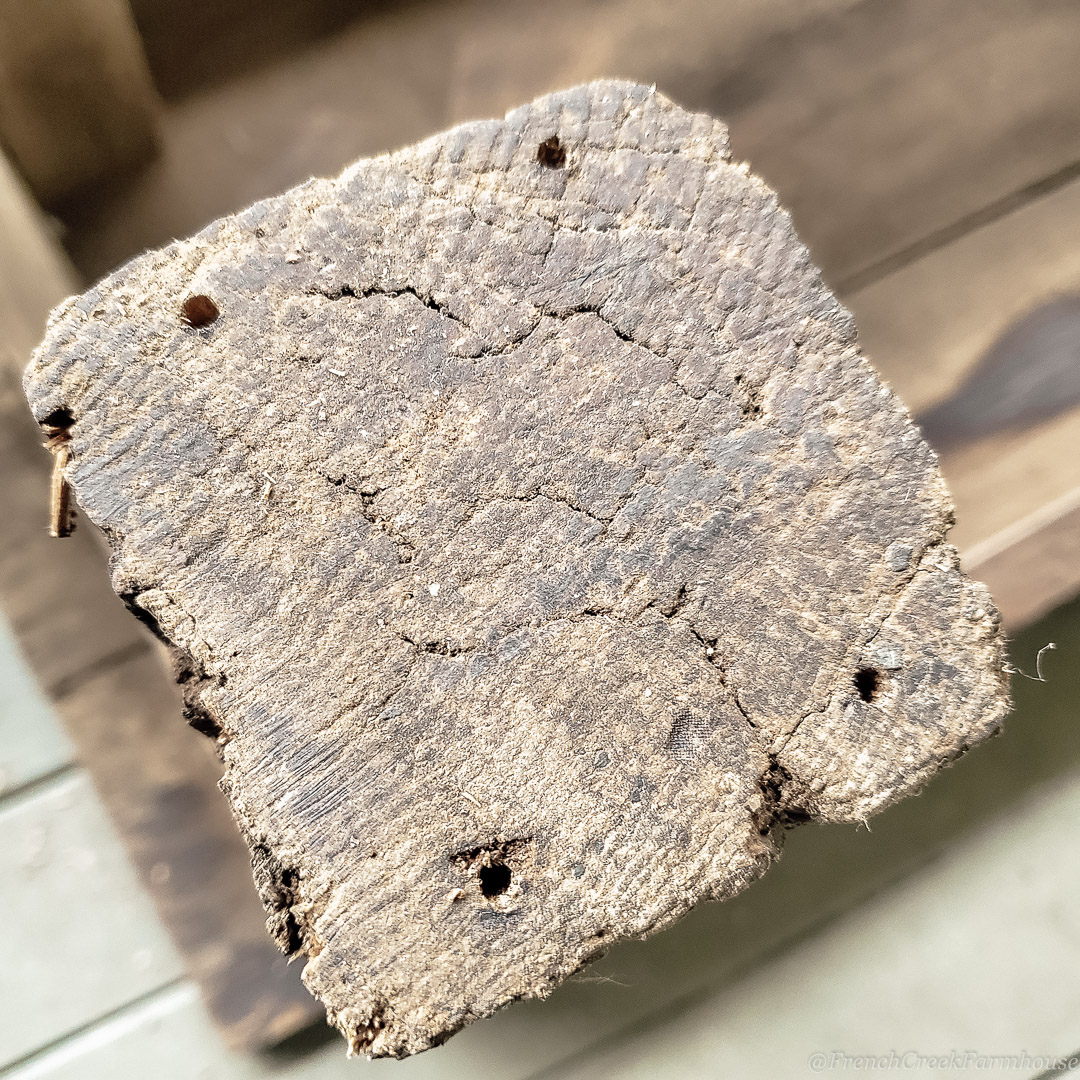
For this project, I was also worried about the wood splitting since the screws were going to be so close to the edge of the table leg, so that’s another big reason I chose to use a pilot hole.
This potting table is quite old and the chance of one of those lag screws splintering the wood was too much of a risk. The pilot holes worked perfectly.
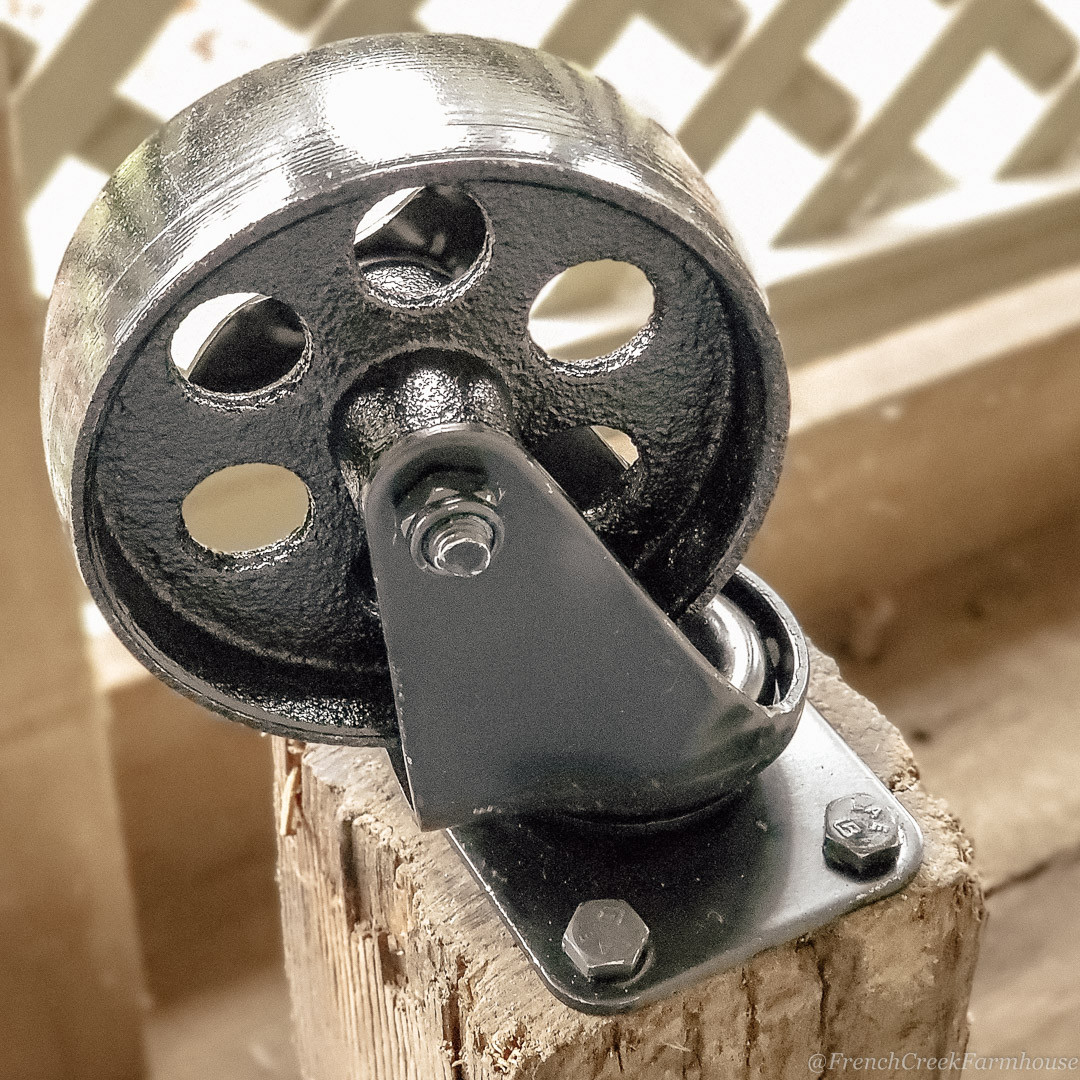
I’m so happy with the difference that these caster wheels made to my potting table! Now, it’s the perfect height for comfortable use, and painting the screws made them blend in seamlessly. The fact that I saved some money in the process is just icing on the cake!







That table is beautiful! I love the addition of the caster wheels:)
Thank you so much! xo
I love that table! Thank you for sharing at The Really Crafty Link Party. Pinned.
Kristi, I do this too–your painted hardware turned out great! Thanks for sharing at Vintage Charm!