Easy Hand-Lettered Signs

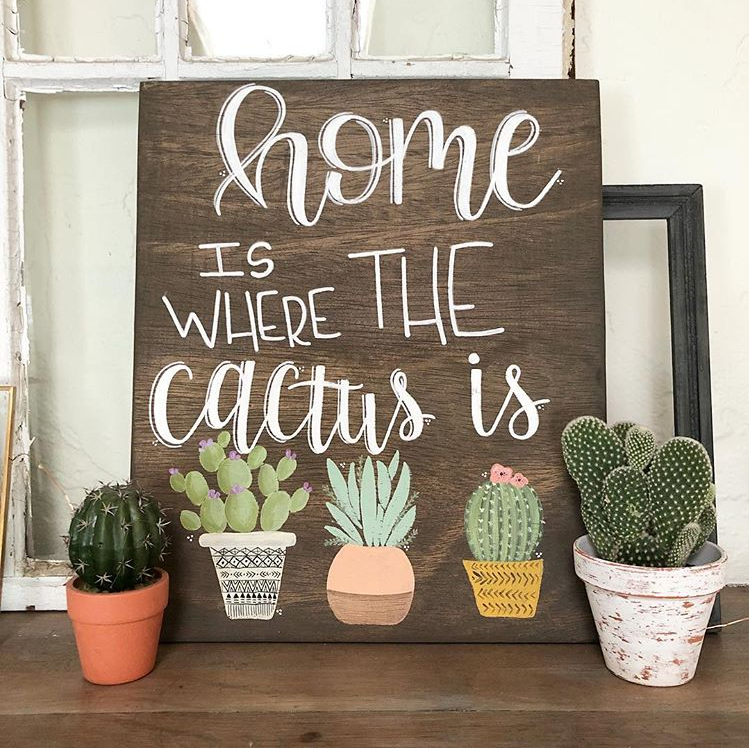
Typography and hand-lettering have become increasingly popular as home decor. Whether it’s chalkboard art or painted signs, this is a DIY project that can help you express just the right words to fit your home and personality.
But what can you do if you don’t have gorgeous and flawless handwriting? Sure, you can have signs custom made, but there’s just something special about making it yourself. Today, I’ll teach you the easy way to make your own hand-lettered sign.
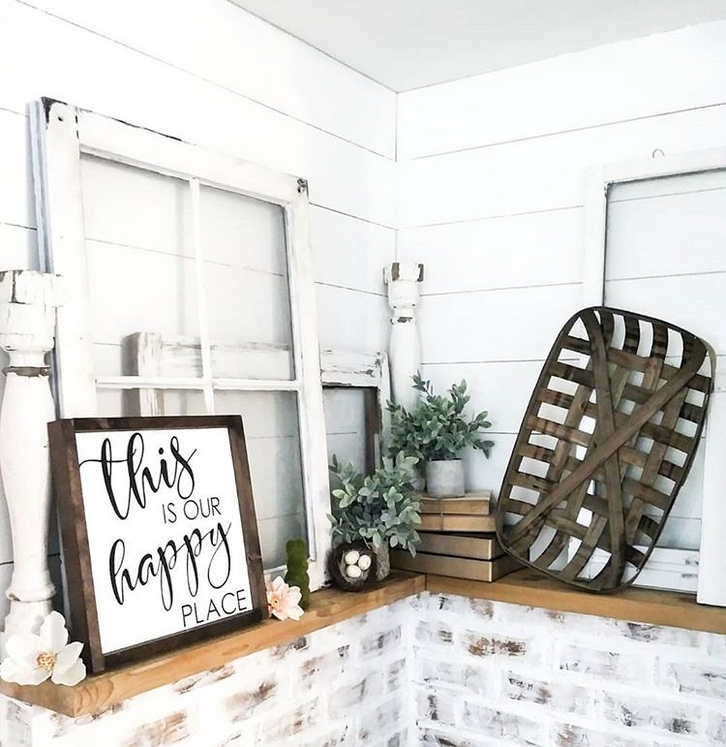
But first, every great project starts with some inspiration! Check out these amazing examples of hand-lettering and how they’ve been beautifully styled into these homes…
 |
| Source: chels.tre |
 |
| Source: danie.campbell |
 |
| Source: mynorthernsouth |
 |
| Source: old_house_on_main |
 |
| Source: selahandbloom |
All of those swoon-worthy examples are sure to have given you some ideas for your own sign project, so let’s get to the easy step-by-step tutorial.
Disclosure: This is NOT a sponsored post, and I have received NO compensation for sharing any of these supplies. Some links to products that follow may be affiliate links, and I might earn a commission if you make a purchase through that link. This usually amounts to cents, not dollars, and helps to support the projects featured on this blog. I only recommend products from companies that I have found to be trustworthy. Read my full disclosure here.

Supplies:
Blank sign or piece of wood
Embossing Stylus
Carbon Paper
Craft Paint OR Paint Pen
Paint Brush
Scissors
Tape
Directions:
1.Using your computer, select a font to print out the word or saying you want for your sign. I used Microsoft Publisher to create mine, but no matter what program you use, be sure to pay attention to the ruler guidelines to make your words appropriately sized for your sign.

2. Cut out your word(s) and a piece of carbon paper to match.

3. Tape the carbon paper to the back of your word(s) with the carbon facing out. Then, tape both pieces to your sign, being careful to position them exactly where you want the words to appear. Note that anywhere you apply pressure to the carbon will transfer to your sign, so be gentle.

4. Using your embossing stylus, trace the outline of the word(s).

5. When you remove the papers, you will be left with a faint outline from the carbon transfer. Using craft paint or a paint pen, simply paint your words using the outline as a guide.

For this ‘welcome’ sign, I used a mini-chalkboard that I found at our local craft store for $3. I wanted a chalk look, but I didn’t want it to smudge or be erasable, so I rubbed chalk dust over it before I started, then used this acrylic paint in white.

For this ‘gather’ sign, I made the blank sign first out of scrap wood I had leftover from another project, and I painted the background with this chalk paint. I painted the words using this paint pen.

What kind of sign are you planning to make? What word or quote will you be using? And how do you plan to style it in your home?
Do you love hunting for vintage treasures as much as I do?
Get my free vintage & junk hunting journal
Let’s be email pen pals! Sign up to join our community, and get your free printable PDF Vintage Hunting Journal. This is so good!
