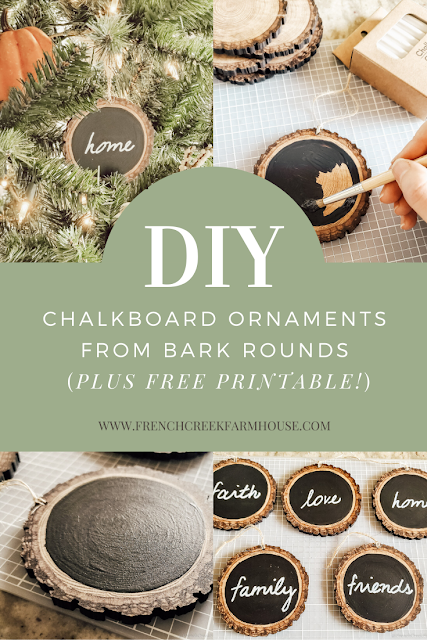
DIY Chalkboard Ornaments
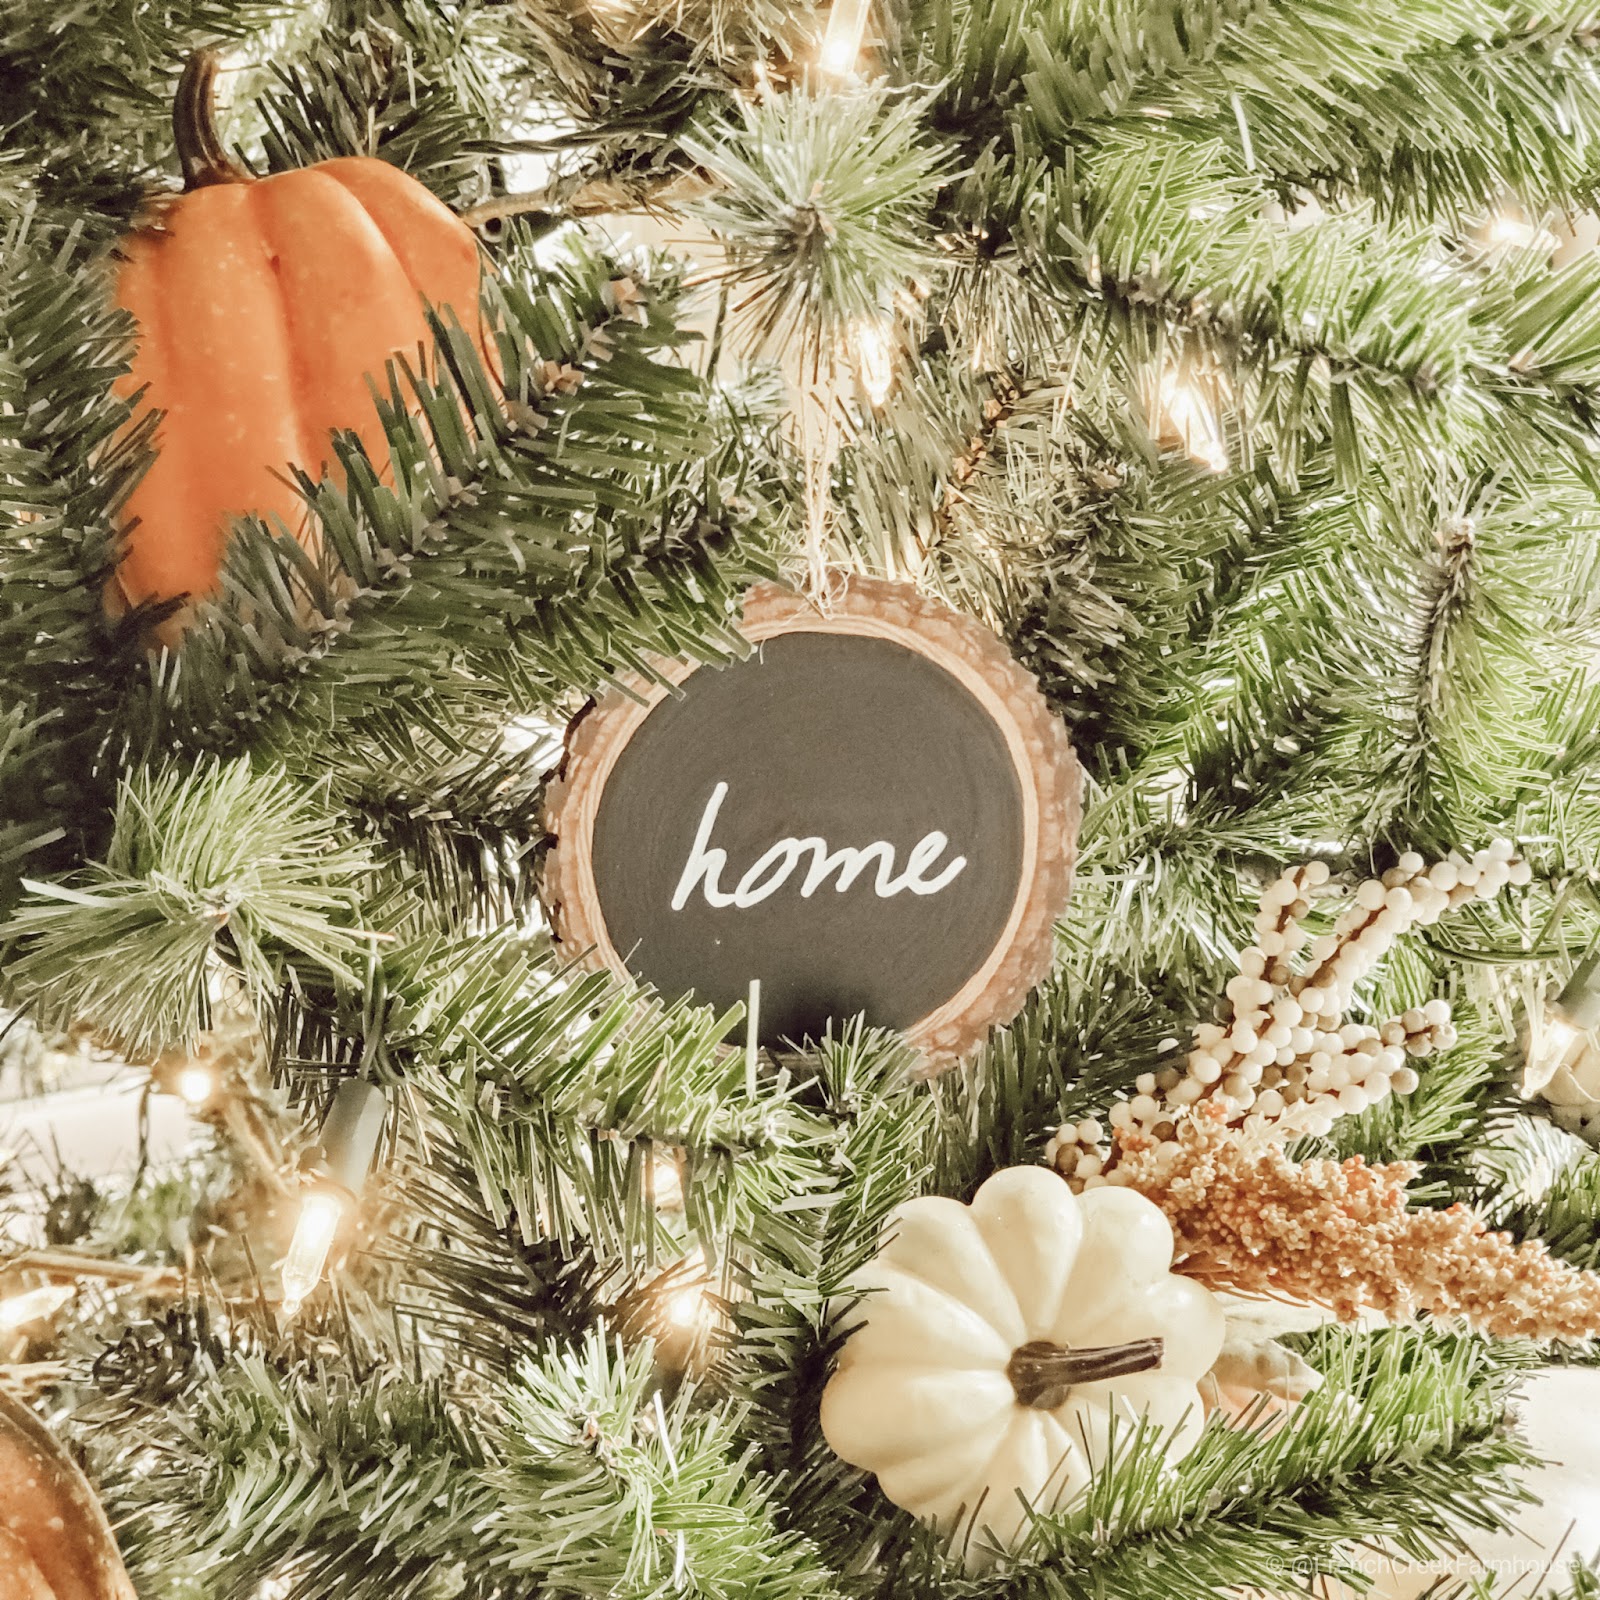
Every year, on Christmas eve, we open one gift: a new ornament for our tree. It’s a special way that we’ve grown our collection over the years, and each one has a heart-warming memory attached. This year, we decided to decorate a little early, and I needed a very particular type of ornament to do the job.
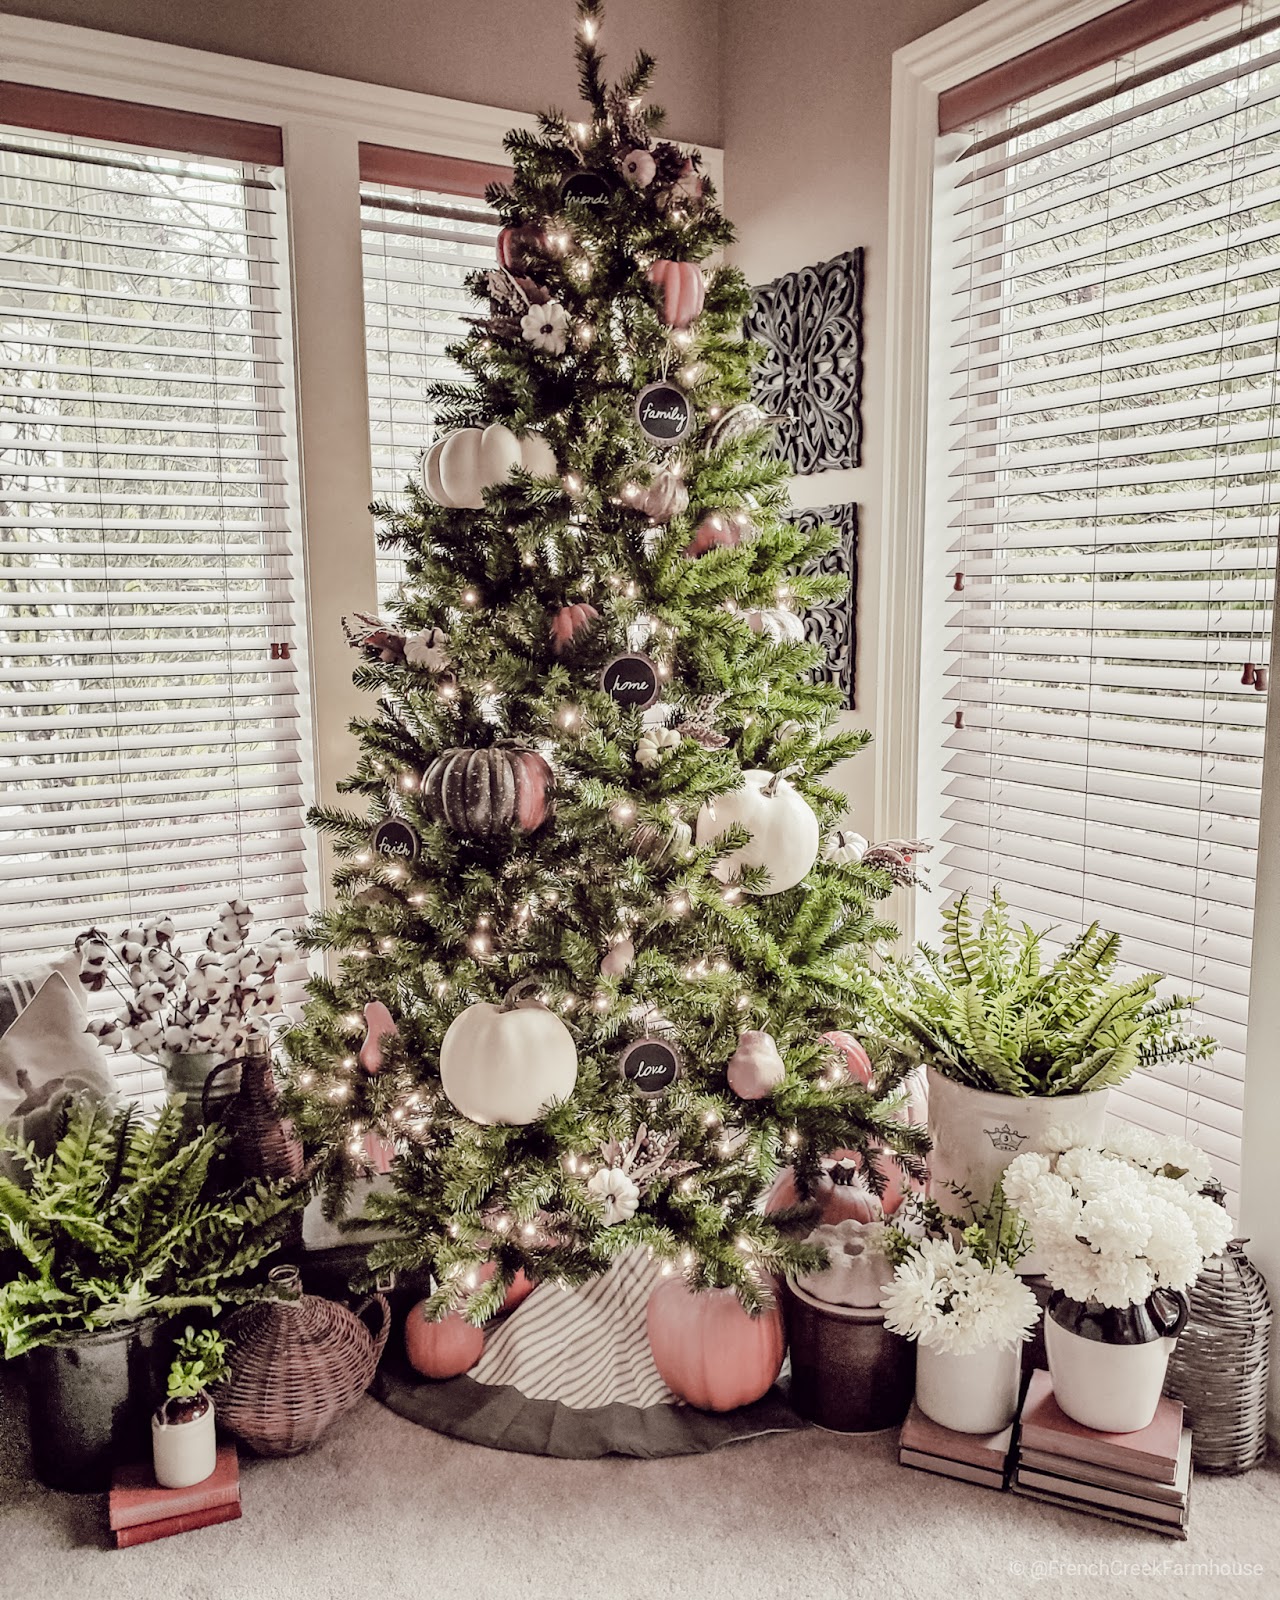
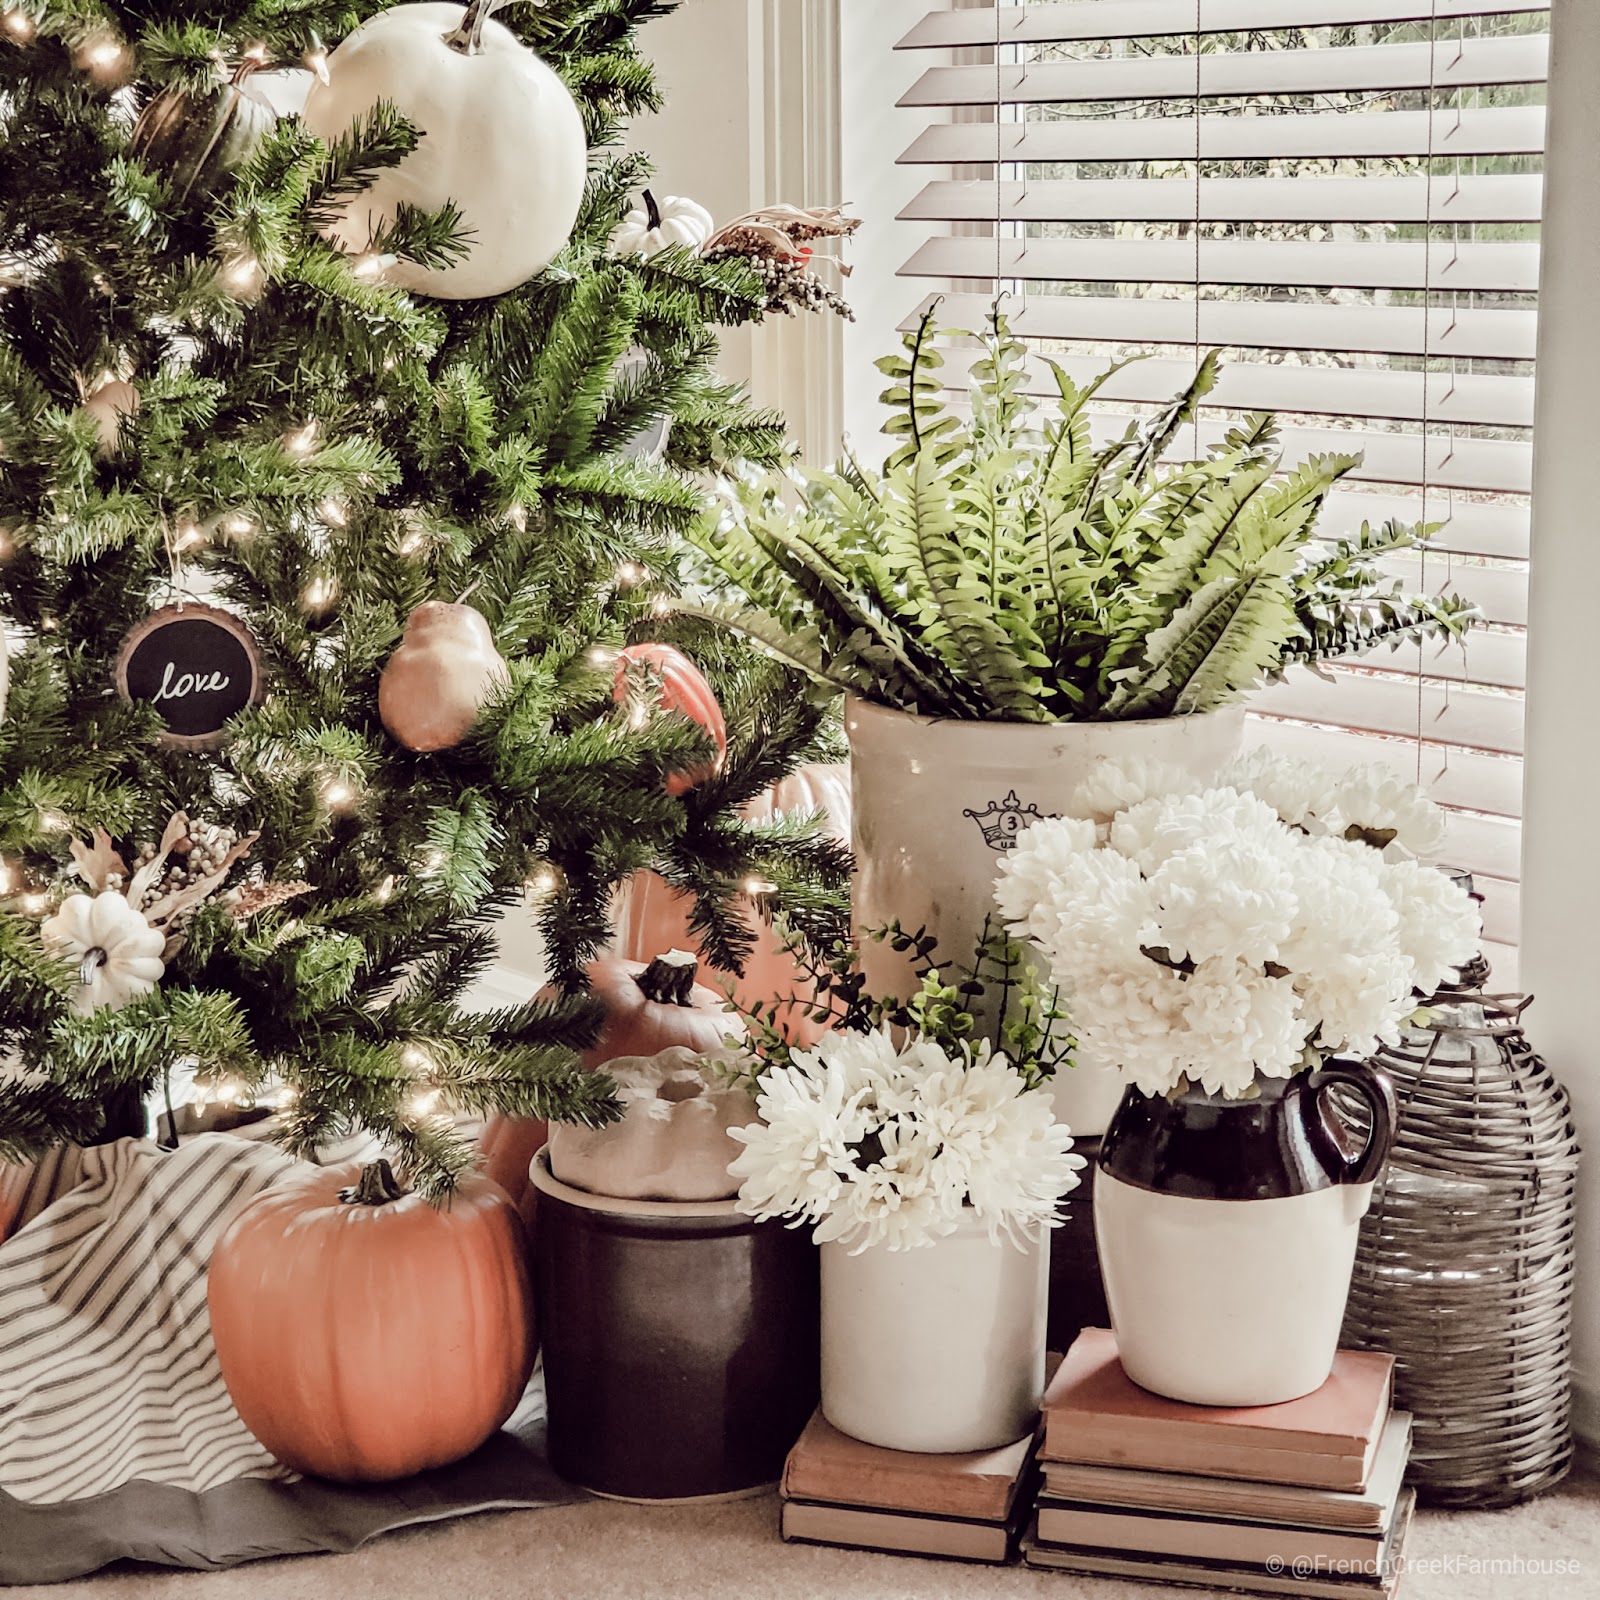
Recently, I shared about our Gratitude Tree. This is a new tradition we’ve just started this year to help ease us into the holiday spirit with an expansion of our everyday gratitude practice.
Gratitude is already a big part of our family, and we spend a lot of time talking about those things for which we are grateful each and every day. Our Gratitude Tree is an extra special way to expand on that practice in preparation for the holidays, and it allows us to enjoy our beautiful King of Christmas tree a little longer each year.
On top of the seasonal items I used to decorate our tree, I decided to make ornaments that we could use to write down our daily gratitudes. The project was very simple, and I love the result. This is an easy craft that the whole family can enjoy together!

Disclosure: This is not a sponsored post, and I have received no compensation for sharing any of these supplies. Some links to products that follow may be affiliate links, and I might earn a commission if you make a purchase through that link. This usually amounts to cents, not dollars, and helps to support the projects featured on this blog. I only recommend products from companies that I have found to be trustworthy. Read my full disclosure here.
Supplies
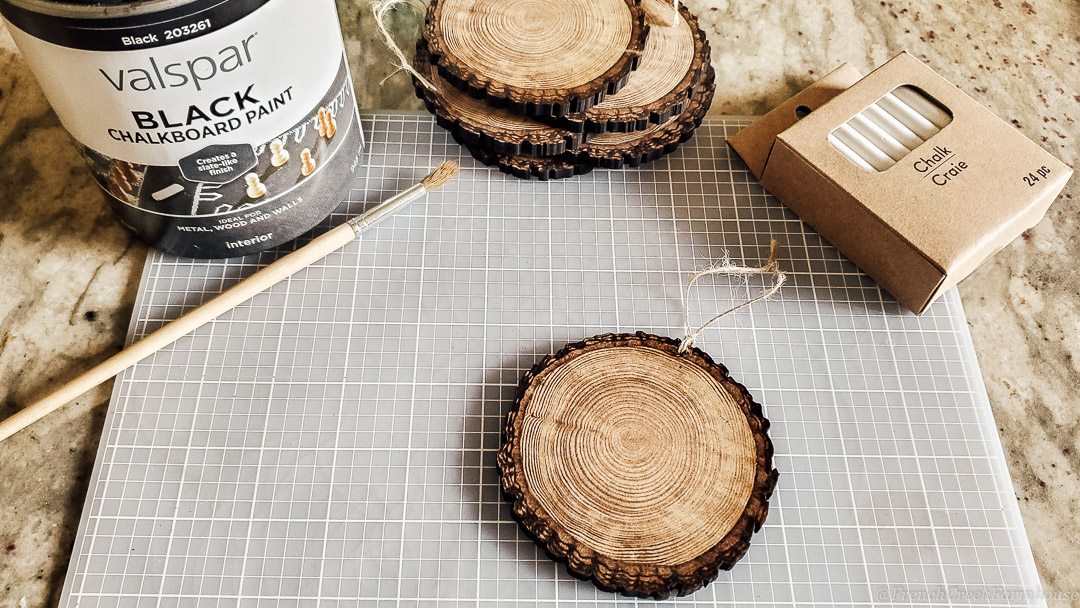
- Bark rounds
- Chalkboard paint
- Chalk or chalk pens
- Ornament template (free printable)
Tools you’ll need:
- Gloves (to protect your hands from spills)
- Paint brushes
- Paint can opener
- Sandpaper (220 grit or finer)
Instructions
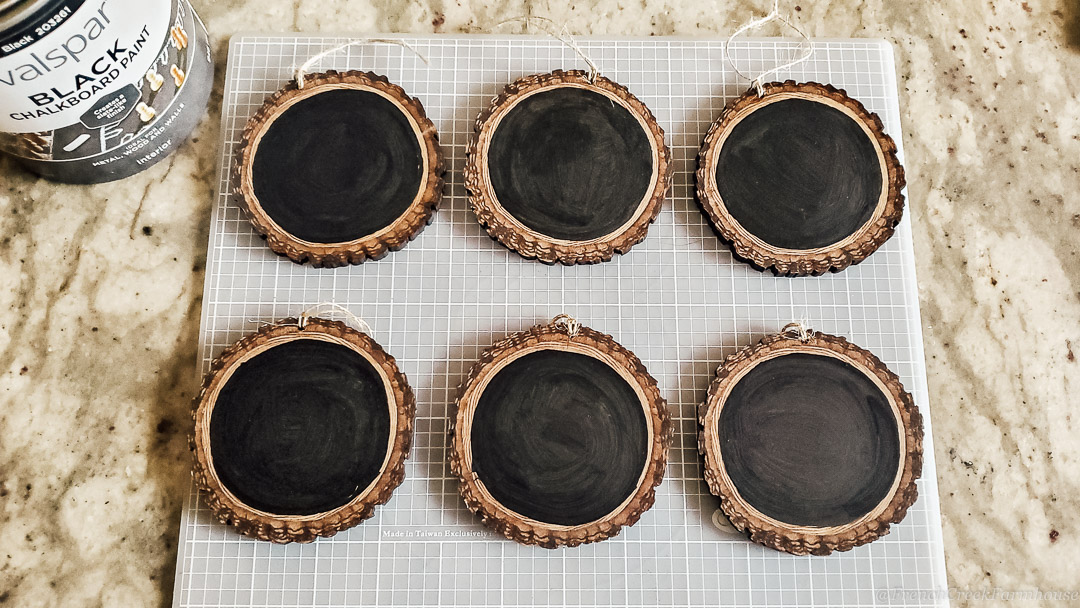
- I used pre-cut bark rounds (like these) for my project, but if you’re feeling especially crafty, you could cut slices off a tree branch from the yard. If you do choose to use fresh wood, keep in mind that it will be “wet” instead of cured/dried, so it might change how your paint sets up. My discs were just under 3.5″ diameter, but you could certainly use bigger or smaller rounds.

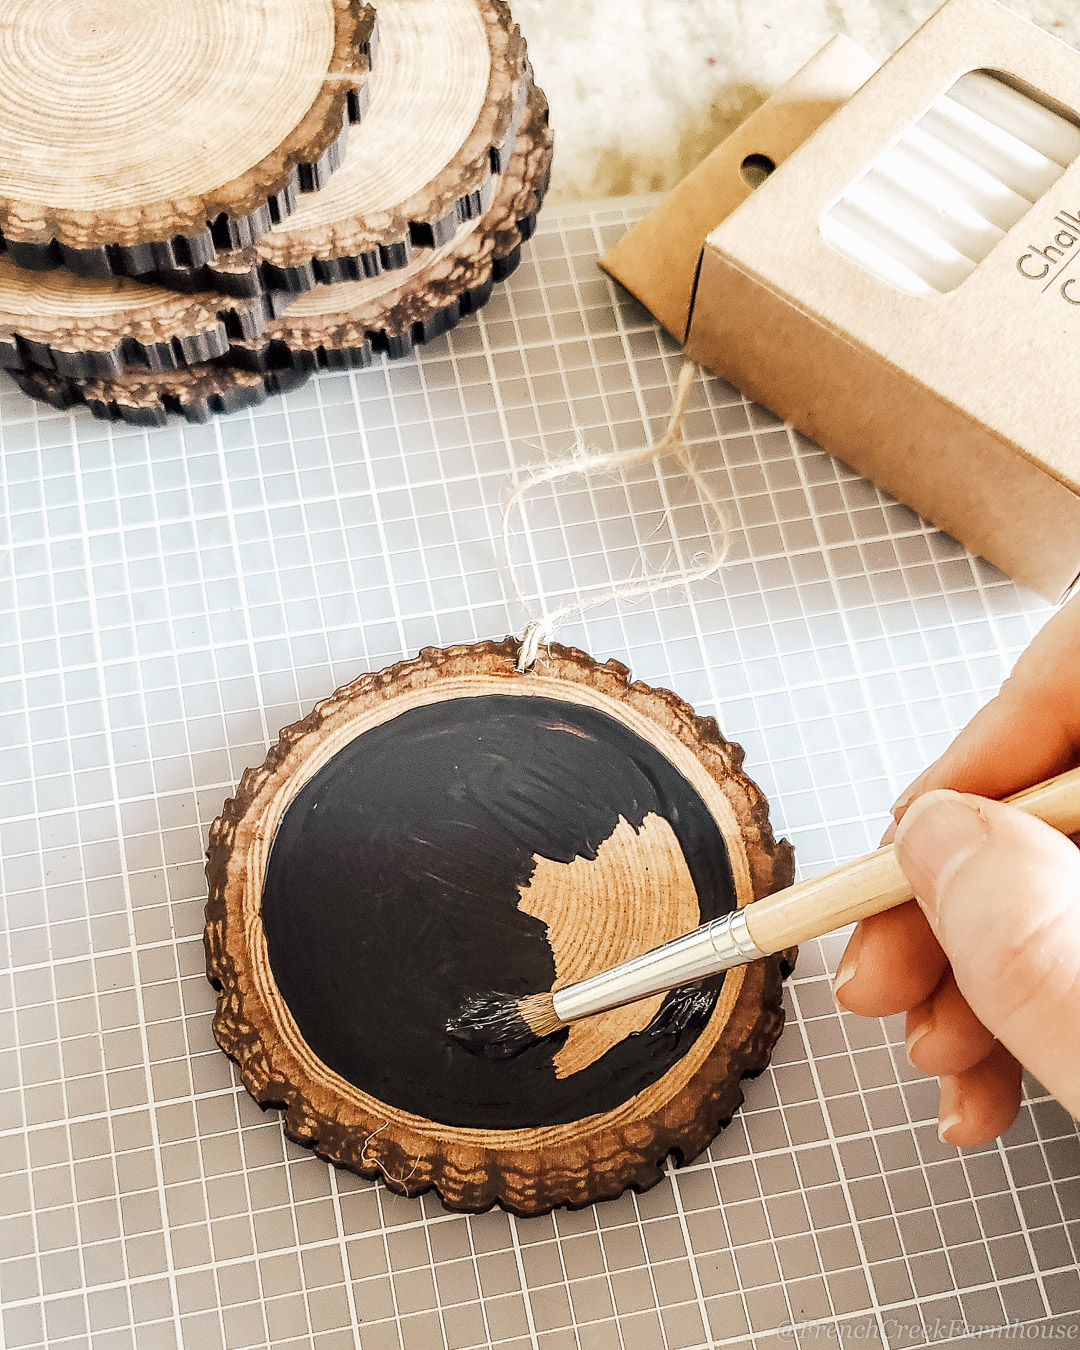
- I started by painting each disc with a coat of chalkboard paint. The prep work of painting the discs takes some time for proper curing, so if you’re doing this project with small children, it would be a good idea to prep them several days in advance. Also, please understand that chalkboard paint is NOT the same thing as chalk paint. The latter has a chalky (ultra-matte) finish to it, but true chalkboard paint turns your painted surface into a writable/erasable chalkboard. I’m partial to the Valspar brand from Lowes and use it exclusively, but feel free to use your favorite (this and this are both high-quality options if you don’t have a Lowes near you). Just remember that several thin coats will yield better results than one thick coat. Allow at least 24 hours between coats for the paint to properly cure. I applied two coats for my project.

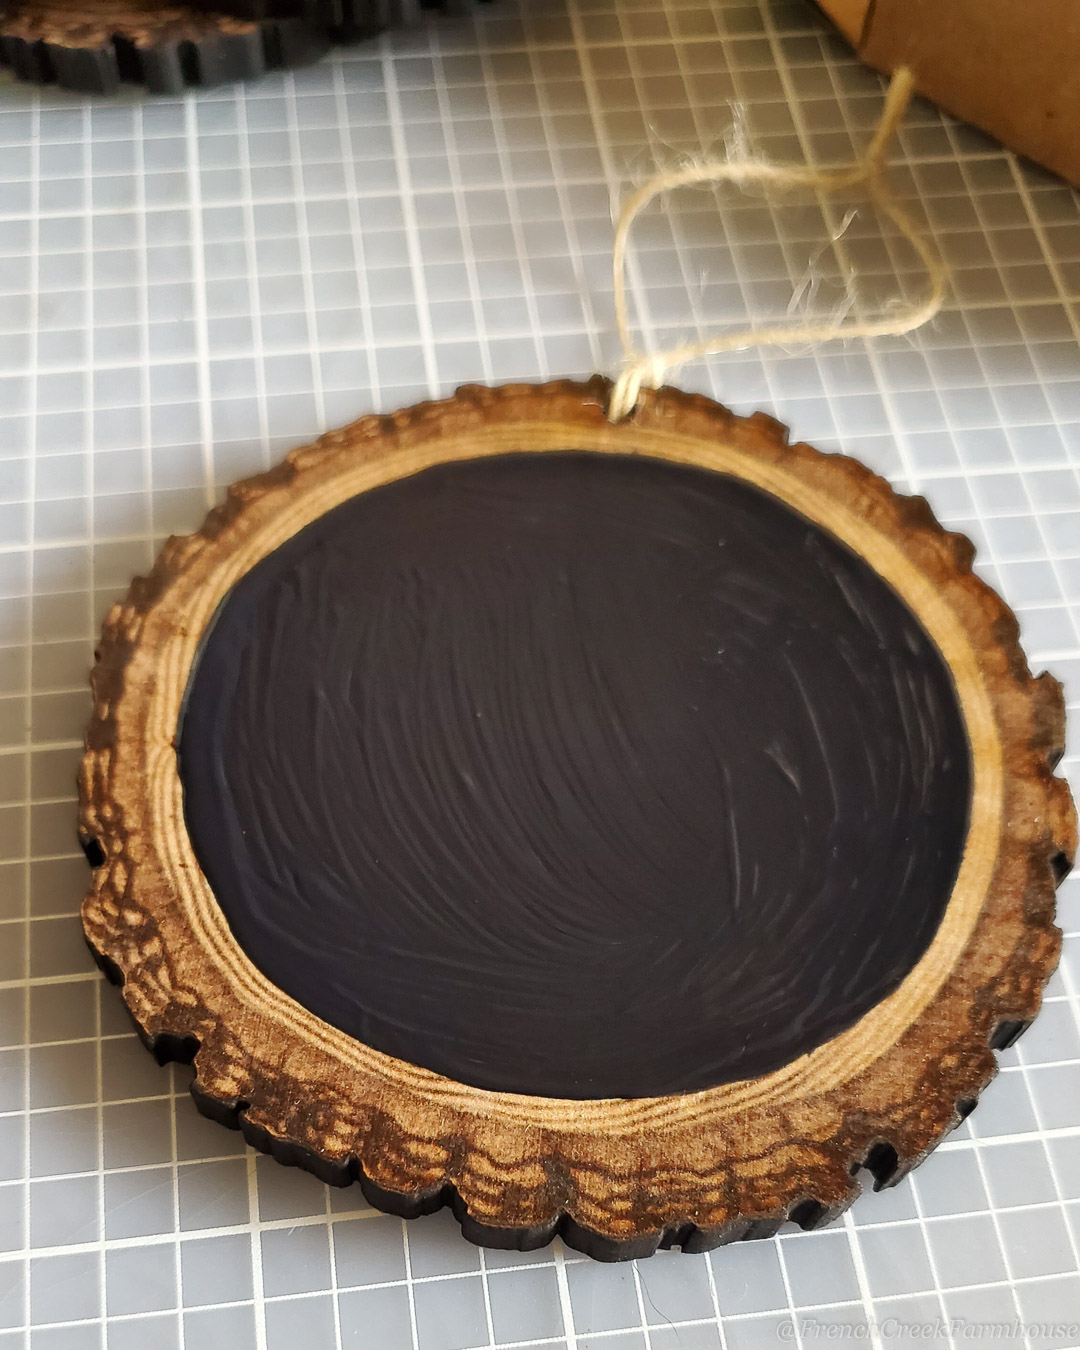
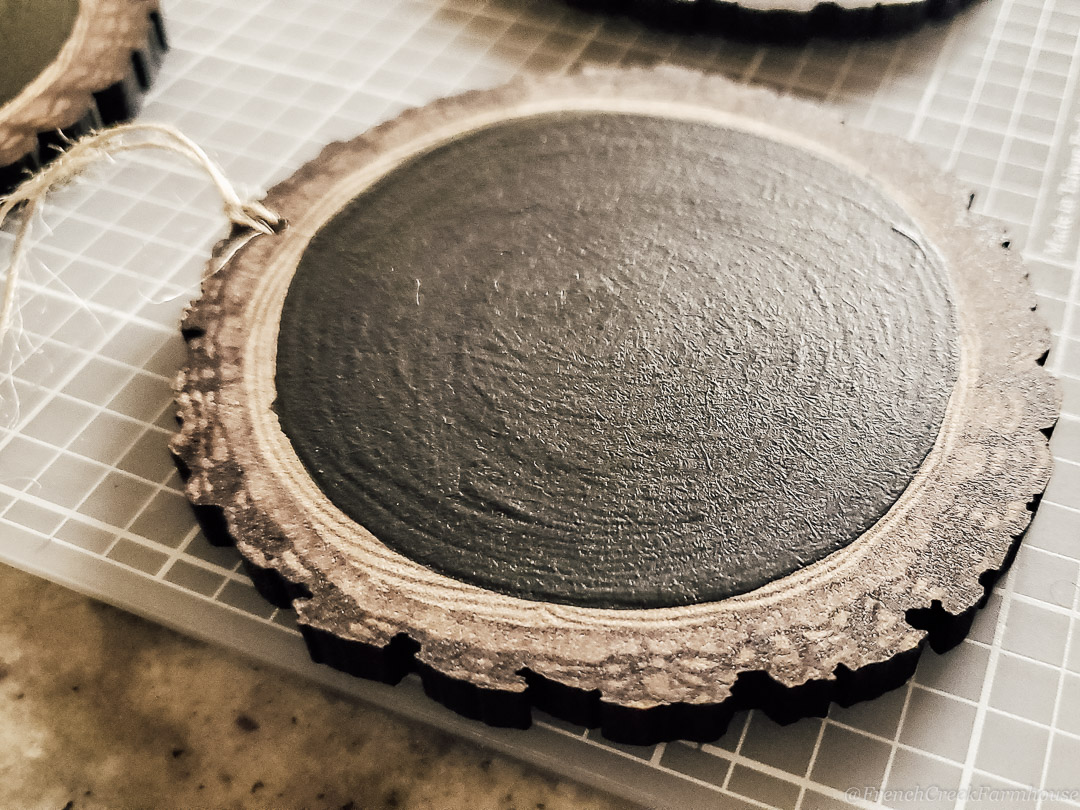
- You’ll notice that there will be brush strokes in your paint. The Valspar brand chalkboard paint is fairly self-leveling as it dries, but it won’t be perfect when you use a brush. If you like, you can certainly give it a light sanding with fine grit (no less than 220 grit) sandpaper if you want to make it completely smooth. That wasn’t a concern for me with this project, but if you intend to erase and reuse these often, it could be a good idea. I figured that I could always repaint them for later use, so I took a shortcut on this step. These two photos show just how much self-leveling occurs between wet and dried paint:

- I said it before, but this is the most important step: Allow your paint to cure properly! Patience is your greatest friend when you’re working with chalkboard paint. Each manufacturer has a different cure time, and I have found that leaving your project to sit for at least 48 hours results in the best finish. If you write on it too soon, you’ll be disappointed with the finished product.
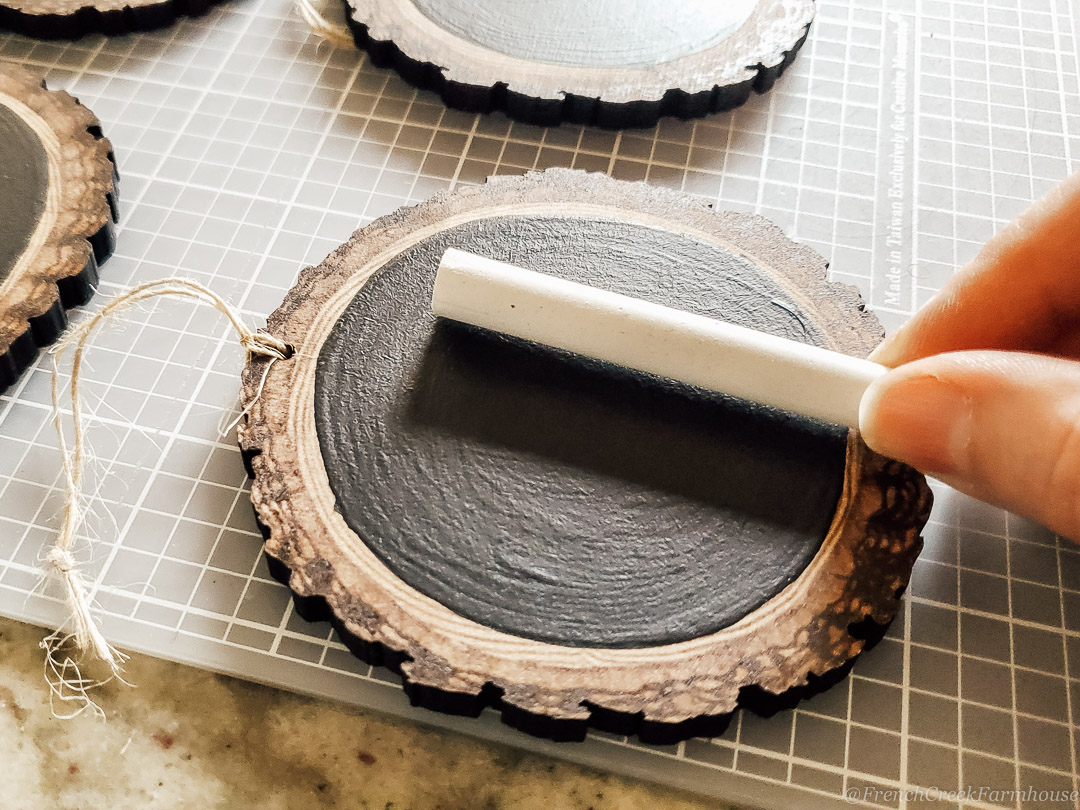
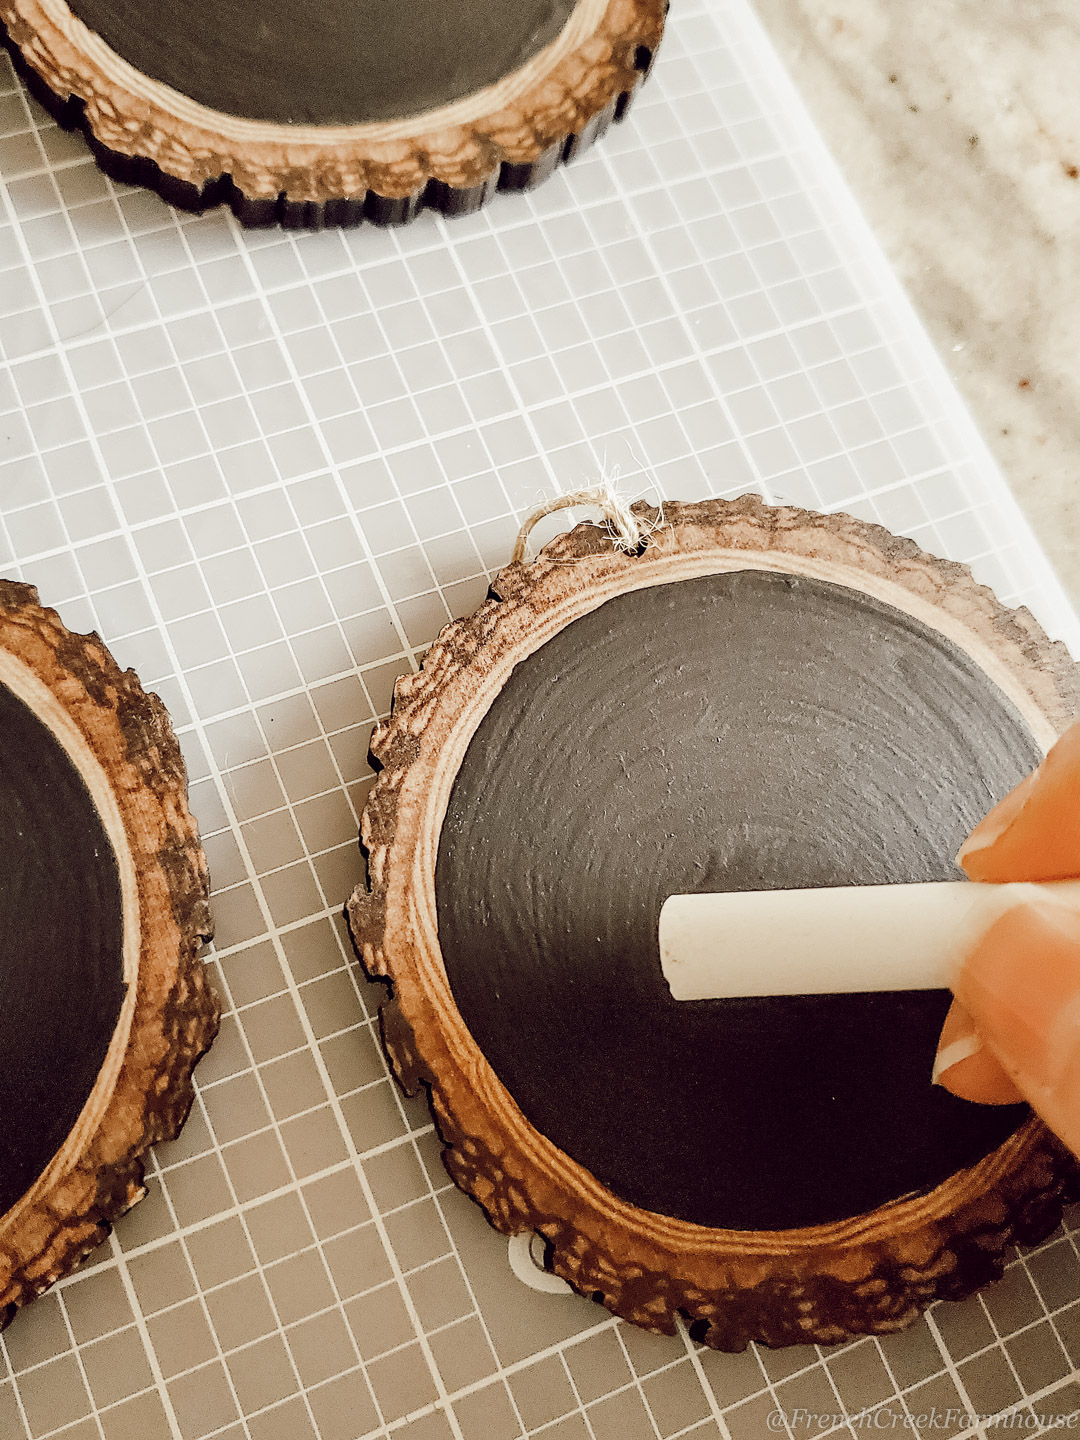
- Once your paint has cured, and you’re ready to decorate, you’ll need to first “season” your chalkboard surface. To do this, rub a piece of chalk flat against the surface until it is completely covered, then wipe clean with a towel. This will help to avoid future “ghosting” when you later want to erase and reuse the surface. That said, I skipped this step for this particular project. I had already decided that I wanted my chalkboard surface to be crisp and black, and I knew that I would simply repaint them later when I wanted to reuse them.
- If hand-lettering is not your strength, check out my tutorial for a simple solution! Want my template for creating these exact ornaments? You can download a printable copy for your own DIY!


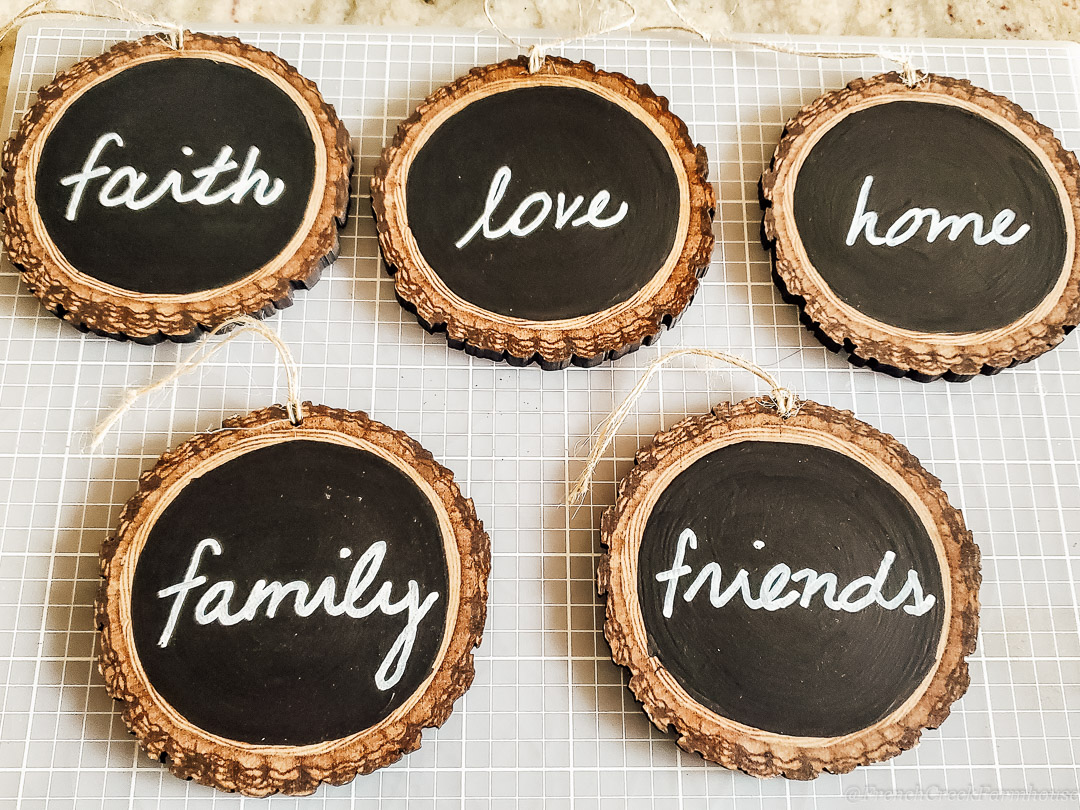
Enjoy decorating with your chalkboard ornaments–whether you’re creating your own Gratitude Tree, or other decorations! Be sure to tag me in your Instagram photos so I can check out your finished projects!

Do you love hunting for vintage treasures as much as I do?
Get my free vintage & junk hunting journal
Let’s be email pen pals! Sign up to join our community, and get your free printable PDF Vintage Hunting Journal. This is so good!
Love this! I'll be featuring you when the next party starts on my blog, thanks for sharing with us at the To Grandma's house we go link party!
Oh my word, Tarahlynn–you are so kind! Thank you so much! xo